5. Overview

See page 2.

1 "Quick" clamping nut *

2 Support flange

3 Spindle

4 Spindle locking button

5 Sliding on/off switch *

6 Electronic signal indicator *

7 Speed adjustment wheel *

8 Switch-on lock *

9 Trigger *

10 Additional handle / Additional handle with vibration damping *

11 Safety cover

12 Clamping nut *

13 2-hole spanner *

14 Lever for safety guard attachment

* depending on equipment/not in scope of delivery

6. Commissioning

Before plugging in, check to see that the rated mains voltage and mains frequency,

as stated on the rating label, match your power supply.

6.1Attaching the additional handle

Always work with the additional handle attached (10)! Attach the additional handle

on the left or right of the machine and secure.

6.2Install safety guard

For safety reasons, always use the safety guard provided for the respective wheel! See

also chapter 11.

Safety guard for grinding

Designed for work with roughing wheels, flap sanding pads, diamond cut-off wheels.

See page 2, illustration C.

-Push and hold the lever (14). Place the safety guard (11) in the position indicated.

-Release the lever and turn the safety guard until the lever engages.

-Push the lever and turn the safety guard until the closed section is facing the operator.

-Make sure that the guard is seated securely: the lever must engage and you should not be able to turn the safety guard.

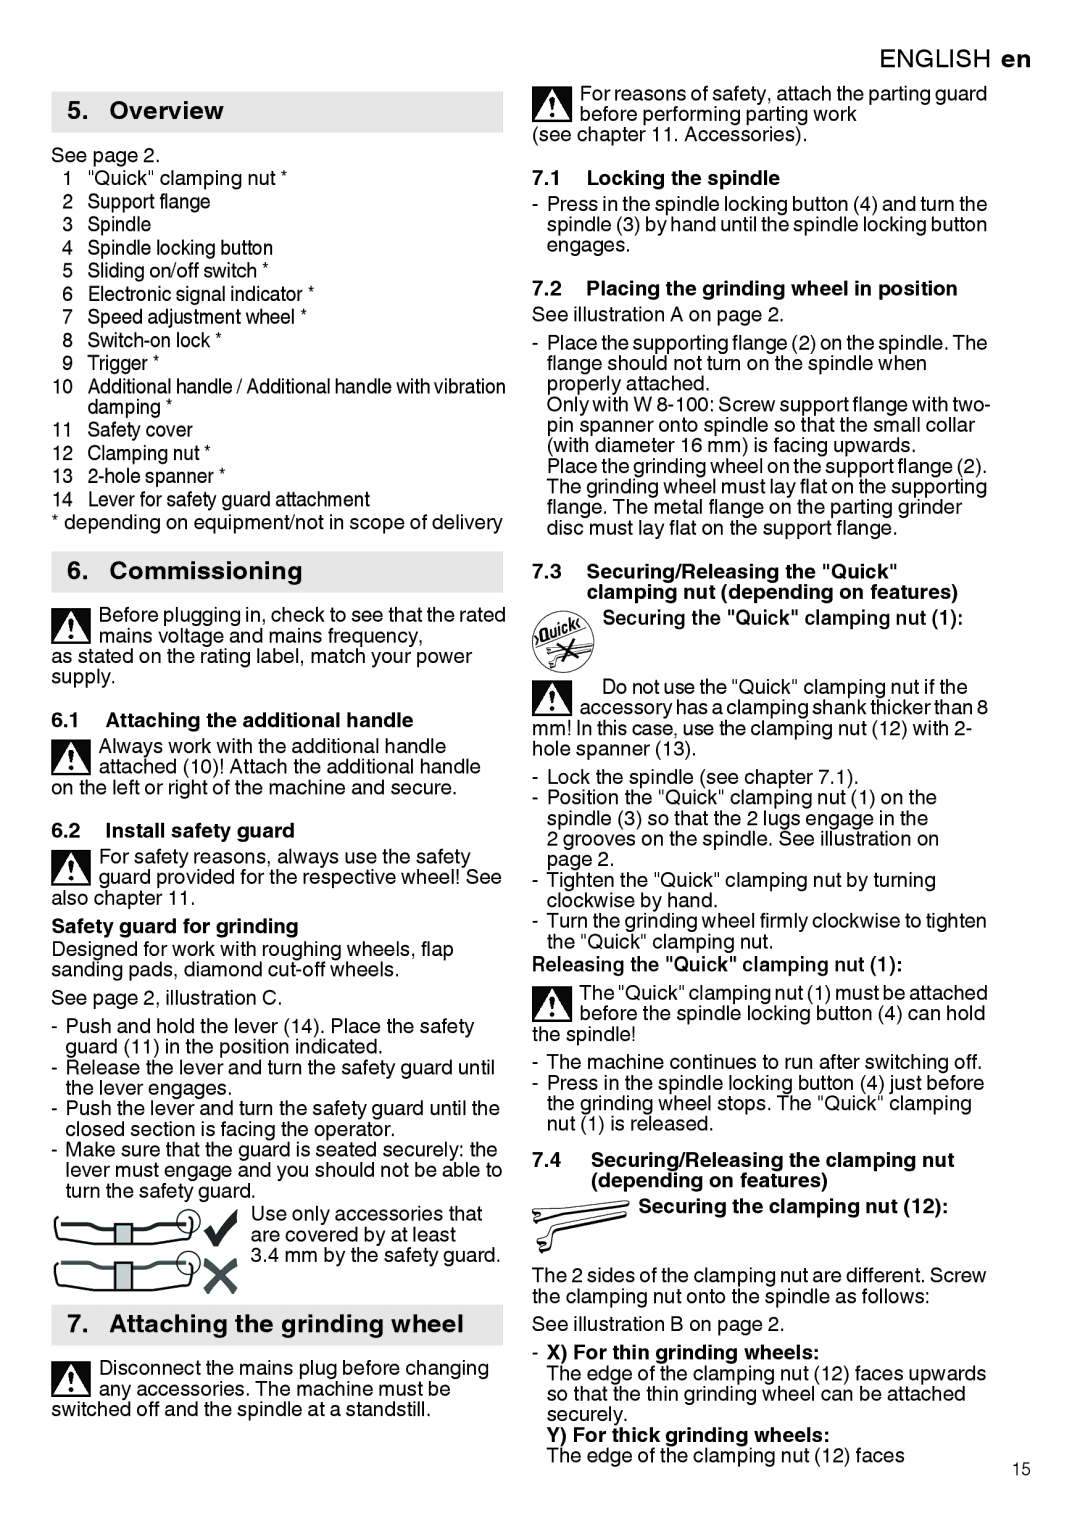
Use only accessories that are covered by at least

3.4mm by the safety guard.

7. Attaching the grinding wheel

Disconnect the mains plug before changing any accessories. The machine must be

switched off and the spindle at a standstill.

ENGLISH

For reasons of safety, attach the parting guard before performing parting work

(see chapter 11. Accessories).

7.1Locking the spindle

-Press in the spindle locking button (4) and turn the spindle (3) by hand until the spindle locking button engages.

7.2Placing the grinding wheel in position See illustration A on page 2.

-Place the supporting flange (2) on the spindle. The flange should not turn on the spindle when properly attached.

Only with W 8-100: Screw support flange with two- pin spanner onto spindle so that the small collar (with diameter 16 mm) is facing upwards.

Place the grinding wheel on the support flange (2). The grinding wheel must lay flat on the supporting flange. The metal flange on the parting grinder disc must lay flat on the support flange.

7.3Securing/Releasing the "Quick" clamping nut (depending on features)

Securing the "Quick" clamping nut (1):

Do not use the "Quick" clamping nut if the accessory has a clamping shank thicker than 8

mm! In this case, use the clamping nut (12) with 2- hole spanner (13).

- Lock the spindle (see chapter 7.1).

- Position the "Quick" clamping nut (1) on the spindle (3) so that the 2 lugs engage in the

2 grooves on the spindle. See illustration on page 2.

- Tighten the "Quick" clamping nut by turning clockwise by hand.

- Turn the grinding wheel firmly clockwise to tighten the "Quick" clamping nut.

Releasing the "Quick" clamping nut (1):

The "Quick" clamping nut (1) must be attached before the spindle locking button (4) can hold

the spindle!

-The machine continues to run after switching off.

-Press in the spindle locking button (4) just before the grinding wheel stops. The "Quick" clamping nut (1) is released.

7.4Securing/Releasing the clamping nut (depending on features)

Securing the clamping nut (12):

The 2 sides of the clamping nut are different. Screw the clamping nut onto the spindle as follows:

See illustration B on page 2.

- X) For thin grinding wheels:

The edge of the clamping nut (12) faces upwards so that the thin grinding wheel can be attached securely.

Y) For thick grinding wheels:

The edge of the clamping nut (12) faces

en

15

Page 15
Image 15
Metabo 600264420, 600292420, 600267420, 600268420, 600271420, 600274420 Overview, Commissioning, Attaching the grinding wheel

600263420, 600267420, 600279420, 600280420, 600290420 specifications

The Metabo 600271420, 600281420, 600269420, 600270420, and 600264420 are a series of powerful and innovative power tools designed to meet the demands of both professionals and DIY enthusiasts. Each tool in this lineup showcases Metabo’s commitment to quality, precision, and efficiency, making them suitable for a variety of applications in construction, woodworking, metalworking, and more.

One of the standout features of these models is their robust motor technology, which provides high torque and excellent performance across different materials. With a maximum speed capability, the tools ensure that users can cut, grind, or drill with precision while minimizing downtime. This performance is further enhanced by Metabo's signature 4-stroke motor technology, which reduces emissions and noise levels, making it more environmentally friendly while still delivering on power.

Another common technology across these models is the Electronic Speed Control, allowing users to adjust the tool’s speed to suit specific tasks. This feature is particularly useful when handling sensitive materials or when working with different thicknesses, providing an optimal balance between speed and control.

Safety is a vital consideration in any power tool, and Metabo has integrated several safety features across the entire range. These include overload protection and restart protection, which reduce the risk of the tool accidentally starting up after a power interruption, enhancing user safety during operation.

Ergonomics play a significant role in the design of these tools. The lightweight construction, combined with vibration-reducing handles, ensures comfortable handling, even during extended use. This focus on user comfort can improve efficiency and reduce fatigue, allowing for prolonged operations without discomfort.

Versatility is another hallmark of the Metabo series. These tools are designed to accept a wide range of accessories and attachments, making them adaptable for various tasks. Whether it's cutting wood, metal, or performing delicate finishing work, these tools adapt seamlessly to the task at hand.

In conclusion, the Metabo 600271420, 600281420, 600269420, 600270420, and 600264420 deliver power, precision, and safety to meet the unique needs of every craftsman. With advanced motor technology, electronic controls, ergonomic design, and safety features, they stand out as reliable tools capable of tackling an array of tasks. Whether for professional or personal use, investing in these tools means choosing durability and performance for all your projects.