Hardware Setup
ATX 20-Pin Power Connector: ATX1
You may also choose to use ATX power supply. To connect to the ATX power supply, make sure the plug of the power supply is inserted in the proper orientation and the pins are aligned. Then push down the power supply firmly into the connector.
ATX1
20
10
11
![]() 1
1
ATX1 Pin Definition
PIN | SIGNAL | PIN | SIGNAL |
1 | 3.3V | 11 | 3.3V |
2 | 3.3V | 12 | |
3 | GND | 13 | GND |
4 | 5V | 14 | PS_ON |
5 | GND | 15 | GND |
6 | 5V | 16 | GND |
7 | GND | 17 | GND |
8 | PW_OK | 18 | |
9 | 5V_SB | 19 | 5V |
10 | 12V | 20 | 5V |
|
|
|
|
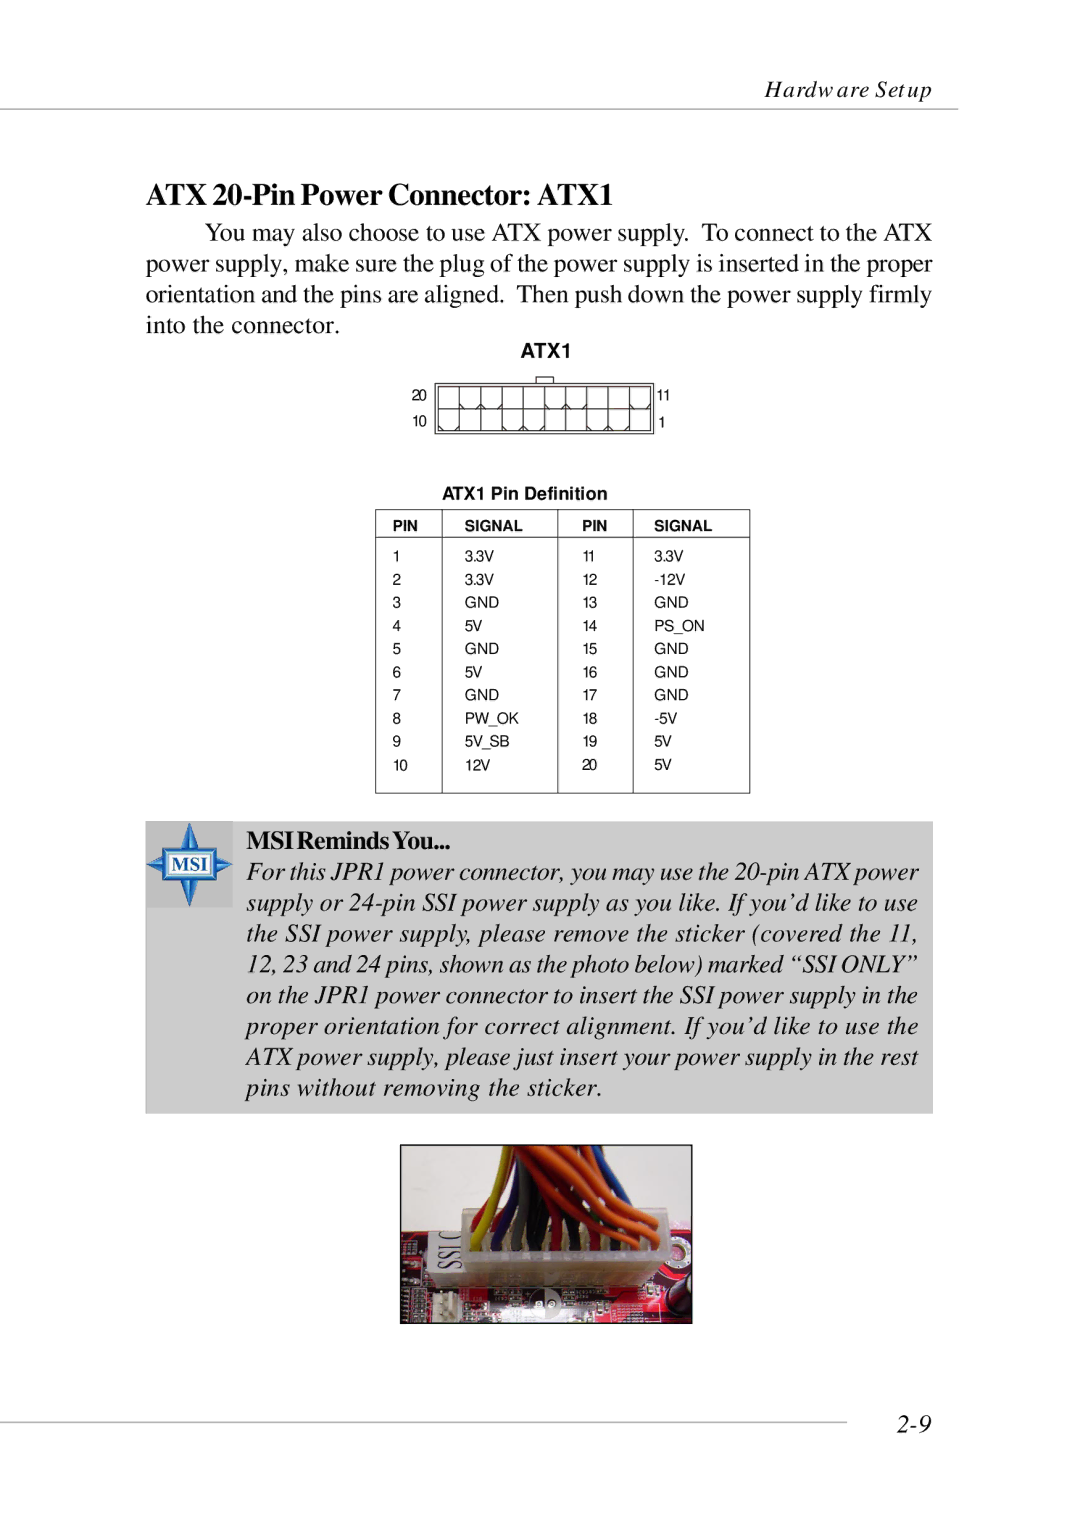
MSIRemindsYou...
For this JPR1 power connector, you may use the
