Burner
Press in the control knob and turn
When the flame ignites, keep the button pressed in for
If the flame goes out, repeat the proce- dure, keeping the control knob pressed in for a few extra seconds.
To turn the heat down from the highest to the lowest setting, turn the control
To turn the heat up from the lowest to the highest setting, turn the control clockwise until it stops (intermediate stage & b), press and continue to turn clockwise to the high setting.
To switch the burner off, turn the con- trol knob in a clockwise direction to the “l“ position. The flame will go out.
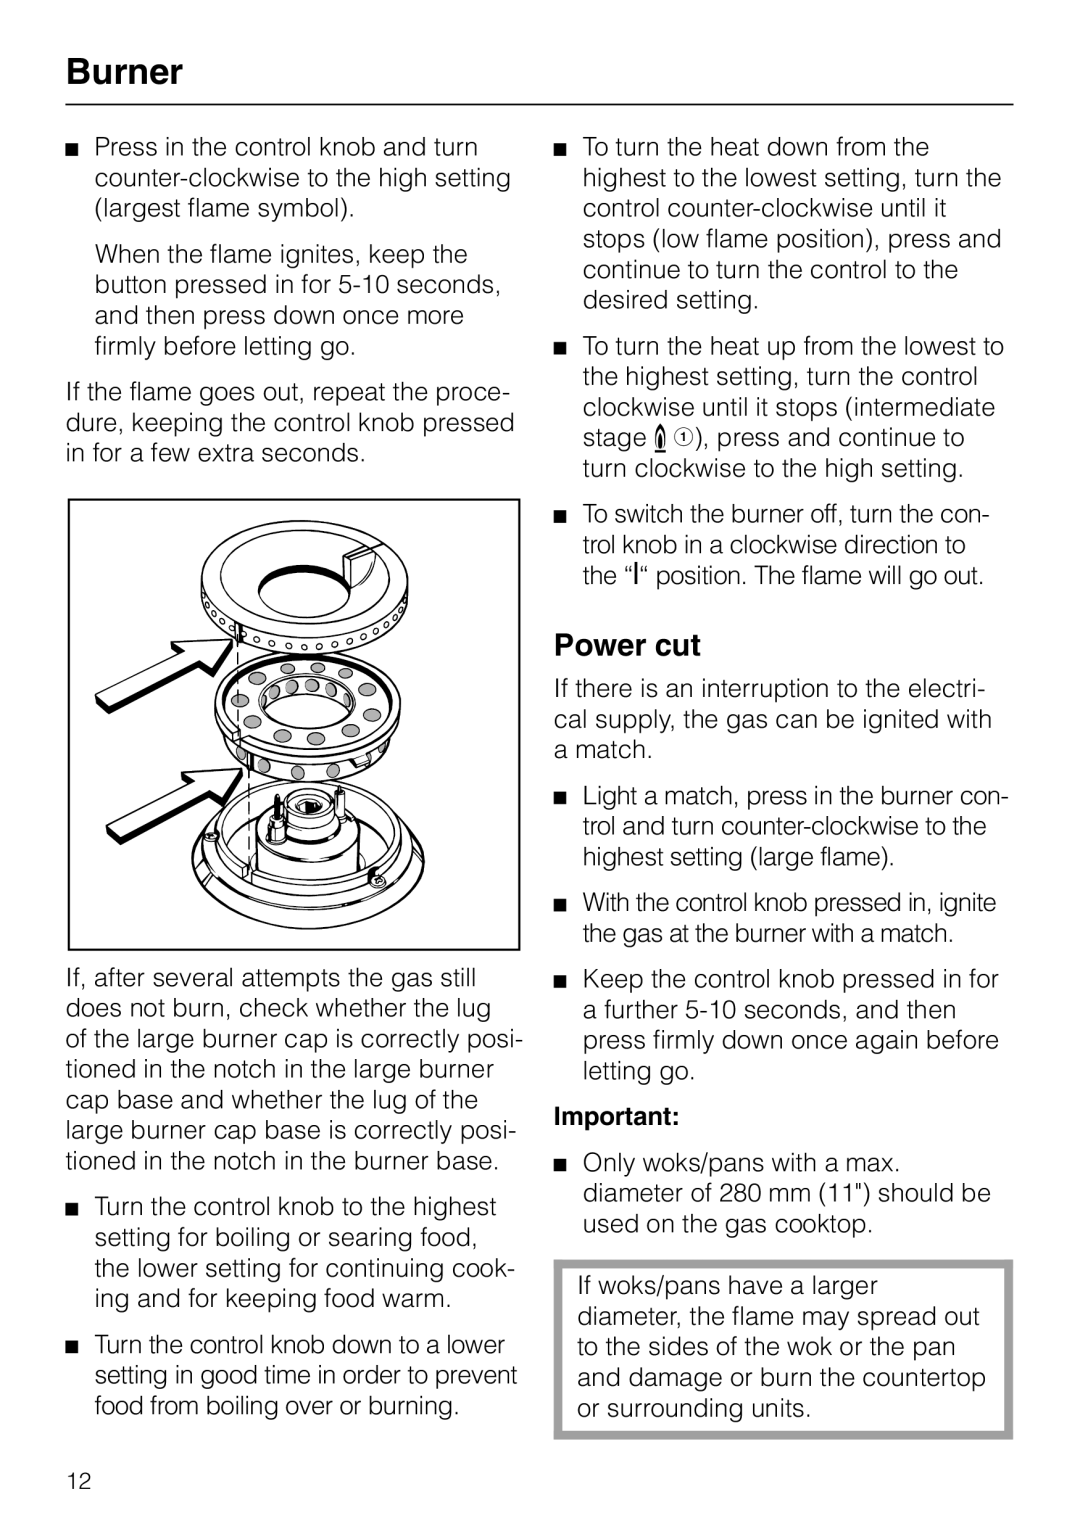
If, after several attempts the gas still does not burn, check whether the lug of the large burner cap is correctly posi- tioned in the notch in the large burner cap base and whether the lug of the large burner cap base is correctly posi- tioned in the notch in the burner base.
Turn the control knob to the highest setting for boiling or searing food, the lower setting for continuing cook- ing and for keeping food warm.
Turn the control knob down to a lower setting in good time in order to prevent food from boiling over or burning.
Power cut
If there is an interruption to the electri- cal supply, the gas can be ignited with a match.
Light a match, press in the burner con- trol and turn
With the control knob pressed in, ignite the gas at the burner with a match.
Keep the control knob pressed in for a further
Important:
Only woks/pans with a max. diameter of 280 mm (11") should be used on the gas cooktop.
If woks/pans have a larger diameter, the flame may spread out to the sides of the wok or the pan and damage or burn the countertop or surrounding units.
12
