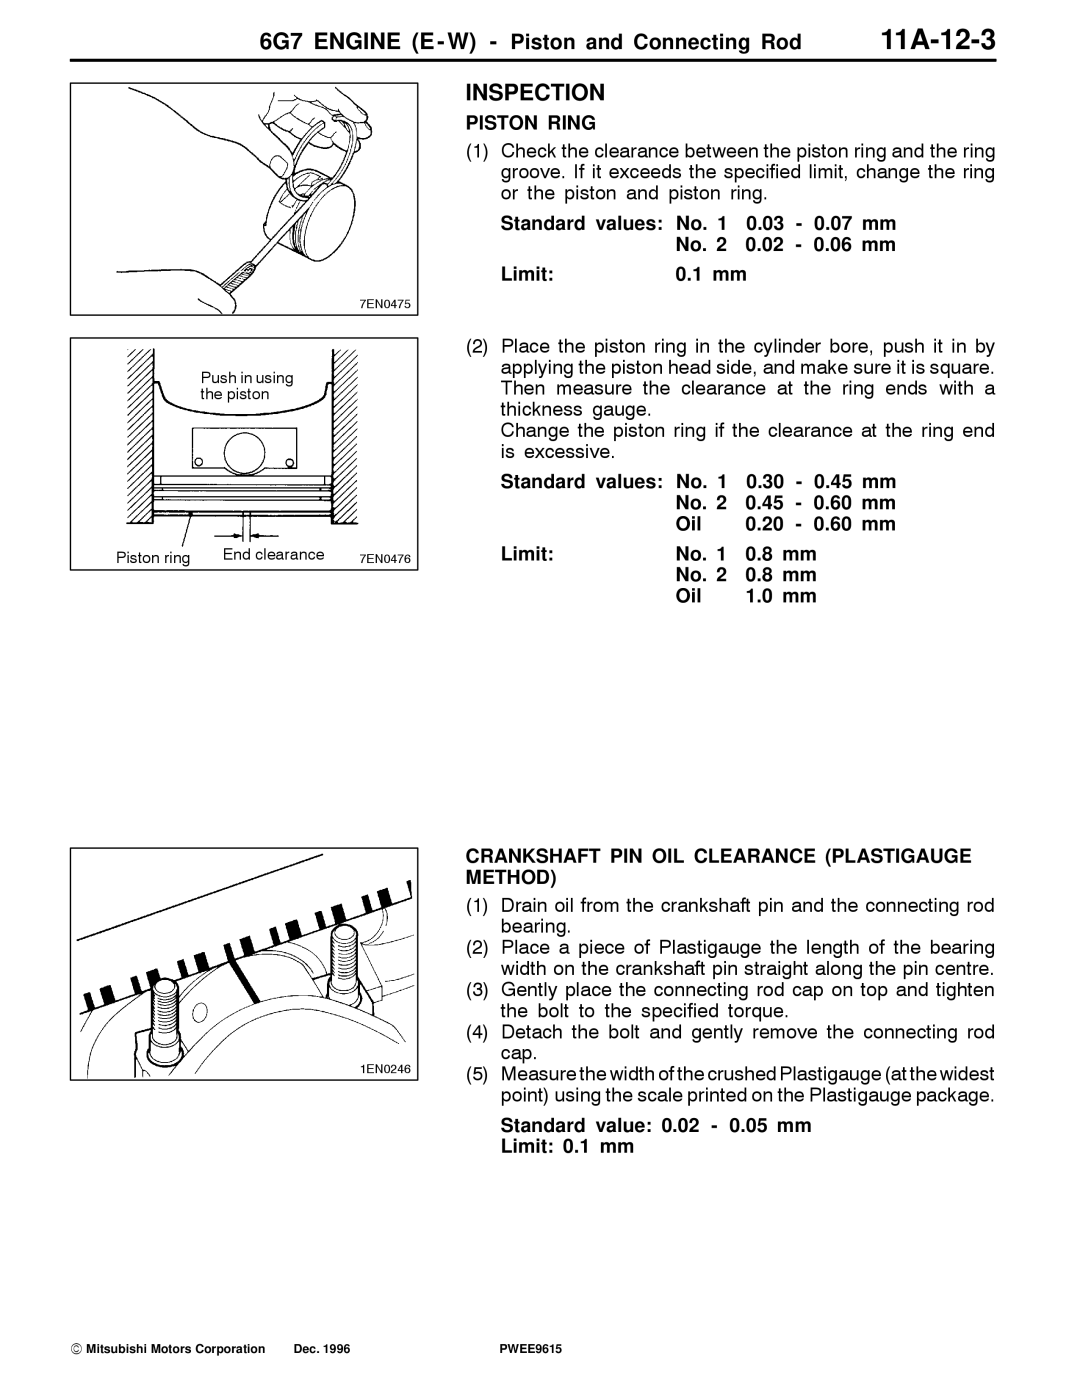
6G7 specifications
The Mitsubishi 6G7 engine is a robust V6 gasoline engine that has garnered attention for its blend of performance and efficiency. Primarily designed for use in a variety of Mitsubishi vehicles, including sedans and SUVs, the 6G7 series illustrates the engineering prowess of Mitsubishi in creating reliable and powerful engines.One of the standout features of the 6G7 engine is its V6 configuration, which provides a good balance of power and smoothness. This engine typically displaces 3.0 liters, though variants exist with slightly different displacements. The 6G7 showcases a double overhead camshaft (DOHC) design, which facilitates efficient airflow and enhances power output. This configuration allows the engine to produce a substantial amount of horsepower while maintaining fuel efficiency, making it an attractive option for both performance-driven drivers and those focused on daily commuting.
In terms of technology, the 6G7 utilizes Mitsubishi’s advanced fuel injection system, which optimizes the fuel-air mixture for efficient combustion. This not only contributes to improved power output but also helps in reducing emissions, making the engine more environmentally friendly. Additionally, the integration of a variable valve timing (VVT) system enhances the engine's performance across various RPM ranges, providing both low-end torque and high-end power.
The 6G7 is designed with durability in mind. It features a robust iron block and aluminum alloy cylinder heads, which contribute to the engine's longevity and overall reliability. The use of advanced materials and manufacturing techniques helps to minimize wear and extend the lifespan of critical components.
Another important characteristic of the 6G7 engine is its smooth operation. The V6 configuration inherently provides balance, reducing vibrations and ensuring a refined driving experience. Coupled with a well-tuned exhaust system, the engine produces a pleasing sound that enhances the overall driving experience without being overwhelming.
In conclusion, the Mitsubishi 6G7 engine series stands out for its combination of power, efficiency, and durability. With advanced technologies like DOHC, VVT, and an efficient fuel injection system, the 6G7 remains a popular choice in various Mitsubishi models. Its smooth operation and robust construction further establish it as a reliable engine, appealing to a wide range of drivers seeking performance without sacrificing efficiency. The 6G7 serves as a testament to Mitsubishi's commitment to engineering excellence and innovation in the automotive industry.

