Installation
Connecting the Satellite Dish, Receiver, and TV
Complete the following steps, and make sure that the satellite receiver is not plugged into a power source before you connect any cables to the receiver:
•Connect the cable from the satellite dish to the satellite terminal on the satellite receiver's back panel. connect the supplied
•On the back panel of the satellite receiver, set the CH3 CH4 switch which is located just above the TV terminal— to the same channel that you set on your TV for use with your VCR.
•Turn on the TV and tune it to channel 3 or 4 to match the position of the switch on the back panel of the satellite receiver.
•Plug the satellite receiver power cord into a standard power outlet. Wait one minute, and then press the POWER key (green) on the left side of the satellite receiver's front panel.
Using the Menus
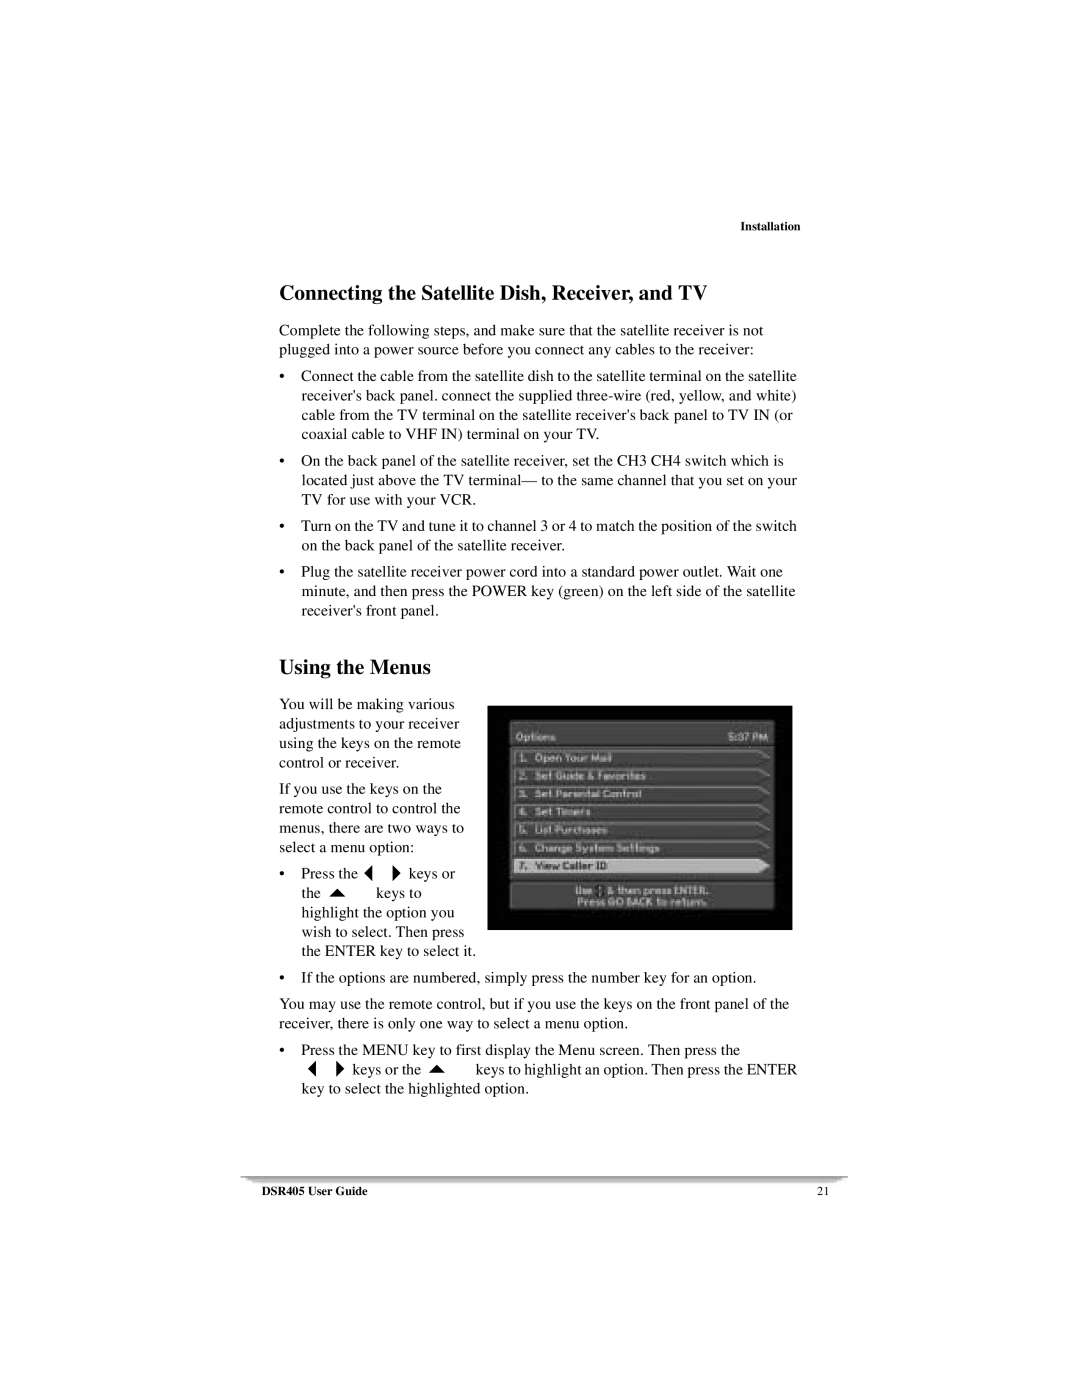
You will be making various adjustments to your receiver using the keys on the remote control or receiver.
If you use the keys on the remote control to control the menus, there are two ways to select a menu option:
• Press the | keys or |
the | keys to |
highlight the option you wish to select. Then press the ENTER key to select it.
• If the options are numbered, simply press the number key for an option.
You may use the remote control, but if you use the keys on the front panel of the receiver, there is only one way to select a menu option.
• Press the MENU key to first display the Menu screen. Then press the
keys or the |
| keys to highlight an option. Then press the ENTER |
key to select the highlighted option. | ||
DSR40534User56Guide34 | 56 | 21 |
