Setting a computer image to the correct RGB se- lect screen
On the computer image select the RGB mode, moving im- age (video) mode, wide mode or digital broadcast.
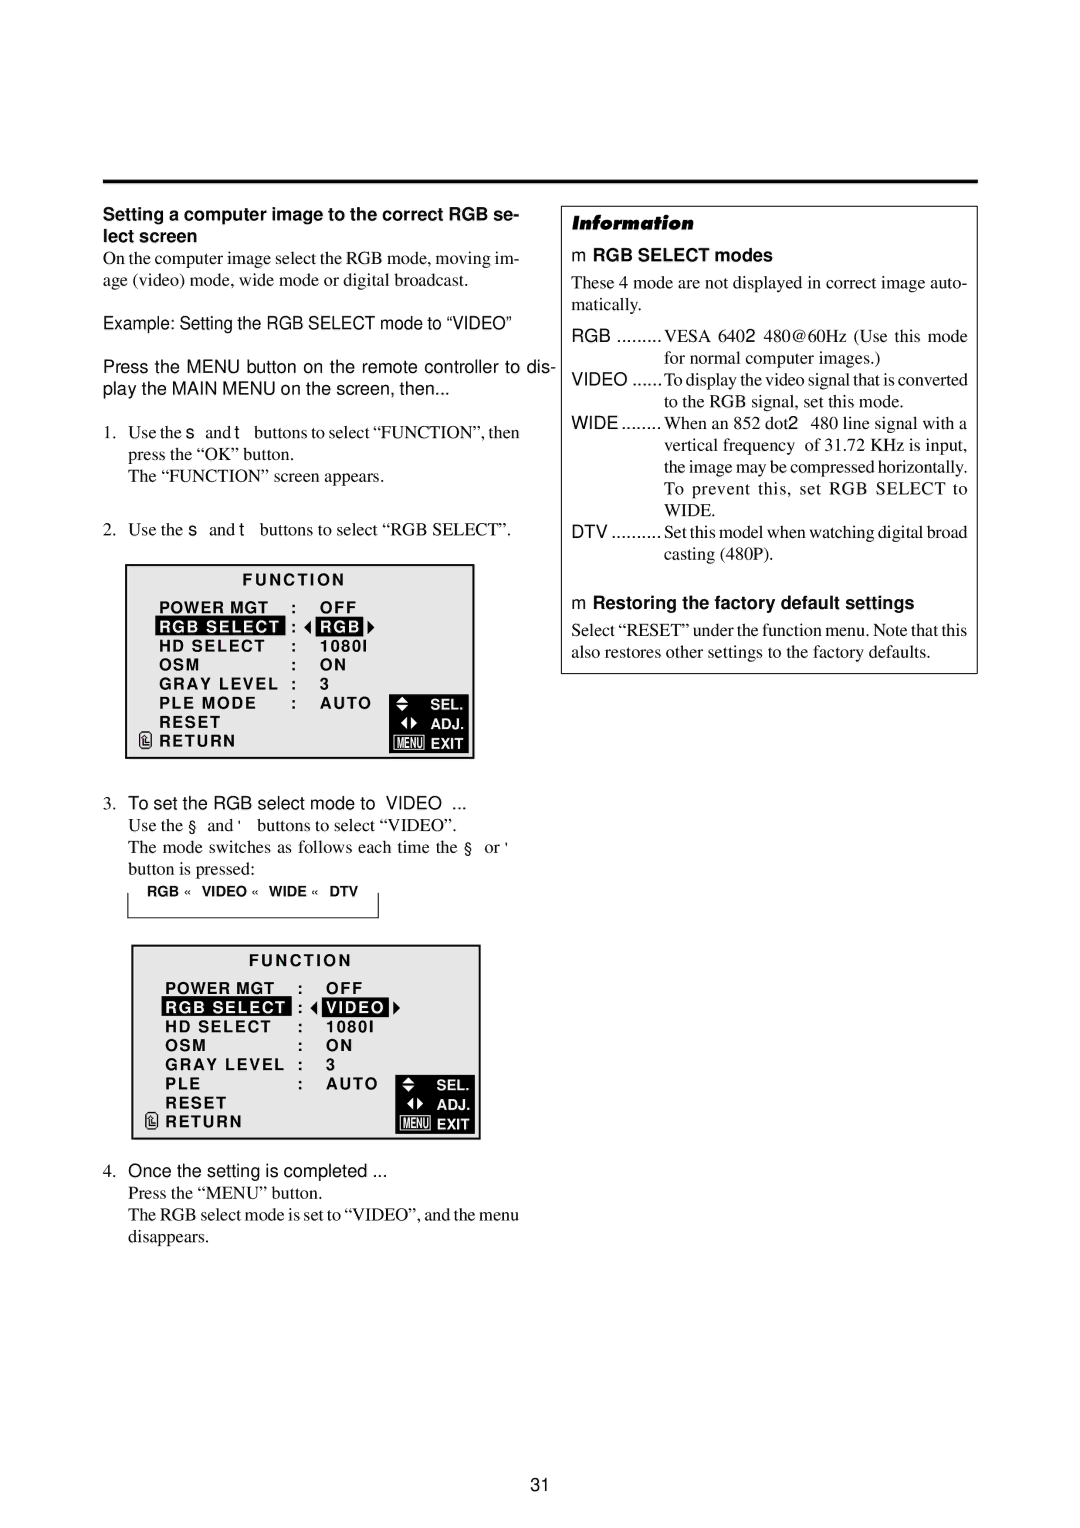
Example: Setting the RGB SELECT mode to “VIDEO”
Press the MENU button on the remote controller to dis-
play the MAIN MENU on the screen, then...
1.Use the ▲ and ▼ buttons to select “FUNCTION”, then press the “OK” button.
The “FUNCTION” screen appears.
2.Use the ▲ and ▼ buttons to select “RGB SELECT”.
|
| F U N C T I O N |
| |||
|
| POWER MGT | : | OFF |
| |
|
| RGB SELECT | : | RGB |
|
|
|
| HD SELECT | : | 1080I |
|
|
|
| OSM | : | ON |
| |
|
| GRAY LEVEL | : | 3 |
|
|
|
| PLE MODE | : | AUTO | SEL. | |
|
| RESET |
|
|
| ADJ. |
|
| RETURN |
|
|
| MENU EXIT |
|
|
|
|
| ||
|
|
|
|
|
|
|
3.To set the RGB select mode to “VIDEO” ...
Use the ◀ and ▶ buttons to select “VIDEO”.
The mode switches as follows each time the ◀ or ▶ button is pressed:
⎯ RGB ↔ VIDEO ↔ WIDE ↔ DTV ⎯
|
| F U N C T I O N |
|
| ||
|
| POWER MGT | : | OFF |
|
|
|
| RGB SELECT | : | VIDEO |
|
|
|
| HD SELECT | : | 1080I |
|
|
|
| OSM | : | ON |
|
|
|
| GRAY LEVEL | : | 3 |
|
|
|
| PLE | : | AUTO |
| SEL. |
|
| RESET |
|
|
| ADJ. |
|
| RETURN |
|
|
| MENU EXIT |
|
|
|
| |||
|
|
|
|
|
|
|
4.Once the setting is completed ...
Press the “MENU” button.
The RGB select mode is set to “VIDEO”, and the menu disappears.
Information
⬛RGB SELECT modes
These 4 mode are not displayed in correct image auto- matically.
RGB | VESA 640×480@60Hz (Use this mode |
| for normal computer images.) |
VIDEO | To display the video signal that is converted |
| to the RGB signal, set this mode. |
WIDE | When an 852 dot× 480 line signal with a |
| vertical frequency of 31.72 KHz is input, |
| the image may be compressed horizontally. |
| To prevent this, set RGB SELECT to |
| WIDE. |
DTV | Set this model when watching digital broad |
| casting (480P). |
⬛Restoring the factory default settings
Select “RESET” under the function menu. Note that this also restores other settings to the factory defaults.
31
