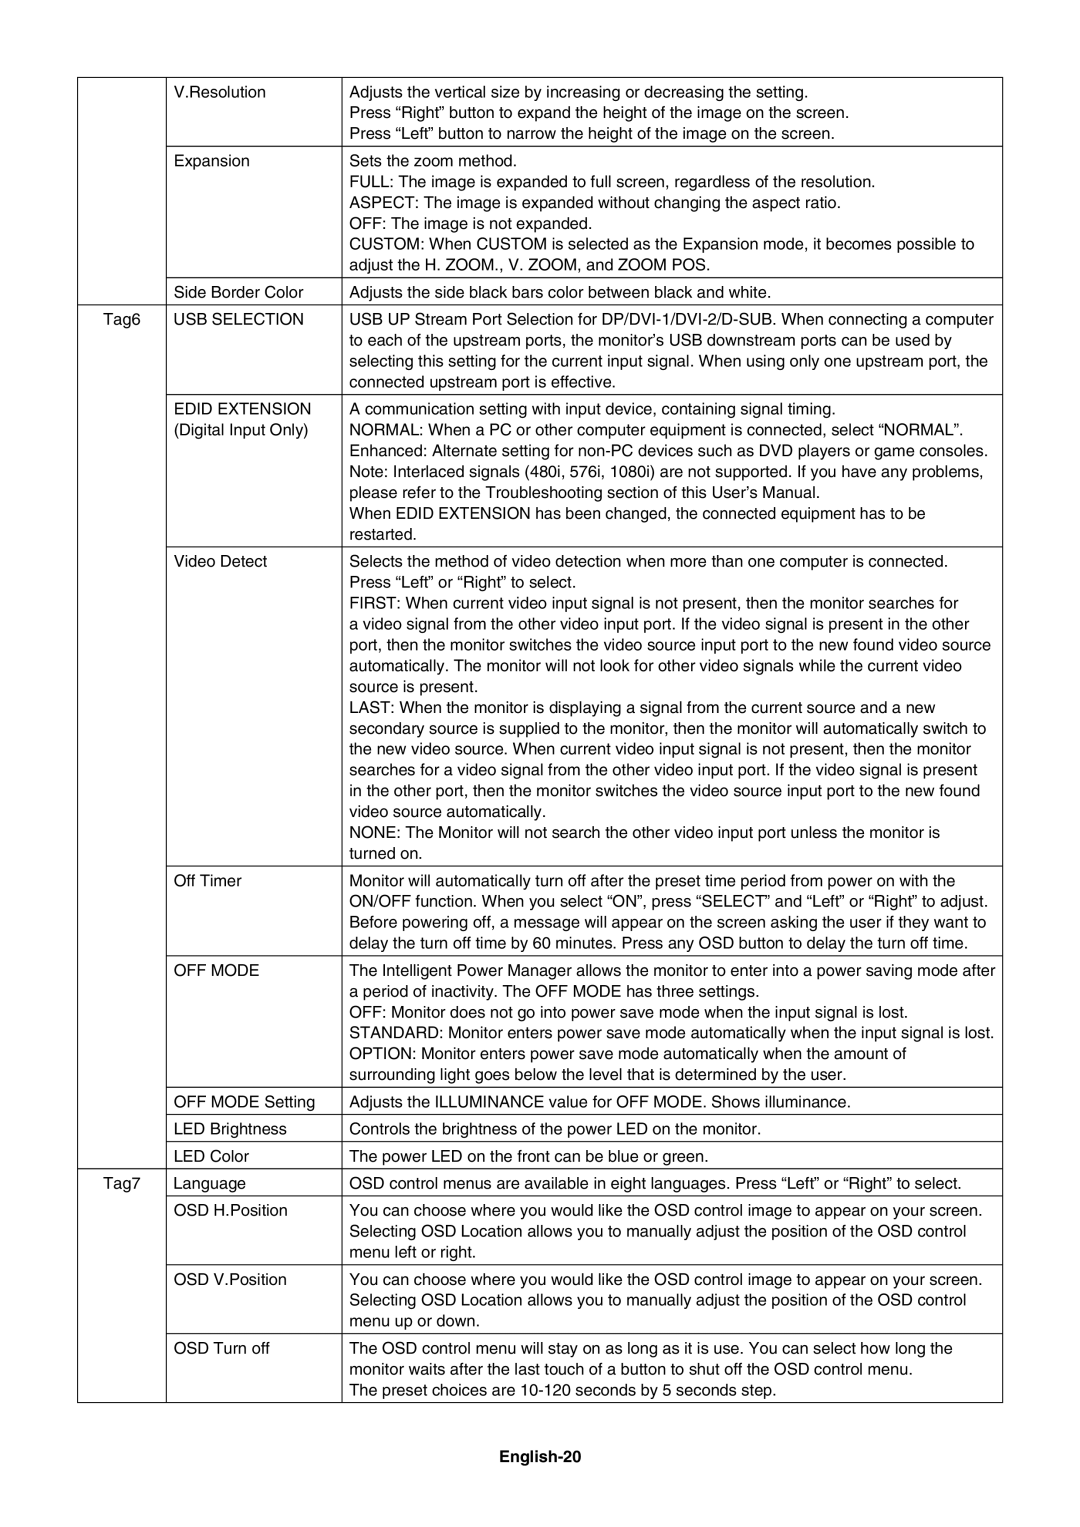
| V.Resolution | Adjusts the vertical size by increasing or decreasing the setting. |
|
| Press “Right” button to expand the height of the image on the screen. |
|
| Press “Left” button to narrow the height of the image on the screen. |
|
|
|
| Expansion | Sets the zoom method. |
|
| FULL: The image is expanded to full screen, regardless of the resolution. |
|
| ASPECT: The image is expanded without changing the aspect ratio. |
|
| OFF: The image is not expanded. |
|
| CUSTOM: When CUSTOM is selected as the Expansion mode, it becomes possible to |
|
| adjust the H. ZOOM., V. ZOOM, and ZOOM POS. |
|
|
|
| Side Border Color | Adjusts the side black bars color between black and white. |
|
|
|
Tag6 | USB SELECTION | USB UP Stream Port Selection for |
|
| to each of the upstream ports, the monitor’s USB downstream ports can be used by |
|
| selecting this setting for the current input signal. When using only one upstream port, the |
|
| connected upstream port is effective. |
|
|
|
| EDID EXTENSION | A communication setting with input device, containing signal timing. |
| (Digital Input Only) | NORMAL: When a PC or other computer equipment is connected, select “NORMAL”. |
|
| Enhanced: Alternate setting for |
|
| Note: Interlaced signals (480i, 576i, 1080i) are not supported. If you have any problems, |
|
| please refer to the Troubleshooting section of this User’s Manual. |
|
| When EDID EXTENSION has been changed, the connected equipment has to be |
|
| restarted. |
|
|
|
| Video Detect | Selects the method of video detection when more than one computer is connected. |
|
| Press “Left” or “Right” to select. |
|
| FIRST: When current video input signal is not present, then the monitor searches for |
|
| a video signal from the other video input port. If the video signal is present in the other |
|
| port, then the monitor switches the video source input port to the new found video source |
|
| automatically. The monitor will not look for other video signals while the current video |
|
| source is present. |
|
| LAST: When the monitor is displaying a signal from the current source and a new |
|
| secondary source is supplied to the monitor, then the monitor will automatically switch to |
|
| the new video source. When current video input signal is not present, then the monitor |
|
| searches for a video signal from the other video input port. If the video signal is present |
|
| in the other port, then the monitor switches the video source input port to the new found |
|
| video source automatically. |
|
| NONE: The Monitor will not search the other video input port unless the monitor is |
|
| turned on. |
|
|
|
| Off Timer | Monitor will automatically turn off after the preset time period from power on with the |
|
| ON/OFF function. When you select “ON”, press “SELECT” and “Left” or “Right” to adjust. |
|
| Before powering off, a message will appear on the screen asking the user if they want to |
|
| delay the turn off time by 60 minutes. Press any OSD button to delay the turn off time. |
|
|
|
| OFF MODE | The Intelligent Power Manager allows the monitor to enter into a power saving mode after |
|
| a period of inactivity. The OFF MODE has three settings. |
|
| OFF: Monitor does not go into power save mode when the input signal is lost. |
|
| STANDARD: Monitor enters power save mode automatically when the input signal is lost. |
|
| OPTION: Monitor enters power save mode automatically when the amount of |
|
| surrounding light goes below the level that is determined by the user. |
|
|
|
| OFF MODE Setting | Adjusts the ILLUMINANCE value for OFF MODE. Shows illuminance. |
|
|
|
| LED Brightness | Controls the brightness of the power LED on the monitor. |
|
|
|
| LED Color | The power LED on the front can be blue or green. |
|
|
|
Tag7 | Language | OSD control menus are available in eight languages. Press “Left” or “Right” to select. |
|
|
|
| OSD H.Position | You can choose where you would like the OSD control image to appear on your screen. |
|
| Selecting OSD Location allows you to manually adjust the position of the OSD control |
|
| menu left or right. |
|
|
|
| OSD V.Position | You can choose where you would like the OSD control image to appear on your screen. |
|
| Selecting OSD Location allows you to manually adjust the position of the OSD control |
|
| menu up or down. |
|
|
|
| OSD Turn off | The OSD control menu will stay on as long as it is use. You can select how long the |
|
| monitor waits after the last touch of a button to shut off the OSD control menu. |
|
| The preset choices are |
|
|
|
Page 22
Image 22
