Product Layout
Connecting and Configuring your Router
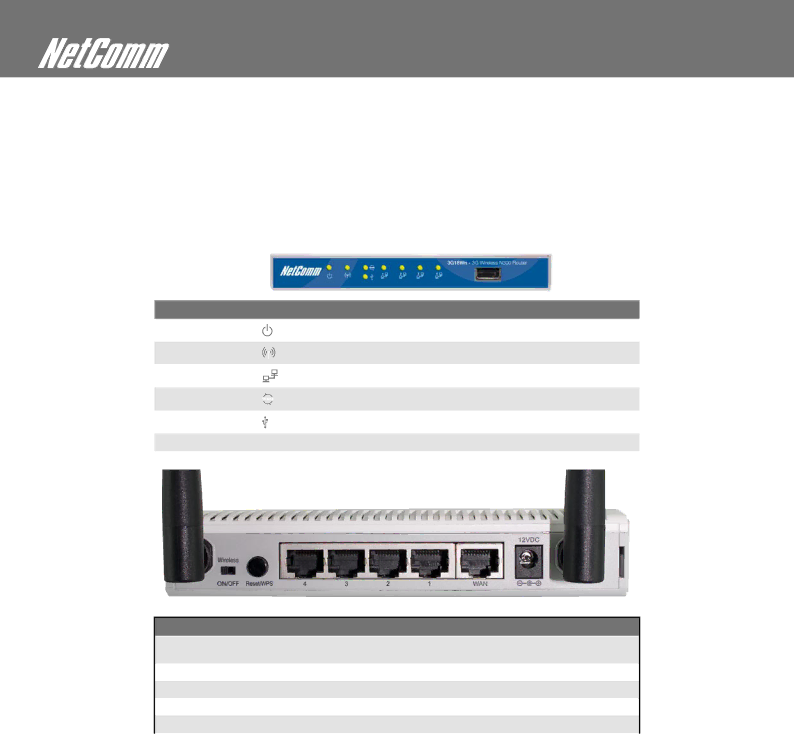
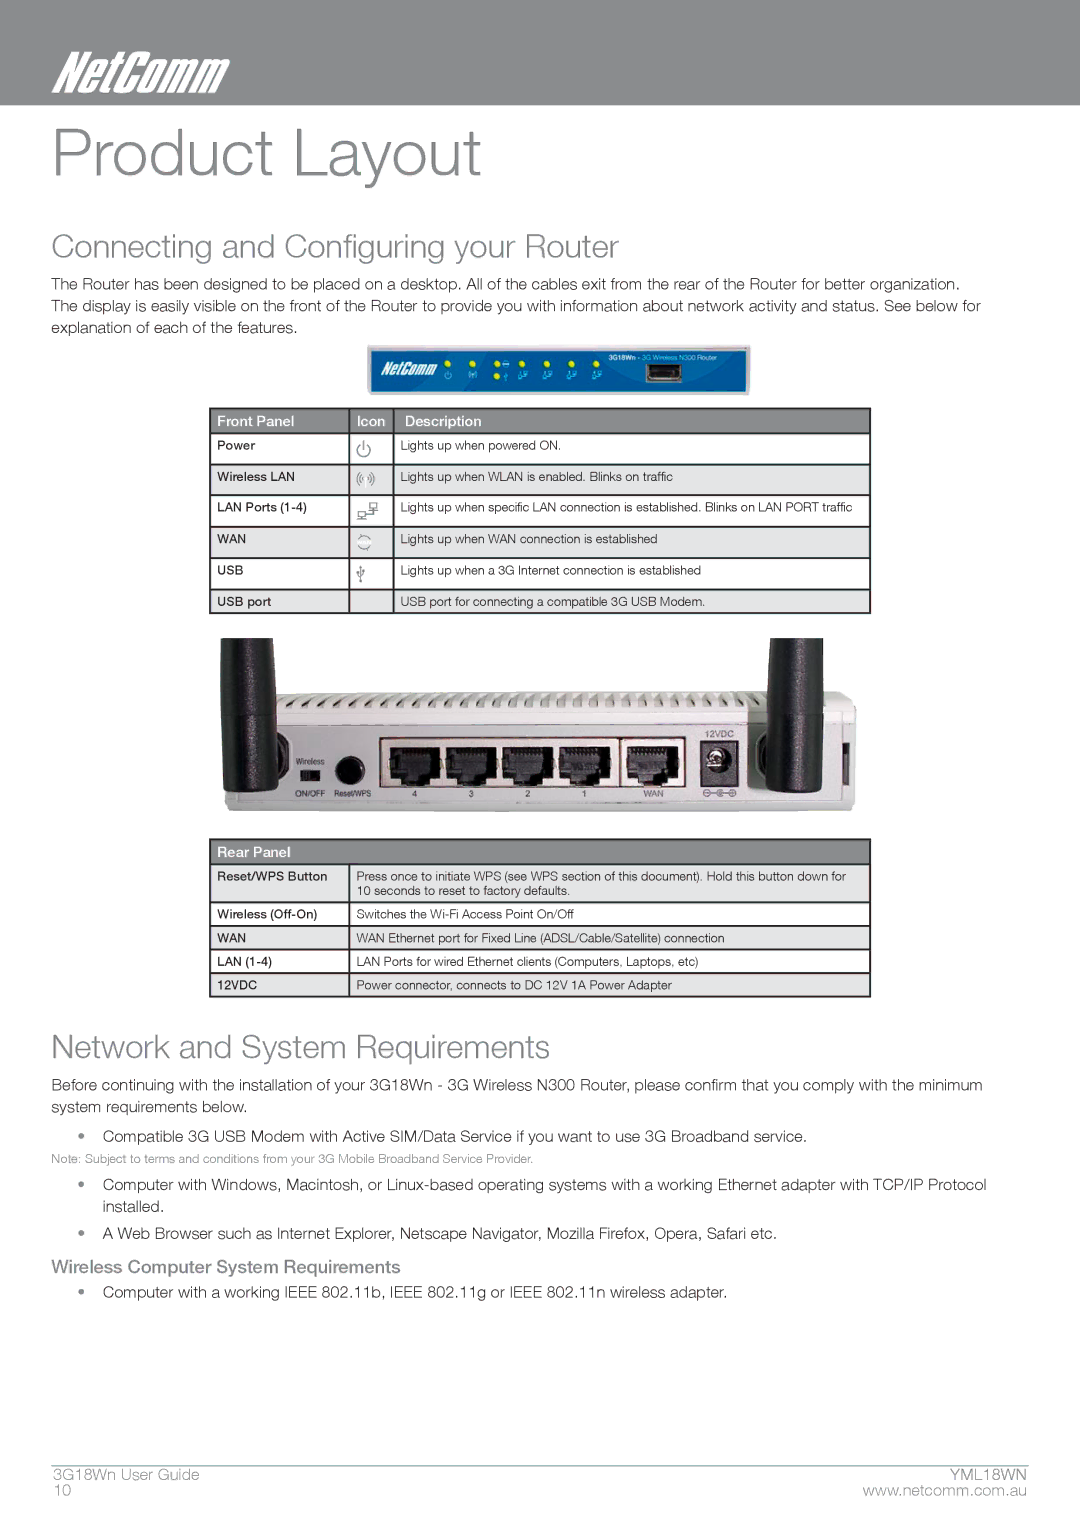
The Router has been designed to be placed on a desktop. All of the cables exit from the rear of the Router for better organization. The display is easily visible on the front of the Router to provide you with information about network activity and status. See below for explanation of each of the features.
Front Panel | Icon | Description |
|
|
|
Power |
| Lights up when powered ON. |
|
|
|
Wireless LAN |
| Lights up when WLAN is enabled. Blinks on traffic |
|
|
|
LAN Ports |
| Lights up when specific LAN connection is established. Blinks on LAN PORT traffic |
|
|
|
WAN |
| Lights up when WAN connection is established |
|
|
|
USB |
| Lights up when a 3G Internet connection is established |
|
|
|
USB port |
| USB port for connecting a compatible 3G USB Modem. |
|
|
|
Rear Panel
Reset/WPS Button | Press once to initiate WPS (see WPS section of this document). Hold this button down for |
| 10 seconds to reset to factory defaults. |
|
|
Wireless | Switches the |
|
|
WAN | WAN Ethernet port for Fixed Line (ADSL/Cable/Satellite) connection |
|
|
LAN | LAN Ports for wired Ethernet clients (Computers, Laptops, etc) |
|
|
12VDC | Power connector, connects to DC 12V 1A Power Adapter |
|
|
Network and System Requirements
Before continuing with the installation of your 3G18Wn - 3G Wireless N300 Router, please confirm that you comply with the minimum system requirements below.
•Compatible 3G USB Modem with Active SIM/Data Service if you want to use 3G Broadband service.
Note: Subject to terms and conditions from your 3G Mobile Broadband Service Provider.
•Computer with Windows, Macintosh, or
•A Web Browser such as Internet Explorer, Netscape Navigator, Mozilla Firefox, Opera, Safari etc.
Wireless Computer System Requirements
•Computer with a working IEEE 802.11b, IEEE 802.11g or IEEE 802.11n wireless adapter.
3g18Wn User Guide | ymYML18WN |
10 | www.netcomm.com.au |
