3 For PCs using Microsoft Windows 98SE/2000/ME/XP only: Insert the Netopia Gateway CD into your PC’s
a)The installation wizard will first ask you to decide whether you want to Add/Remove, View Documentation or Exit. Select Add/Remove and accept the Netopia agreement.
b)The installation wizard will next ask you to decide whether you want to use Ethernet, USB or Wireless. Select Use Wireless.
c)The wizard will now ask for the serial number of the Netopia DSL Gateway
4 The installation wizard will start to install the wireless client and drivers for your wireless adapters.
5 You will be prompted to install your wireless card. At this time, insert your wireless card or USB adapter into your PC.
6 If the Netopia installation wizard detects the required network settings in your PC, it will automatically launch your web browser and you can proceed directly to Section 6: Configuring Microsoft Windows.
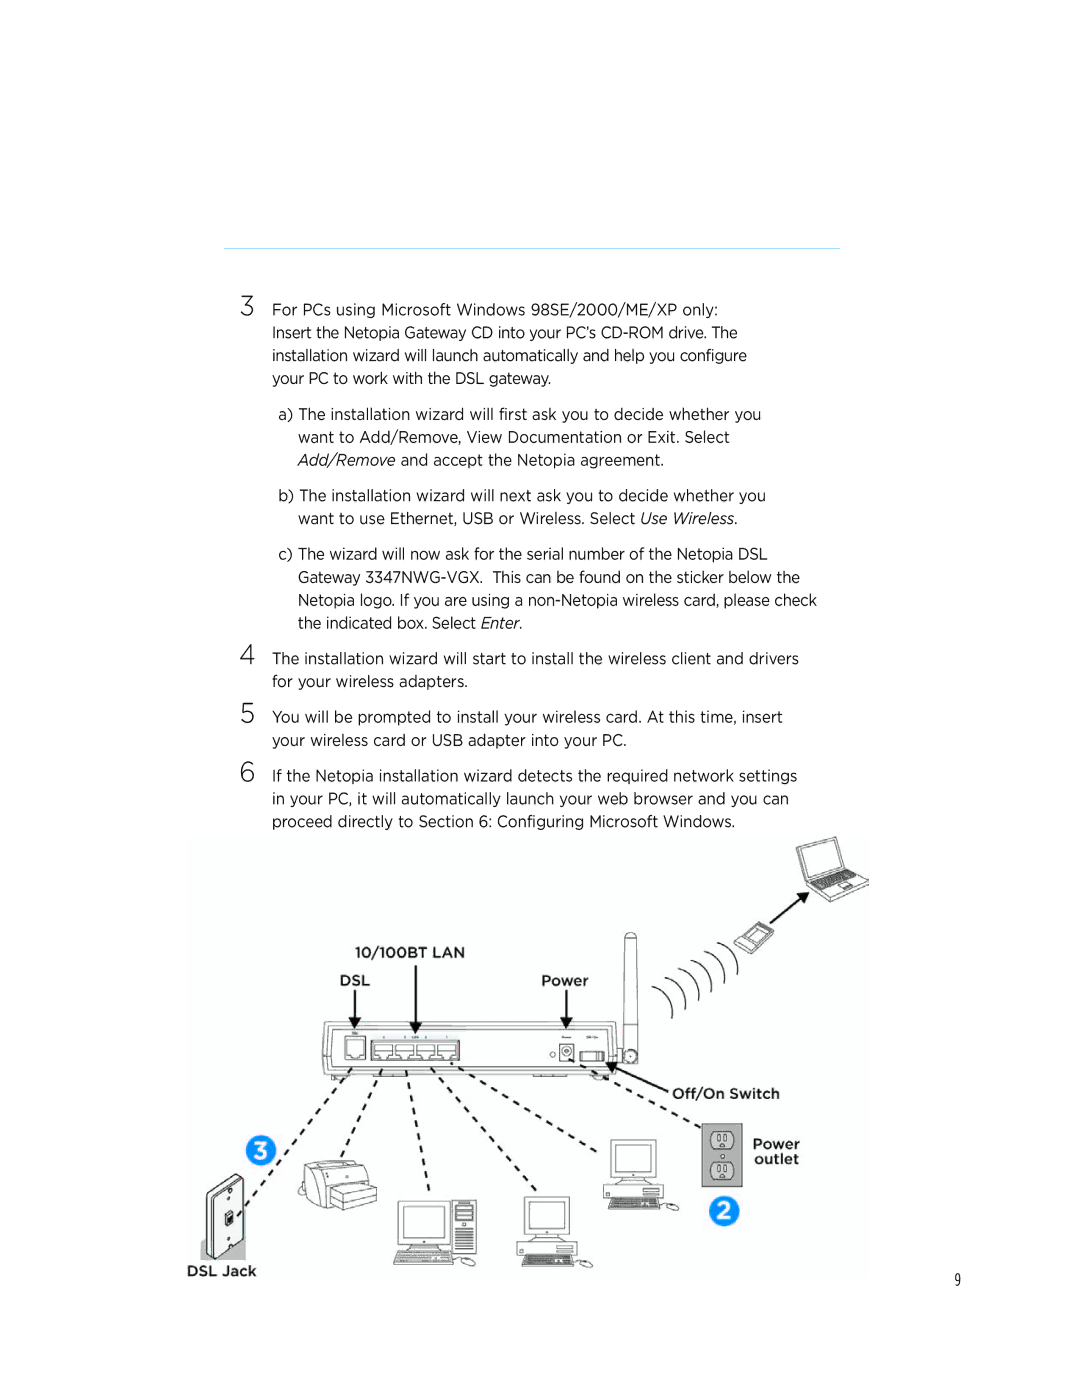
Wireless LAN Connection Example
9