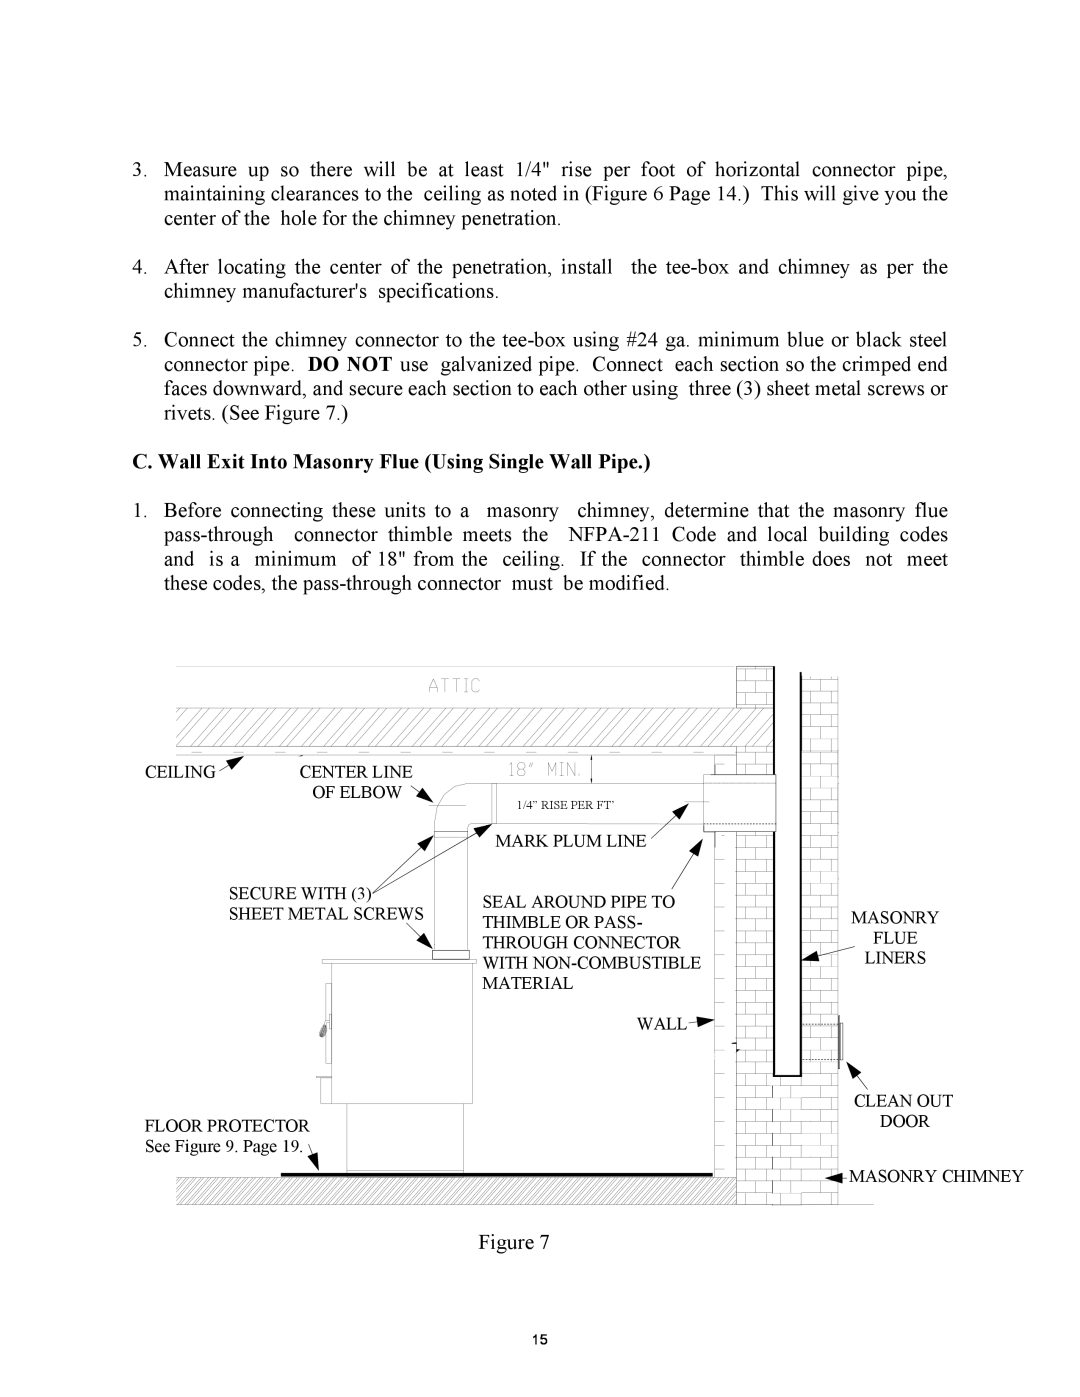
3.Measure up so there will be at least 1/4" rise per foot of horizontal connector pipe, maintaining clearances to the ceiling as noted in (Figure 6 Page 14.) This will give you the center of the hole for the chimney penetration.
4.After locating the center of the penetration, install the
5.Connect the chimney connector to the
C. Wall Exit Into Masonry Flue (Using Single Wall Pipe.)
1.Before connecting these units to a masonry chimney, determine that the masonry flue
CEILING | CENTER LINE |
| OF ELBOW |
| 1/4” RISE PER FT’ |
| MARK PLUM LINE |
| |
SECURE WITH (3) | SEAL AROUND PIPE TO |
| |
SHEET METAL SCREWS | MASONRY | ||
THIMBLE OR PASS- | |||
| THROUGH CONNECTOR | FLUE | |
| WITH | LINERS | |
| MATERIAL |
| |
| WALL |
| |
|
| CLEAN OUT | |
FLOOR PROTECTOR |
| DOOR | |
See Figure 9. Page 19. |
|
| |
|
| MASONRY CHIMNEY |
Figure 7
15