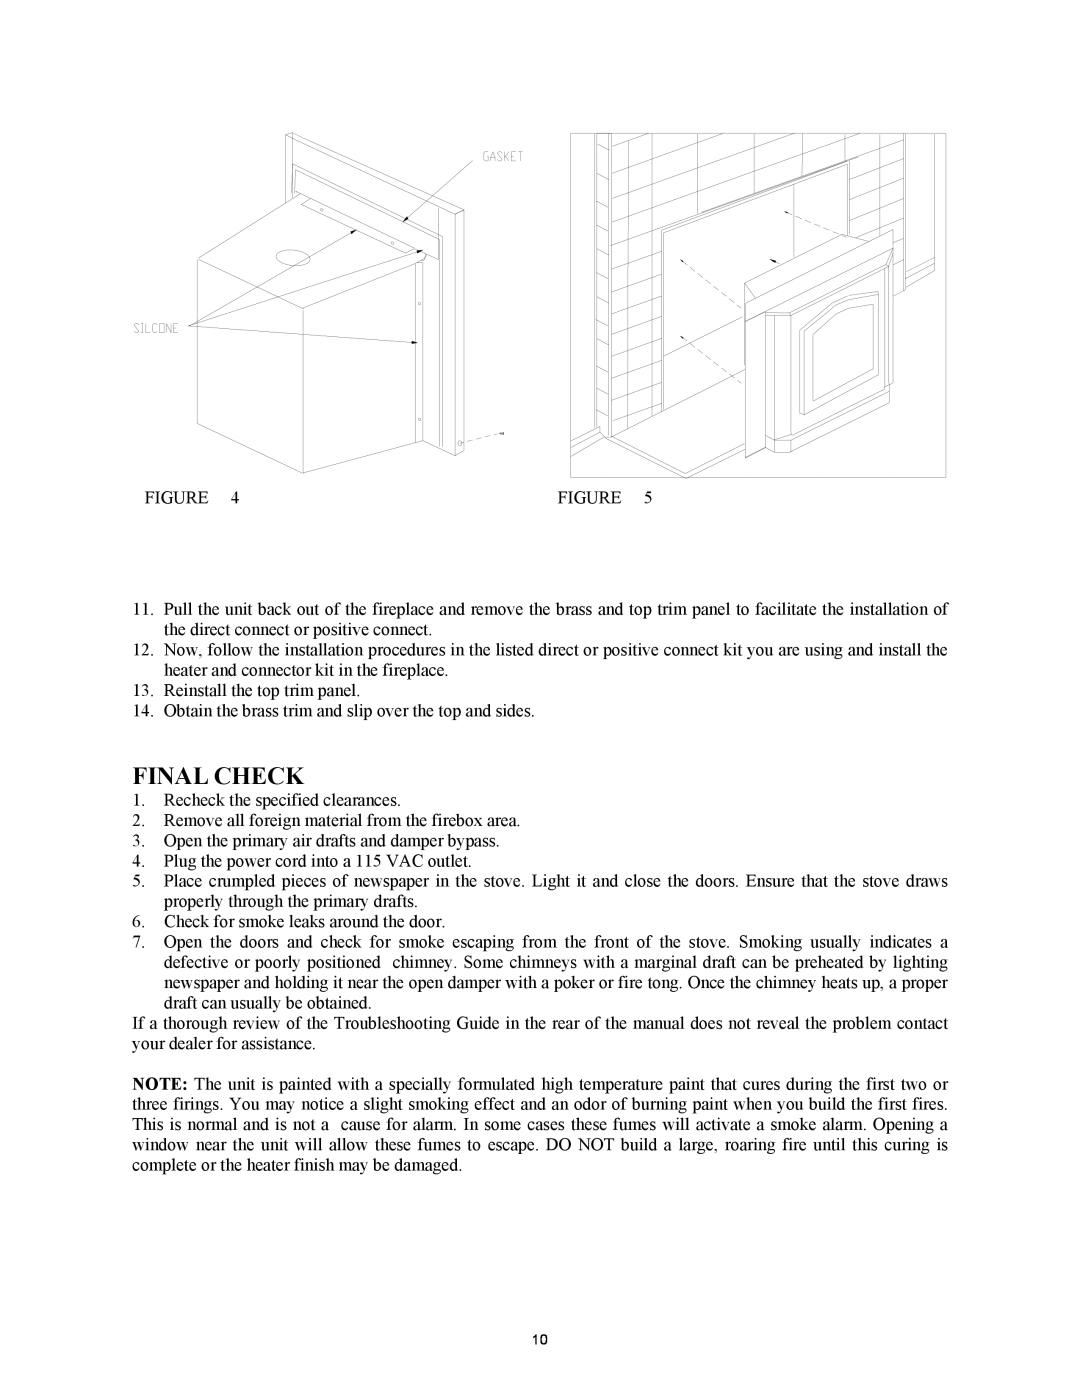
FIGURE | 4 | FIGURE | 5 |
11.Pull the unit back out of the fireplace and remove the brass and top trim panel to facilitate the installation of the direct connect or positive connect.
12.Now, follow the installation procedures in the listed direct or positive connect kit you are using and install the heater and connector kit in the fireplace.
13.Reinstall the top trim panel.
14.Obtain the brass trim and slip over the top and sides.
FINAL CHECK
1.Recheck the specified clearances.
2.Remove all foreign material from the firebox area.
3.Open the primary air drafts and damper bypass.
4.Plug the power cord into a 115 VAC outlet.
5.Place crumpled pieces of newspaper in the stove. Light it and close the doors. Ensure that the stove draws properly through the primary drafts.
6.Check for smoke leaks around the door.
7.Open the doors and check for smoke escaping from the front of the stove. Smoking usually indicates a
defective or poorly positioned chimney. Some chimneys with a marginal draft can be preheated by lighting newspaper and holding it near the open damper with a poker or fire tong. Once the chimney heats up, a proper draft can usually be obtained.
If a thorough review of the Troubleshooting Guide in the rear of the manual does not reveal the problem contact your dealer for assistance.
NOTE: The unit is painted with a specially formulated high temperature paint that cures during the first two or three firings. You may notice a slight smoking effect and an odor of burning paint when you build the first fires. This is normal and is not a cause for alarm. In some cases these fumes will activate a smoke alarm. Opening a window near the unit will allow these fumes to escape. DO NOT build a large, roaring fire until this curing is complete or the heater finish may be damaged.
10