D7000 specifications
The Nikon D7000 is a mid-range digital single-lens reflex (DSLR) camera that has garnered a reputation for its impressive blend of features and user-friendly design. Released in 2010, the D7000 marked a significant step forward for Nikon, appealing to both amateur photographers and enthusiasts seeking a robust and versatile camera.At the heart of the D7000 is a 16.2-megapixel APS-C (DX) CMOS sensor that delivers sharp, high-resolution images with rich colors and stunning detail. Coupled with Nikon's EXPEED 2 image processing engine, the camera excels in low-light performance, allowing photographers to shoot at sensitivities ranging from ISO 100 to ISO 6400, expandable to ISO 25600. This flexibility empowers users to capture clean images even in challenging lighting situations.
The autofocus system of the D7000 is another highlight, featuring a 39-point AF system with nine cross-type sensors. This advanced system ensures fast and accurate focus, making it suitable for a variety of shooting scenarios, from portraits to fast-action sports photography. The camera also includes full HD video recording capabilities at 1080p, with options for frame rates of 24, 25, and 30 frames per second, providing videographers with quality and flexibility.
The D7000's build quality is robust, with a magnesium alloy body designed to withstand the rigors of regular use. It is weather-sealed to protect against dust and moisture, making it a reliable choice for outdoor shooting. The camera features a 3-inch LCD screen with a resolution of 921,000 dots, allowing for high-clarity image review and menu navigation. The 100% viewfinder coverage gives a true-to-life perspective when composing shots.
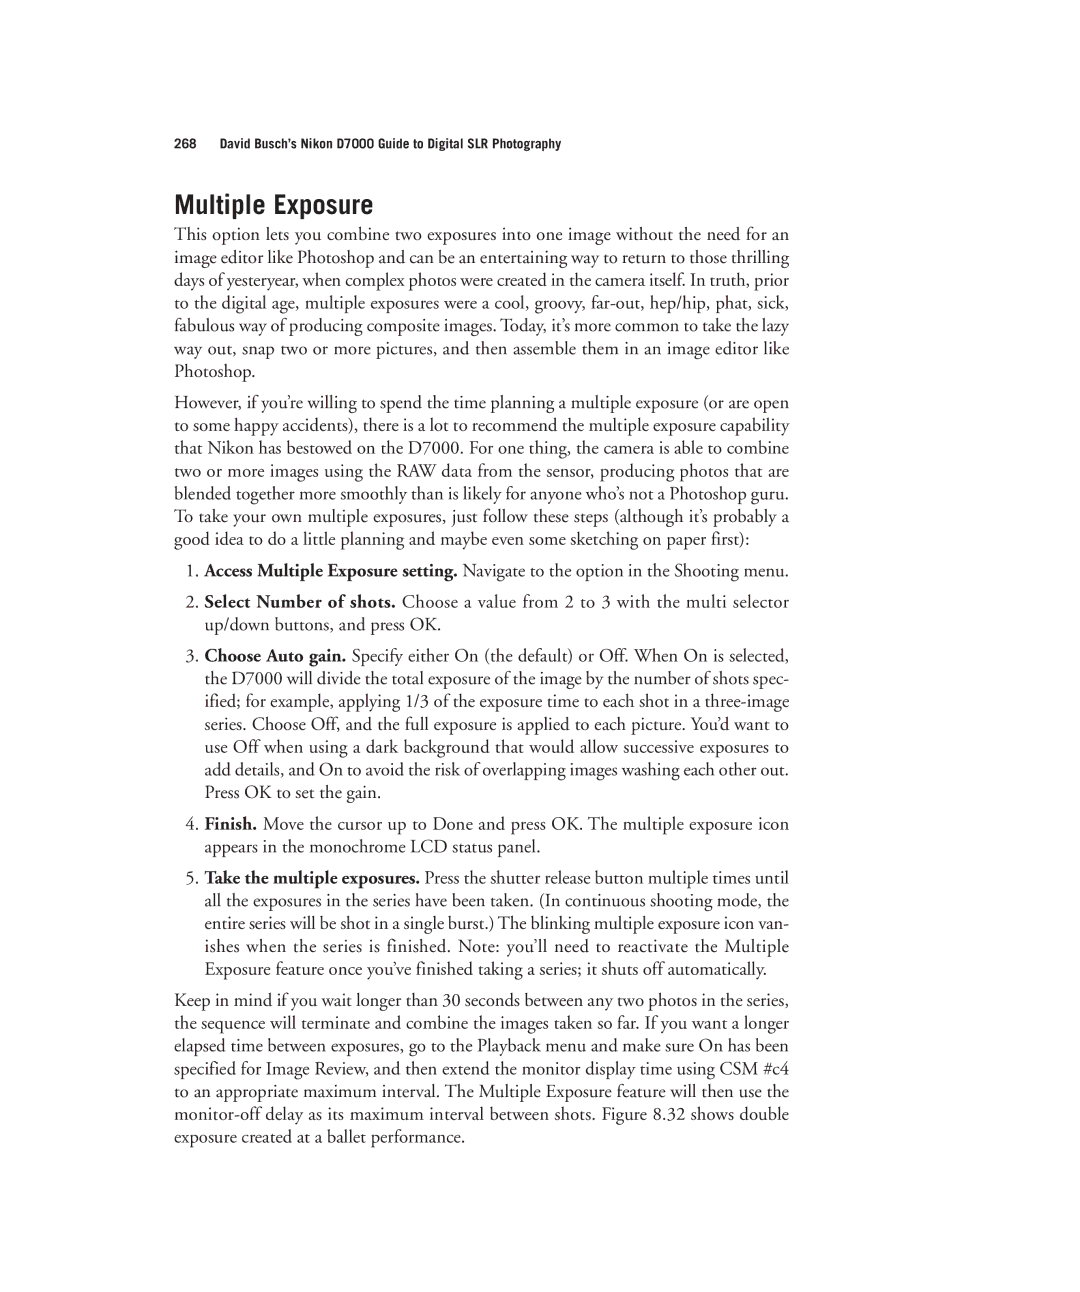
Additional features include in-camera HDR, multiple exposure capabilities, and a comprehensive set of scene modes that assist users in achieving the best results in various conditions. The D7000 is also equipped with dual memory card slots, supporting both SD and SDHC formats for ample storage and backup options.
With its combination of high-quality imaging, advanced autofocus, robust build, and versatile features, the Nikon D7000 stands out as a powerful tool for photographers looking to elevate their craft.
