38 Chapter 3 Instant Internet 400 hardware installation
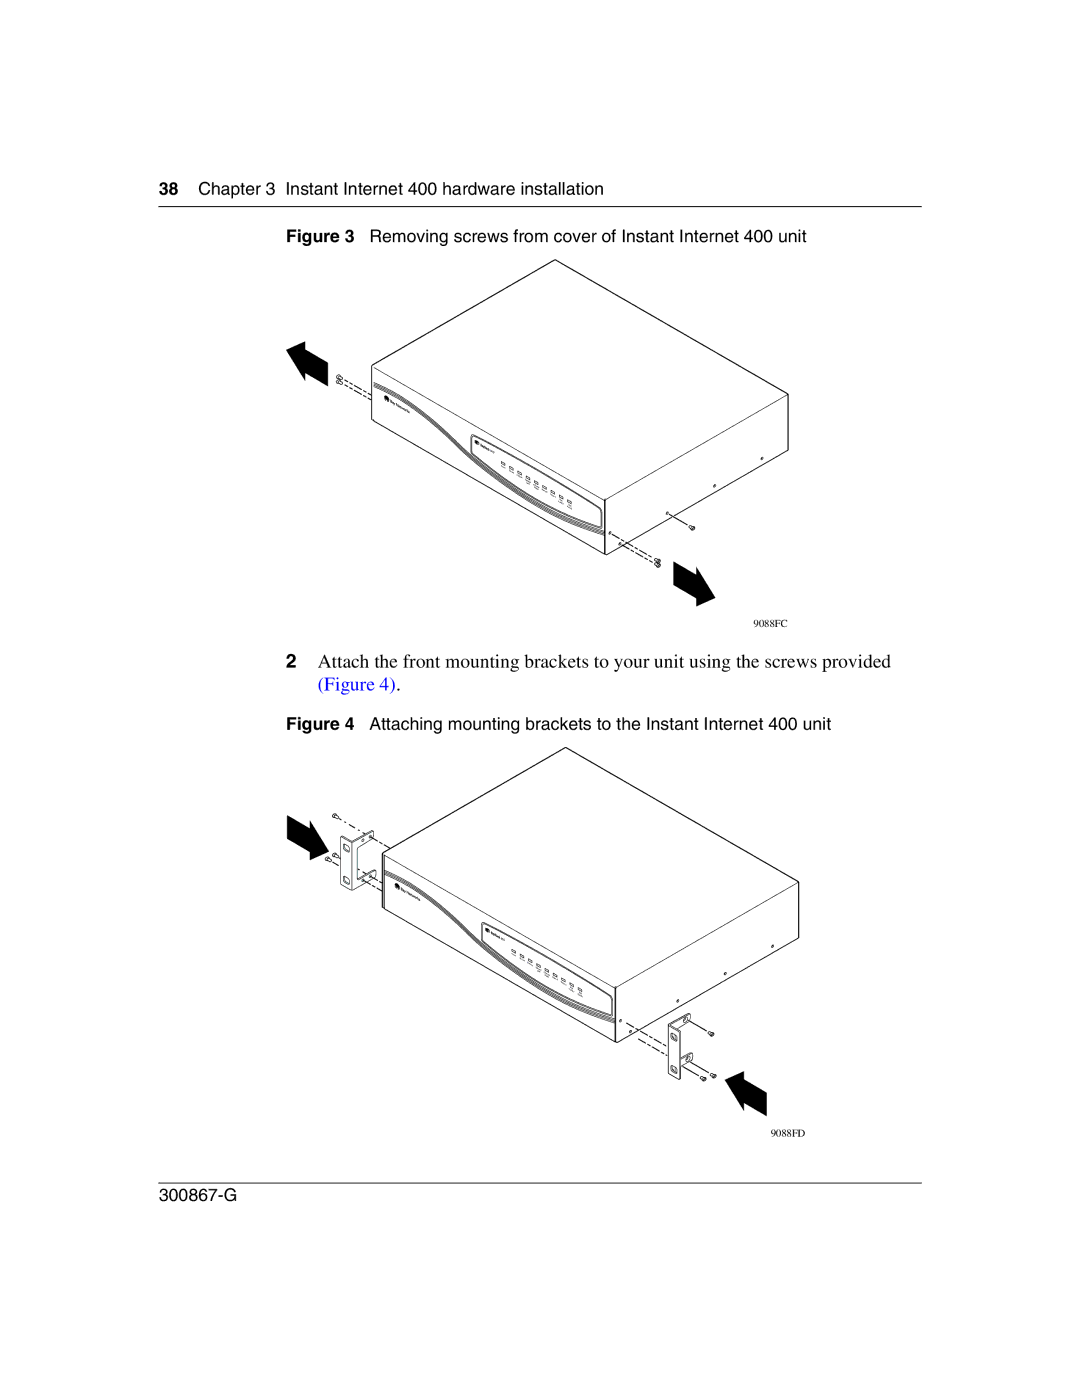
Figure 3 Removing screws from cover of Instant Internet 400 unit
![]() 910
910
Power
On | Line |
Status A
Ethernet |
|
|
LAN | Ethernet |
|
|
| |
| Router | Status B |
Status C
Web |
|
Activity | Disk |
| Activity |
9088FC
2Attach the front mounting brackets to your unit using the screws provided (Figure 4).
Figure 4 Attaching mounting brackets to the Instant Internet 400 unit
![]() 910
910
Power
On | Line |
Status A
Ethernet |
|
|
LAN | Ethernet |
|
| Router | Status B |
Status C
Web |
|
Activity | Disk |
| Activity |
9088FD