| Assembly (continued) |
1. Preparatory safety | Preparatory safety steps: |
| • ALWAYS use eye protection |
| • NEVER smoke or work near sparks or other sources of ignition. |
| • NEVER touch both battery terminals at the same time or with any non- |
| insulated tools. |
| • If battery acid contacts skin or clothing, flush immediately with water and |
| neutralize with baking soda. |
2. Connect remote | Connect the sprayer’s remote switch to the vehicle battery using the |
switch to battery | following procedure: |
| a) Disconnect the vehicle battery ground wire. |
| b) Connect the remote switch’s red battery clamp to the positive(+) terminal |
| of the battery. |
| c) Connect the remote switch’s black battery clamp to the |
| of the battery. |
| d) Reconnect the vehicle battery ground wire. |
| WARNING: Always connect in this sequence to avoid possible shock. |
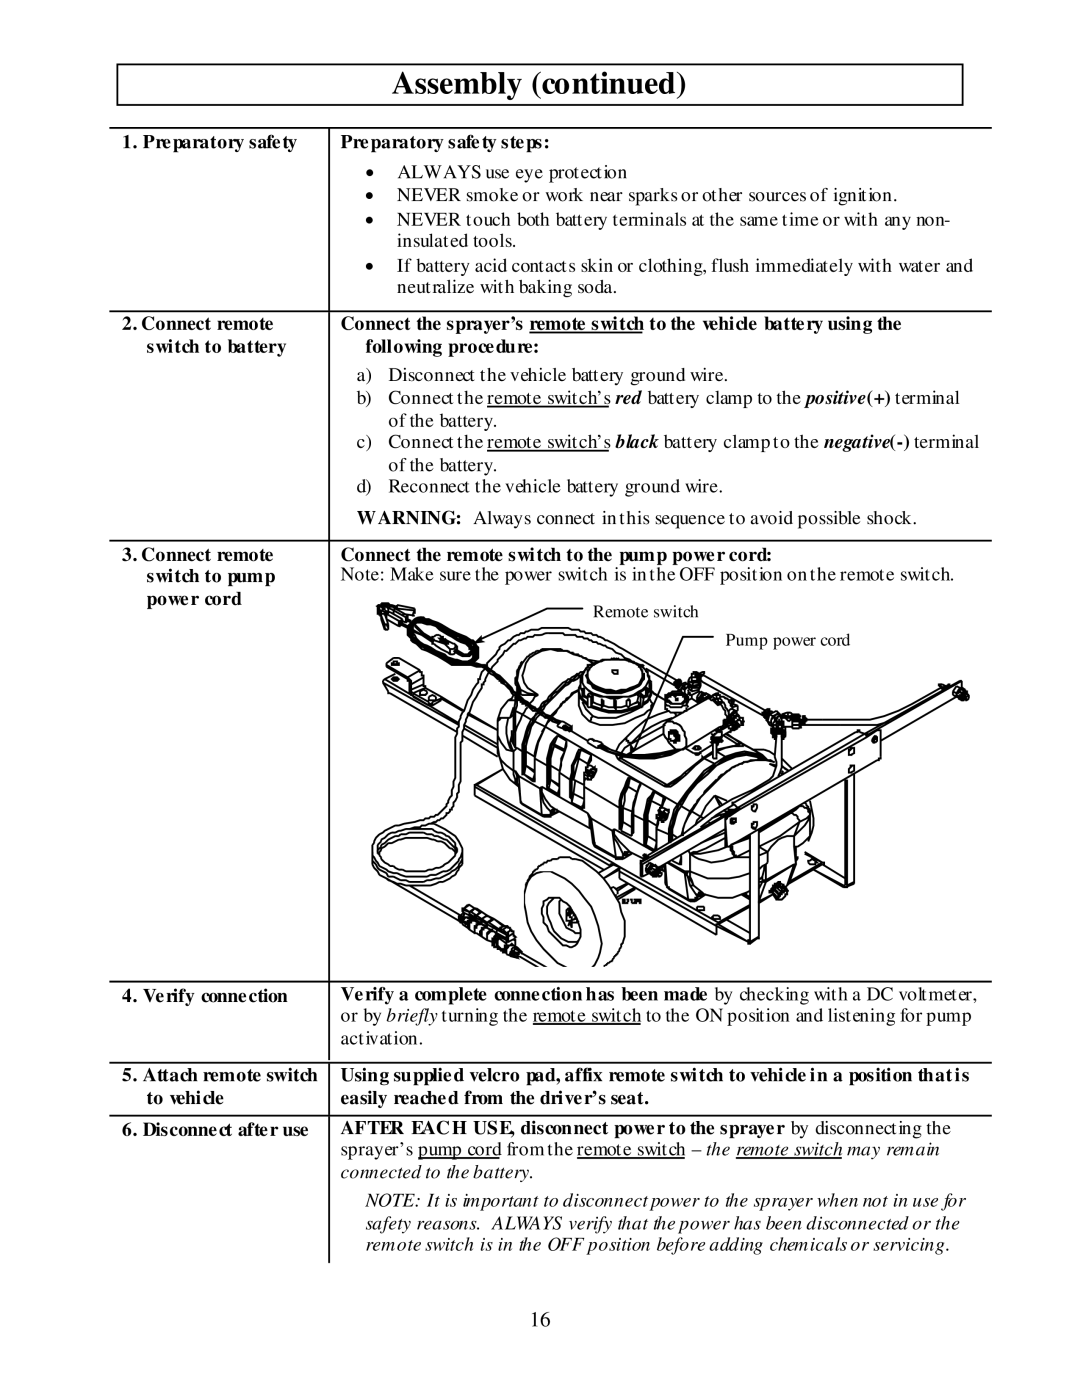
3. Connect remote | Connect the remote switch to the pump power cord: |
switch to pump | Note: Make sure the power switch is in the OFF position on the remote switch. |
power cord | Remote switch |
| |
| Pump power cord |
4. Verify connection
Verify a complete connection has been made by checking with a DC voltmeter, or by briefly turning the remote switch to the ON position and listening for pump activation.
5. | Attach remote switch | Using supplied velcro pad, affix remote switch to vehicle in a position that is |
| to vehicle | easily reached from the driver’s seat. |
|
|
|
6. | Disconnect after use | AFTER EACH USE, disconnect power to the sprayer by disconnecting the |
|
| sprayer’s pump cord from the remote switch – the remote switch may remain |
|
| connected to the battery. |
|
| NOTE: It is important to disconnect power to the sprayer when not in use for |
|
| safety reasons. ALWAYS verify that the power has been disconnected or the |
|
| remote switch is in the OFF position before adding chemicals or servicing. |
|
|
|
16
