8 Begin installation of the Desktop Document Manager (This step will start if it was selected in step 4).
1After confirming the message in the "Welcome to Desktop Document Manager installation" window, click the "Next" button.
2Read the message in the "Information" window, and then click the "Next" button.
3When the "Choose Destination Location" window appears, click the "Next" button.
4When the "Select Program Folder" window appears, click the "Next" button.
The setup program will start to copy the files.
If the dialog box asking "This program is about |
|
|
|
Desktop Imaging Setup |
|
| |
to install Desktop Imaging, which does not |
|
|
|
support LZW compression." appears, answer |
|
|
|
|
| Desktop Imaging, | |
the question to continue the Desktop |
|
|
|
Document Manager installation. |
|
|
|
5Click the "Finish" button when the message
to inform you of the completion of the installation appears.
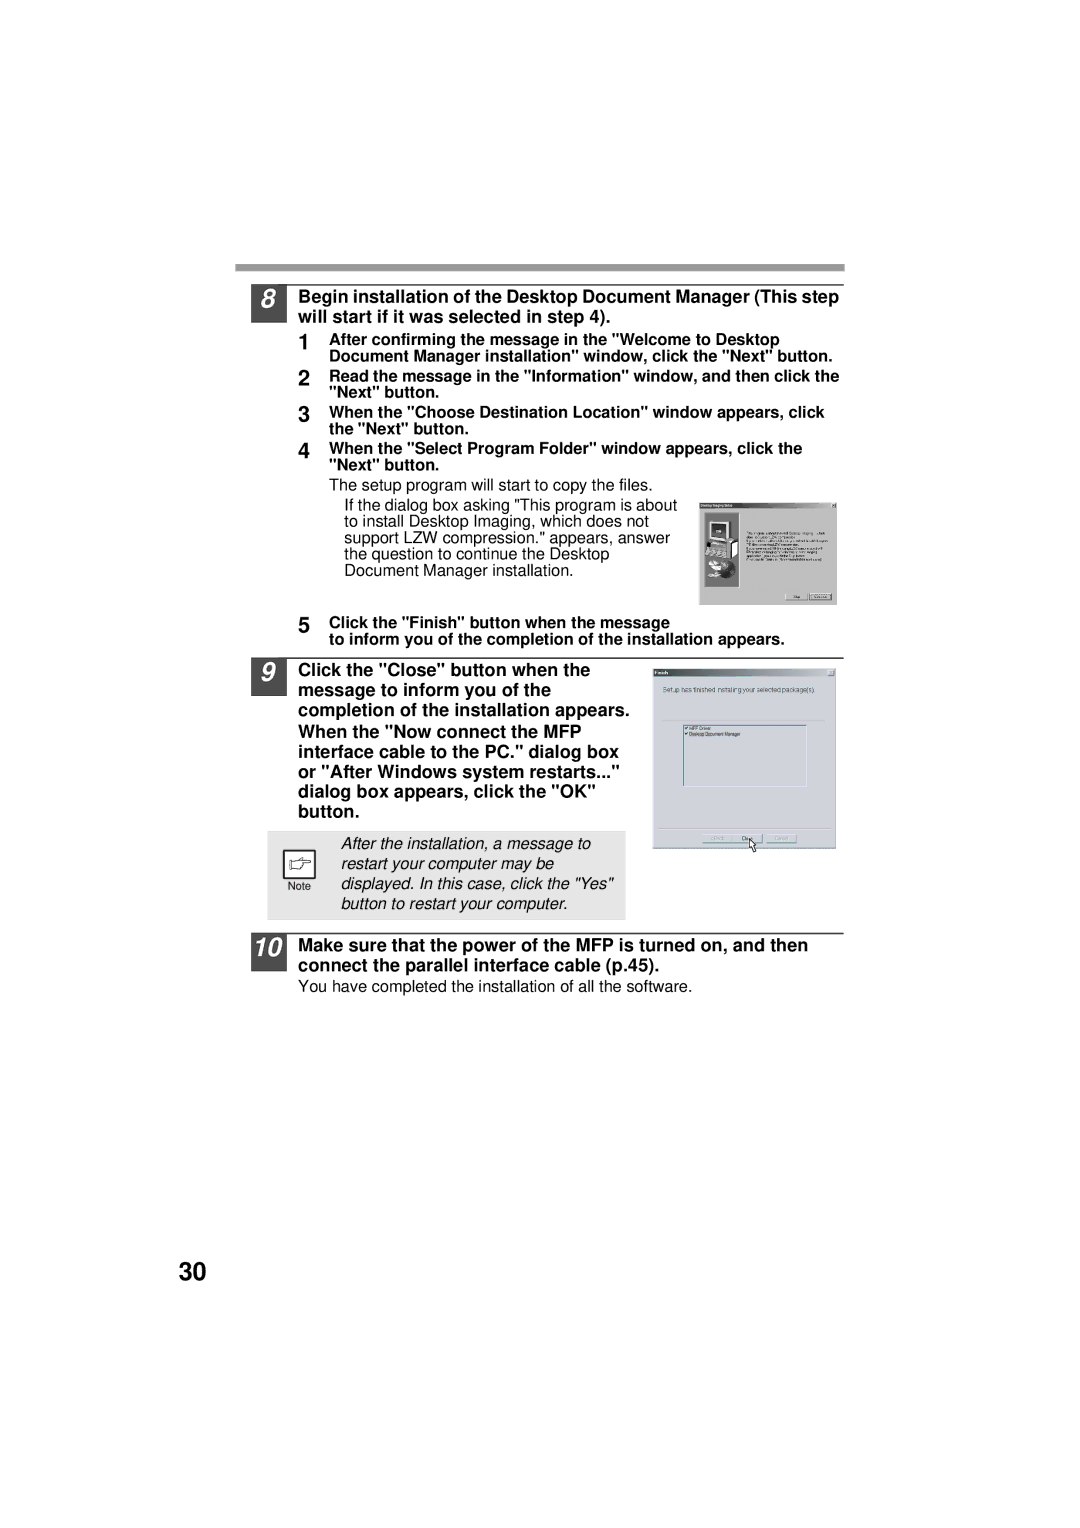
9 Click the "Close" button when the
message to inform you of the completion of the installation appears. When the "Now connect the MFP interface cable to the PC." dialog box or "After Windows system restarts..." dialog box appears, click the "OK" button.
After the installation, a message to restart your computer may be displayed. In this case, click the "Yes" button to restart your computer.
Desktop Document Manager
10 Make sure that the power of the MFP is turned on, and then connect the parallel interface cable (p.45).
You have completed the installation of all the software.
30