Recording
Overwrite Recording
You can overwrite a previously recorded file from any point within the file. Note that the overwritten recording will be erased.
Recording
3
![]() 4,6
4,6![]()
1
PLAY | |
STOP | INDEX |
| |
FOLDER |
|
/MENU | ERASE |
| |
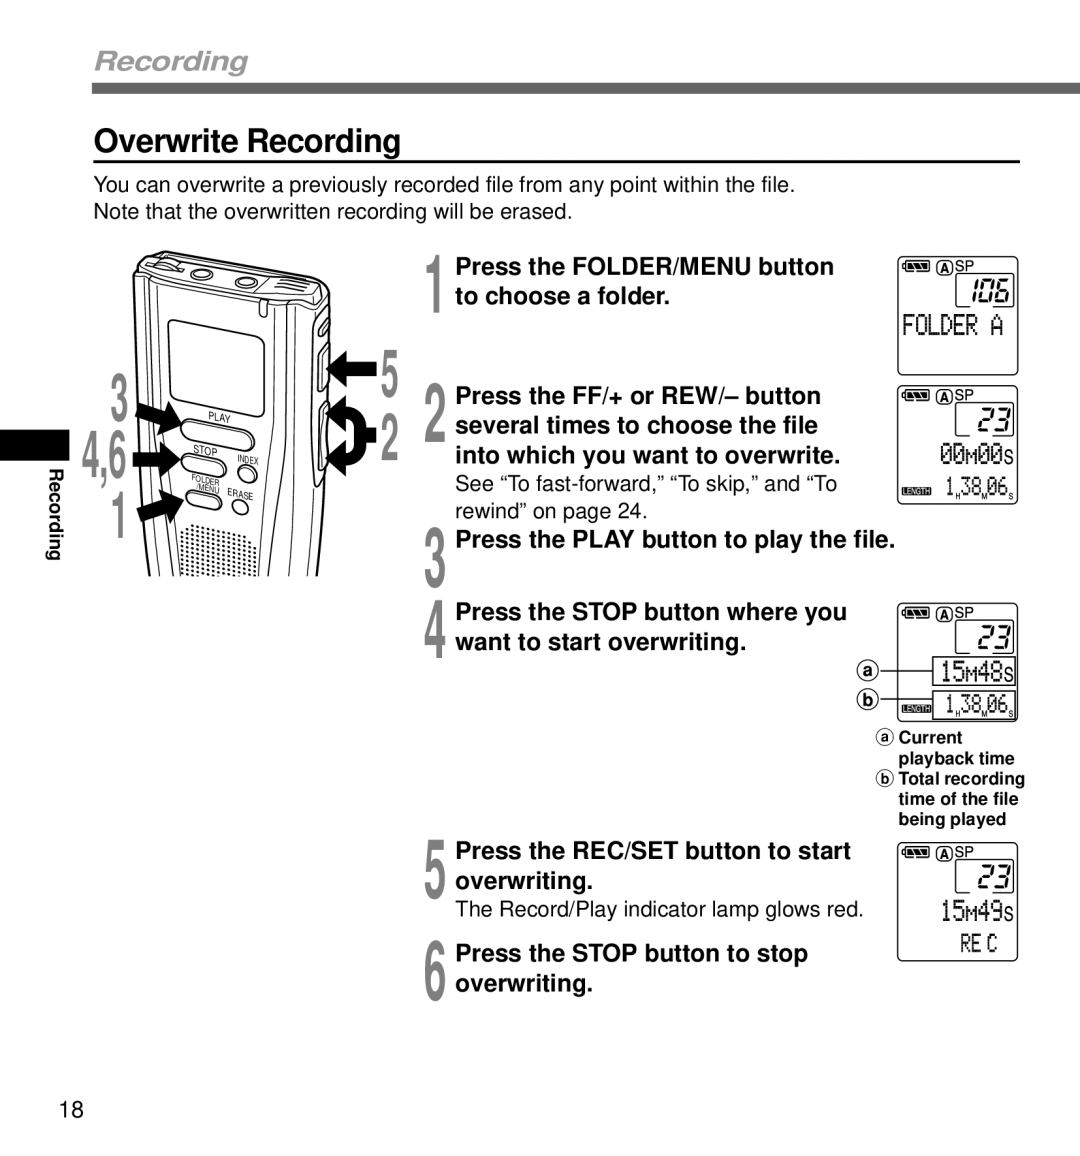
| Press the FOLDER/MENU button |
| 1 to choose a folder. |
5 | Press the FF/+ or REW/– button |
2 | several times to choose the file |
2 into which you want to overwrite. |
See “To
3 Press the PLAY button to play the file.
4 Press the STOP button where you want to start overwriting.
5
6
aCurrent playback time
bTotal recording time of the file being played
Press the REC/SET button to start overwriting.
The Record/Play indicator lamp glows red.
Press the STOP button to stop overwriting.
18