CR-505 specifications
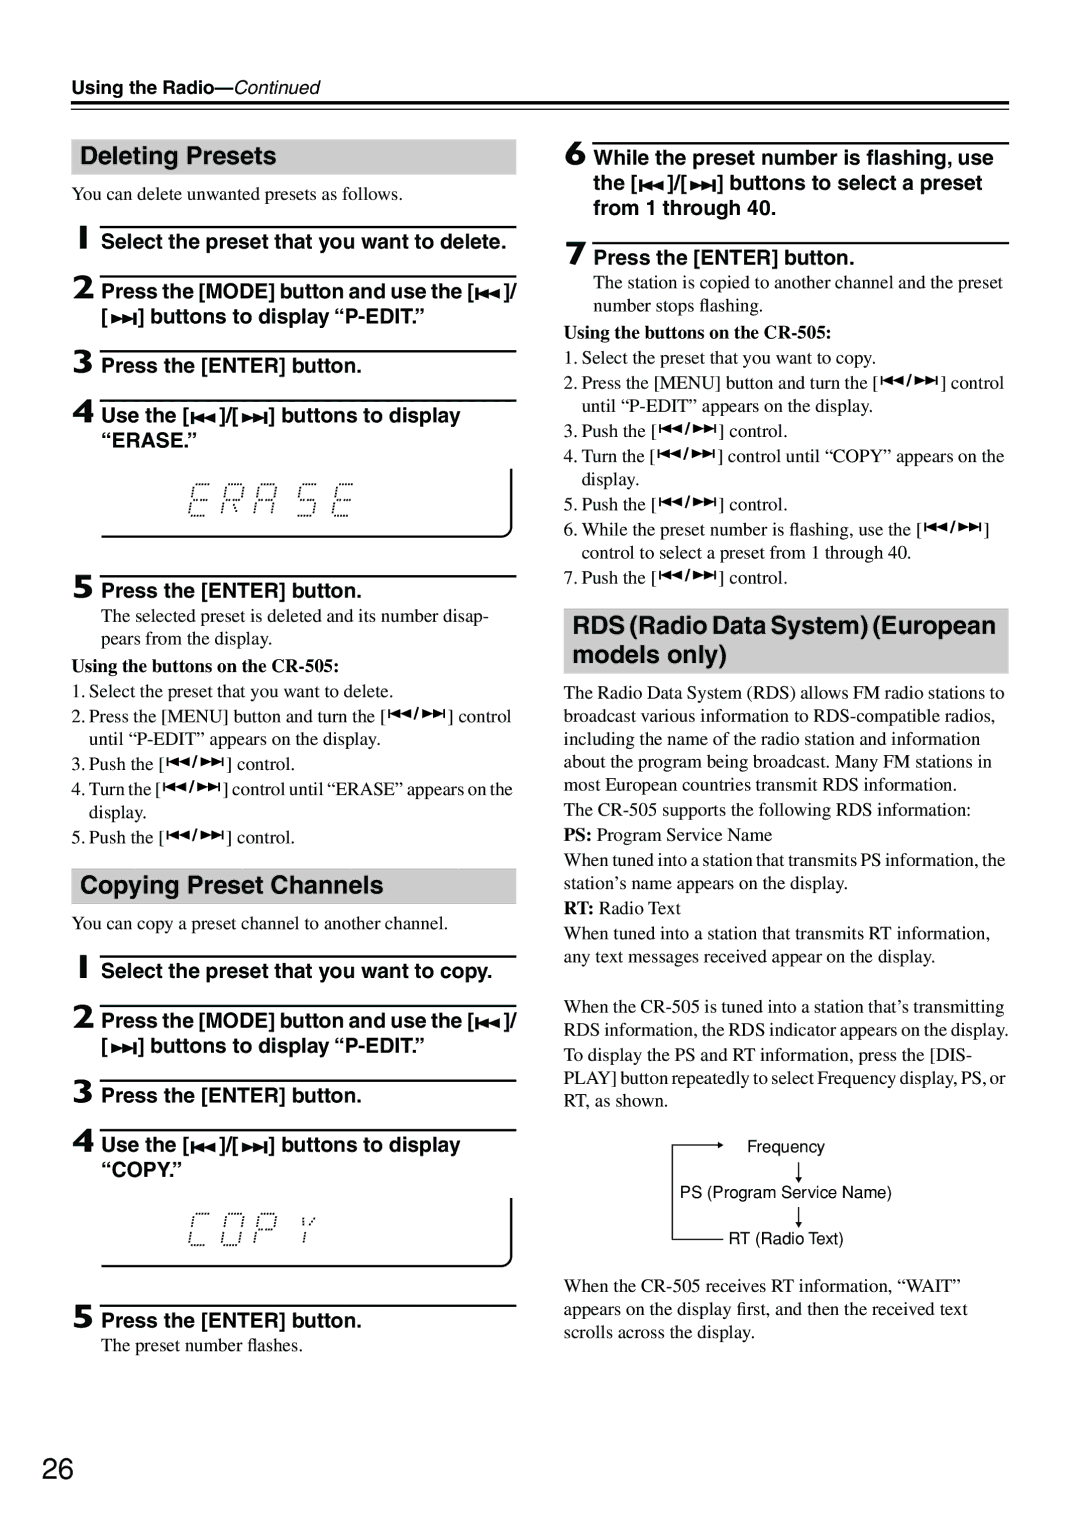
The Onkyo CR-505 is a compact and versatile integrated stereo receiver, designed to deliver high-quality audio performance while providing a range of functionalities for music enthusiasts. This model exemplifies Onkyo’s commitment to audio excellence and user convenience, making it a popular choice for those who appreciate both form and function in their audio equipment.One of the standout features of the Onkyo CR-505 is its robust amplification system, capable of delivering 50 watts per channel. This ensures that listeners can enjoy clear, powerful sound whether they're listening to soft vocals or pounding rock anthems. The receiver includes a variety of audio inputs, allowing listeners to connect multiple devices, including CD players, turntables, and smartphones. The addition of a built-in AM/FM tuner further expands its versatility, enabling users to enjoy their favorite radio stations.
In terms of connectivity, the Onkyo CR-505 integrates both digital and analog inputs. The onboard USB port allows for direct playback from MP3 players or USB drives, while the optical and coaxial digital inputs provide superior sound quality for digital sources. Furthermore, it features a headphone jack for private listening, making it a great option for late-night enjoyment without disturbing others.
The CR-505 is equipped with Onkyo’s Audio Enrichment technology, which enhances sound reproduction. This technology ensures every detail of the audio is preserved, prompting a more immersive listening experience. Additionally, the receiver utilizes solid construction to minimize vibrations, contributing to clearer sound, especially at higher volumes.
Another significant aspect of the Onkyo CR-505 is its user-friendly interface. The layout is intuitive, allowing users to navigate their audio options with ease. The simple remote control facilitates seamless operation from across the room, making it a convenient choice for everyday use.
Aesthetically, the Onkyo CR-505 boasts a sleek and modern design that fits well into any home audio setup. Its compact size makes it an excellent choice for smaller spaces or for those who prefer a minimalistic approach to their audio equipment.
Overall, the Onkyo CR-505 combines style, functionality, and advanced audio technology, making it an ideal solution for anyone looking to elevate their home listening experience. Whether you are an audiophile or just someone who enjoys great sound, the CR-505 is designed to meet diverse musical needs with ease.

