AV Receiver
HT-R980
Instruction Manual
Manuel d’instructions
AVIS
Important Safety Instructions
Modèle pour les Canadien
Precautions
For U.S. models
For Canadian Models
Aiming the Remote Controller
Supplied Accessories
Using the Remote Controller
Installing the Batteries
Turning On & Basic Operations
Contents
Introduction
Connections
Miscellaneous
Features
Amplifier
Processing
jMEMORY button kTUNING MODE button
Front & Rear Panels
Front Panel
cHDMI THRU indicator
b c d ef
Remote Controller
ab c ij f de gh
About Home Theater
Enjoying Home Theater
Speaker Connection Precautions
Connecting the AV Receiver
Connecting Your Speakers
Speaker Configuration
North American models
Connecting the Speaker Cables
European models
Using Dipole Speakers
AV Cables and Jacks
About AV Connections
Connected image with AV components
Audio return channel ARC function
Connecting Your Components with HDMI
How to record the video
Connecting Your Components
Direct Change
Connecting Onkyo uComponents
System On/Auto Power On
Remote Control
Video Connection Formats
Connecting Antenna
Which Connections Should I Use?
Signal Selection
Audio Connection Formats
Turning Off
Turning On/Off the AV Receiver
Turning On
Displaying Source Information
Setting the Display Brightness
Basic Operations
Playing the Connected Component
Selecting Speaker Layout
Using the Sleep Timer
Using the Audio and Video Menus
Muting the AV Receiver
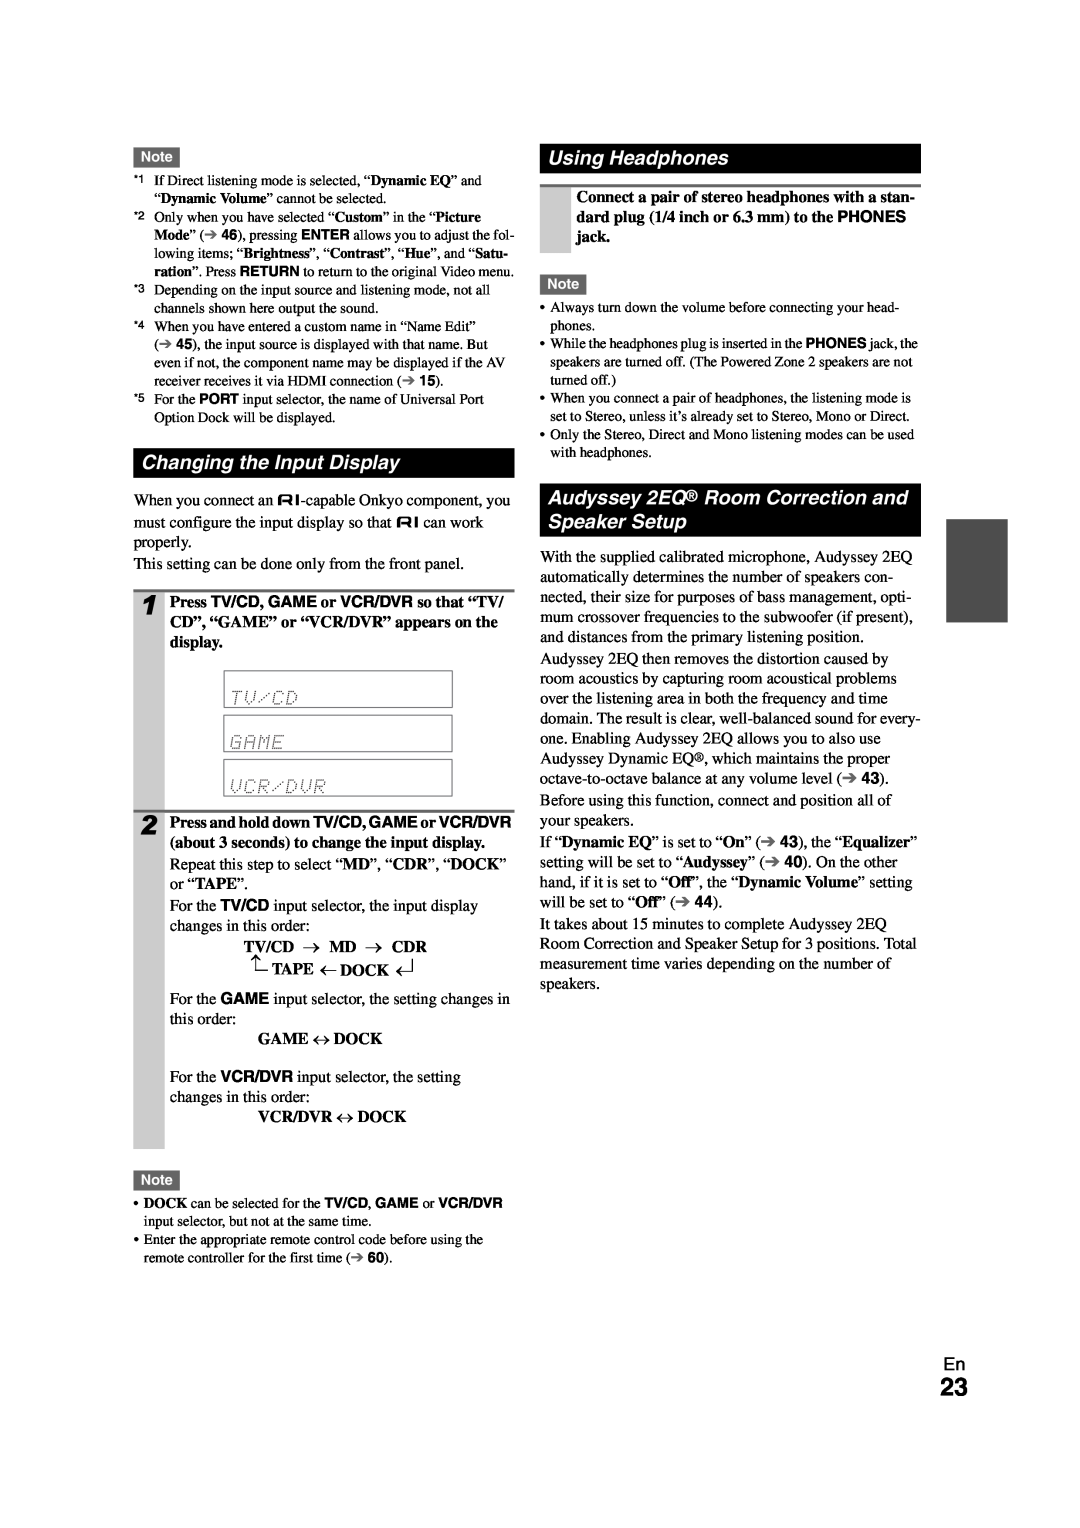
Changing the Input Display
Using Headphones
Audyssey 2EQ Room Correction and Speaker Setup
ENTER
Using Audyssey 2EQ
SETUP MIC jack
ENTER
Error Messages
Changing the Speaker Settings Manually
Using a Powered Subwoofer
Listening to the Radio
Using the Tuner
Tuning into Radio Stations
Listening to the Radio
Deleting Presets
Presetting FM/AM Stations
Using RDS European models
Selecting Presets
ENTER
Finding Stations by Type PTY
Listening to Traffic News TP
ENTER
AV Recording
Connecting a Recording Component
Recording
Recording Separate AV Sources
MOVIE/TV button
Using the Listening Modes
Selecting Listening Modes
Listening Mode Buttons
Input Source
About Listening Modes
Explanatory Notes
de gh
• Dolby PLIIx Movie
Listening Modes
r e c t d i o P P
M o n o e o d i o P P
• Neo:6 Music
• Neo:6 Cinema
• THX I/S Cinema
• THX Cinema
• THX Music
• THX Games
XCN*9
Onkyo-OriginalDSP Listening Modes
CN*9
c 3. Audio Adjust d 4. Source Setup
Advanced Setup
On-screenSetup Menus
Common Procedures in Setup Menu
Resolution
Input/Output Assign
Monitor Out
HDMI Input
`IN1, IN2
Component Video Input
Digital Audio Input
BD/DVD, VCR/DVR, CBL/SAT, GAME, AUX, TV/CD, PORT
Speaker Terminal Assign Front High/Zone2
Speaker Setup
Speaker Settings
Speaker Configuration
Unit
Equalizer Settings
Speaker Distance
Level Calibration
Loudness Plus
THX Audio Setup
Preserve THX Settings
SurrBack Speaker Spacing
Dimension
Audio Adjust
Multiplex/Mono
Dolby
Audyssey
Source Setup
Theater-Dimensional
LFE Level
`Light
Dynamic Volume
About Audyssey Dynamic Volume
`Off
IntelliVolume
IntelliVolume
A/V Sync
Name Edit
Picture Mode*1*2
Picture Adjust
Game Mode
Wide Mode*1*2
Noise Reduction*2
Listening Mode Preset
Film Mode*2
Edge Enhancement*2
Volume Display
Volume Setup
OSD Setup
Miscellaneous
HDMI
Hardware Setup
Remote ID
Tuner
Power Control
Lock Setup
Using the Audio Settings
Tone Control Settings
Music Optimizer
Audyssey Settings
Speaker Levels
Late Night
Audio Selector
Setting the Incoming Digital Signal Fixed Mode
Audio Selector
Zone
Connecting Zone
Connecting Your Zone 2 Speakers to an Amp in Zone
Controlling Zone 2 from the AV receiver
Setting the Powered Zone
Using Zone
Operating with the remote controller
Controlling Zone 2 with the Remote Controller
Adjusting the Volume for Zone
Muting Zone
Controlling iPod
Connecting an Onkyo Dock
Charging Your iPod models Battery
Using the Onkyo Dock
UP-A1Dock
Using Your iPod models Alarm Clock
With the RI Control
Controlling Your iPod
RI Dock
Without the RI Control
Page
ENTER
Preprogrammed Remote Control Codes
Looking up for Remote Control Code
Controlling Other Components
•PORT
Entering Remote Control Codes
REMOTE MODE •BD/DVD
•TV/CD
Controlling a TV
Resetting REMOTE MODE Buttons
Resetting the Remote Controller
Controlling Other Components
j k b
The STANDBY indicator flashes red
Troubleshooting
Power
Audio
Only the center speaker produces sound
There’s no sound with a certain signal format
About DTS signals
Only the front speakers produce sound
The remote controller doesn’t work
Remote Controller
Video
Tuner
Stand-bypower consumption
Recording
Zone
Others
NENT VIDEO OUT
Video Section
Specifications
Amplifier Section
General
About Copyright Protection
About HDMI
Supported Audio Formats
About p-compatiblecomponents
Using an RIHD-compatibleTV, Player, or Recorder
•Power Control: On •TV Control: On
How to connect and setup
1Confirm the connecting and setting
2 Change each item in the “HDMI Setup” as below
Output
Video Resolution Chart
NTSC/PAL
AVIS
Remarques importantes pour votre sécurité
DANGER
Modèle pour les Canadien
Précautions
Modèles pour l’Europe
Déclaration de Conformité
Mise en place des piles
Accessoires fournis
Utilisation de la télécommande
Pointage de la télécommande
Mise sous tension et opérations de base
Commande d’un iPod et d’autres appareils
Table des matères
Branchements
Connexions
Fonctionnalités
Amplificateur
Traitement
pCommande MASTER VOLUME
Panneaux avant et arrière
Panneau avant
kBouton TUNING MODE lBouton DISPLAY
Panneau arrière
Écran
Commandes de l’Ampli-tunerAV
Télécommande
ab c ij f de gh
À propos du Home-Cinéma
Vivez une expérience cinématographique à domicile
Branchement de vos enceintes
Configuration des enceintes
Branchement de l’Ampli-tunerAV
Modèles pour l’Amérique du Nord
Branchement des câbles d’enceinte
Modèles pour l’Europe
Utilisation d’enceintes dipolaires
Câbles et prises AV
À propos des branchements audiovisuels
Image connectée avec un appareil audiovisuel
Fonction de canal audio de retour ARC
Comment enregistrer des données vidéo
Raccordement de vos éléments
Changement direct
Raccordement d’appareils Onkyo u
Télécommande
Mise en marche du système/Allumage automatique
Formats de connexion vidéo
Raccordement de l’antenne
Quelles connexions dois-jeutiliser ?
Sélection du signal
Formats de connexion audio
Mise hors tension
Mise sous/hors tension de l’Ampli-tunerAV
Mise sous tension
Réglage de la luminosité de l’afficheur
Opérations de base
Lecture depuis l’appareil raccordé
Affichage des informations relatives à la source
VIDEO
Activation du mode sourdine de l’Ampli-tunerAV
Sélection de la disposition des enceintes
Utilisation des menus audio et vidéo
TV/CD → MD → CDR
Modification de l’affichage de l’entrée
Utilisation d’un casque
«CDR », « DOCK » ou « TAPE »
À l’aide de Audyssey 2EQ
Utilisation d’un subwoofer caisson de basses
Messages d’erreur
Modification manuelle des réglages des enceintes
Recherche de stations de radio
Écoute de la radio
Utilisation du tuner
Écoute de la radio
Suppression d’une station préréglée
Préréglage de stations de radio FM/AM
Utilisation du RDS Modèles pour l’Europe
Sélection de stations préréglées
Types de programmes RDS PTY
Recherche de stations par type PTY
Enregistrement AV
Enregistrement
Branchement d’un appareil d’enregistrement
Enregistrement de sources AV différentes
Bouton MOVIE/TV
Utilisation des modes d’écoute
Sélection des modes d’écoute
Boutons des Modes d’écoute
Disposition des enceintes
À propos des modes d’écoute
Notes explicatives
Source d’entrée
• Dolby PLIIx Movie
Modes d’écoute
r e c t d i o P P
M o n o e o d i o P P
• Neo:6 Music
toute information complémentaire
• Neo:6 Cinema
et THX Cinema/Music/Games
• THX Cinema
THX Music
• THX Games
Remarque
Modes d’écoute DSP exclusifs d’Onkyo
e 5. Listening Mode Preset f 6. Miscellaneous
Configuration avancée
Menus de configuration OSD
c 3. Audio Adjust d 4. Source Setup
Monitor Out
Resolution
Input/Output Assign
Notes explicatives
BD/DVD, VCR/DVR, CBL/SAT, GAME, AUX, TV/CD, PORT
Component Video Input
Digital Audio Input
«BD/DVD »
Speaker Terminal Assign Front High/Zone2
Speaker Setup
Speaker Settings
Speaker Configuration
Unit
Equalizer Settings
Speaker Distance
Level Calibration
`< 1ft < 0.3m
THX Audio Setup
Preserve THX Settings
SurrBack Speaker Spacing
Dolby
Audio Adjust
Dimension
Multiplex/Mono
Audyssey
Source Setup
Theater-Dimensional
LFE Level
`Light
Dynamic Volume
À propos de Audyssey Dynamic Volume
`Off
Name Edit
IntelliVolume
IntelliVolume
A/V Sync
Picture Mode*1*2
Picture Adjust
Game Mode
Wide Mode*1*2
Noise Reduction*2
Listening Mode Preset
Film Mode*2
Edge Enhancement*2
Maximum Volume
Volume Setup
OSD Setup
Volume Display
HDMI
Hardware Setup
Remote ID
Tuner
Power Control
Réglages de commande de la tonalité
Utilisation des réglages audio
Lock Setup
Late Night
Niveau sonore des enceintes
Audyssey Settings
Dynamic EQ Dynamic Volume
`ARC
Réglage du signal numérique entrant Fixed Mode
Sélecteur audio
Audio Selector
Zone
Connexion de la Zone
54 Installation
Installation
ENTER
Paramétrage de la Zone 2 amplifiée
Utilisation de la Zone
Contrôle de la Zone 2 à partir du Ampli- tuner AV
Utilisation à l’aide de la télécommande
Contrôle de la Zone 2 à l’aide de la télécommande
Réglage du volume de la Zone
Activation du mode sourdine dans la Zone
Raccordement d’une station d’accueil Onkyo
Commande de l’iPod
Remarques concernant le fonctionnement
Utilisation de la station d’accueil Onkyo
Station d’accueil UP-A1
Fonctionnement de base
Station d’accueil RI
Commande de votre iPod
Sans la commande RI
Avec la commande RI
4 Mode reprise
Mode standard
Mode Étendu musique
Mode Étendu vidéo
RECEIVER, puis SETUP
Commande d’autres appareils
Codes de télécommande préprogrammés
Recherche d’un code de télécommande
•PORT
Saisie des codes de télécommande préprogrammés
REMOTE MODE •BD/DVD
•TV/CD
Réinitialisation des boutons de REMOTE MODE
Réinitialisation de la télécommande
Commande d’autres appareils
Commande d’un téléviseur
Appareils
L’Ampli-tunerAV ne s’allume pas
Dépannage
Alimentation
Audio
Le subwoofer ne reproduit aucun son
Seuls les enceintes avant reproduisent un son
Seule l’enceinte centrale reproduit un son
L’enceinte centrale ne reproduit aucun son
Il est impossible de commander d’autres appareils
Télécommande
Vidéo
La télécommande ne fonctionne pas
Impossible d’enregistrer
Enregistrement
Autres problèmes
Zone
MONITOR OUT
Section vidéo
Caractéristiques techniques
Section amplificateur
Généralités
À propos de la protection des droits d’auteur
À propos de l’interface HDMI
Formats audio pris en charge
Pour les téléviseurs compatibles p
À propos des appareils compatibles p
Lecteurs/enregistreurs
Opérations réalisables avec un branchement p
1 Vérifiez la connexion et le réglage
4 Utilisation à l’aide de la télécommande
•Power Control : On •TV Control : On
Comment procéder à la connexion et au réglage
Tableau des résolutions vidéo
Mémo
Mémo
ONKYO EUROPE ELECTRONICS GmbH UK BRANCH
2 9 4 0 0 4 8
ONKYO U.S.A. CORPORATION
ONKYO EUROPE ELECTRONICS GmbH