HTX-22HD specifications
The Onkyo HTX-22HD is an exceptional compact home theater system designed to deliver high-quality audio performance with a focus on versatility and ease of use. At the heart of this system is a sleek design that seamlessly fits into any living space, providing an excellent balance between aesthetics and functionality.One of the standout features of the Onkyo HTX-22HD is its 2.1 channel configuration, which includes a pair of high-performance satellite speakers and a powerful subwoofer. This setup creates an immersive audio experience, whether you’re watching movies, playing video games, or listening to music. The subwoofer produces deep, rich bass, enhancing the overall sound quality and ensuring that users enjoy full-bodied audio.
The HTX-22HD also boasts advanced connectivity options. It includes multiple HDMI inputs, allowing users to connect various devices such as Blu-ray players, gaming consoles, and streaming devices. Moreover, the system supports 4K pass-through, enabling a seamless connection to ultra-high-definition sources while maintaining exceptional picture quality. Additionally, it is equipped with Bluetooth technology, providing the convenience of wireless audio streaming from smartphones, tablets, and other compatible devices.
To enhance audio playback, the Onkyo HTX-22HD utilizes sophisticated sound processing technologies, including Dolby TrueHD and DTS-HD Master Audio. These formats deliver studio-quality sound, making users feel fully immersed in the action on-screen. The system also features dynamic audio adjustment options, allowing users to tailor the sound settings to their specific preferences.
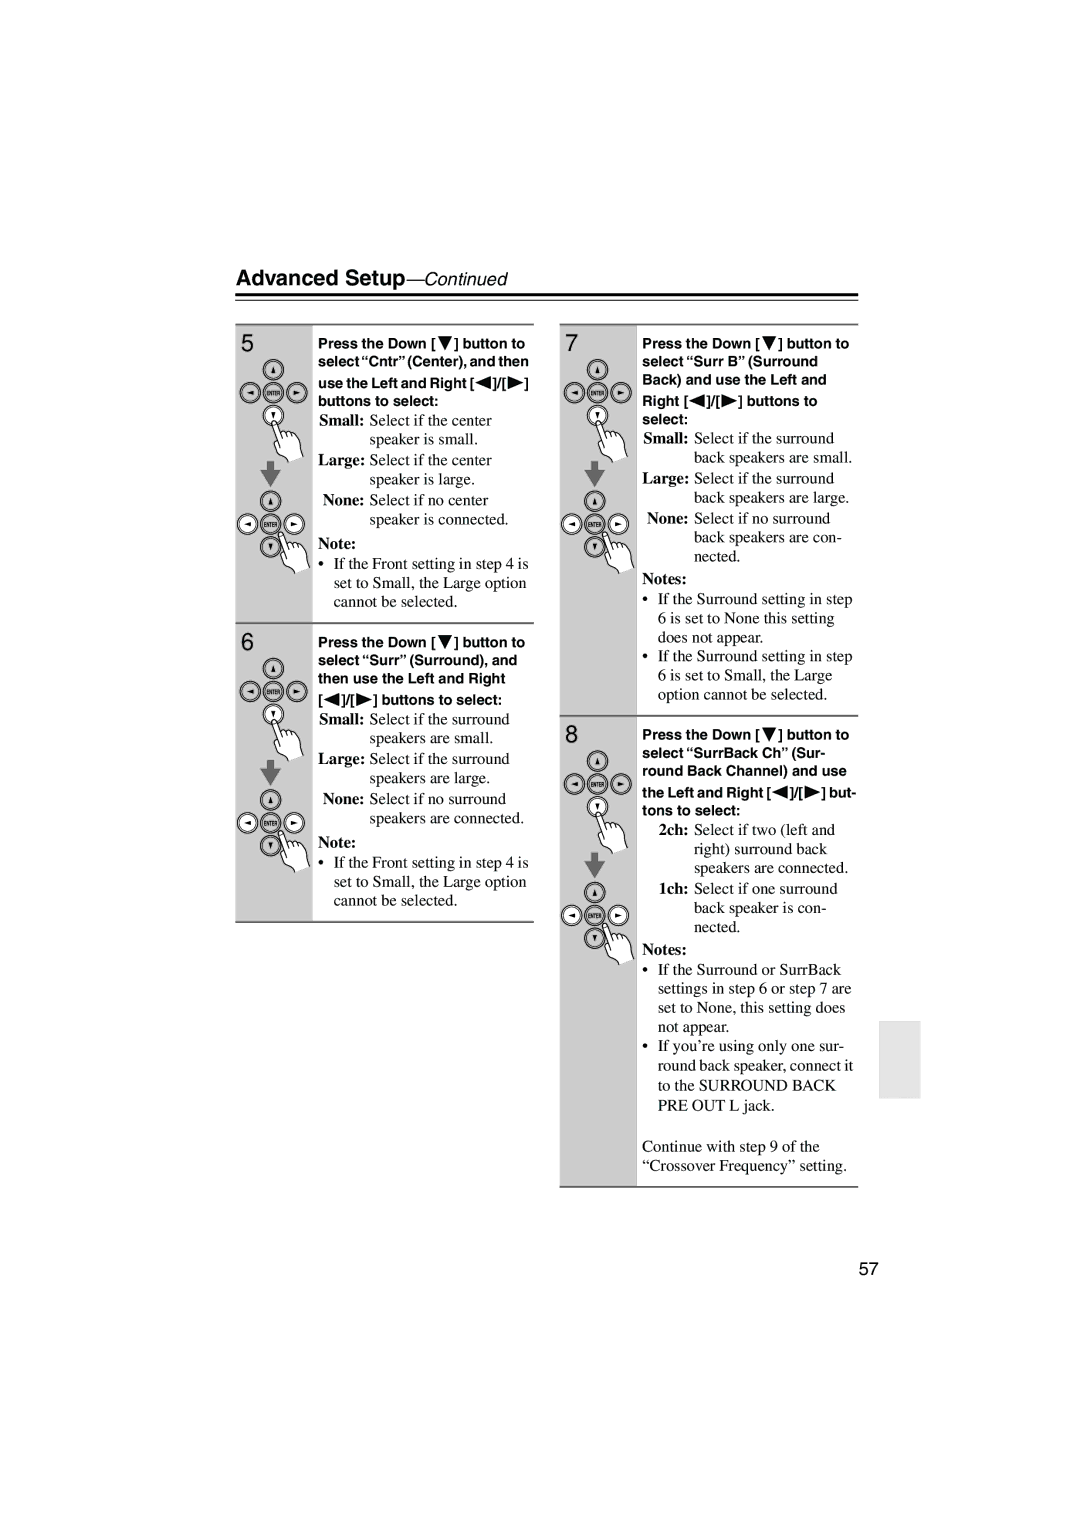
The HTX-22HD includes an easy-to-use remote control, simplifying the operation of the system. It also features a user-friendly interface that allows quick access to different audio and video settings. The compact design of the satellite speakers ensures they can be placed easily on shelves, walls, or any suitable surface without taking up too much space.
In conclusion, the Onkyo HTX-22HD stands out as a powerful and stylish home theater solution that combines excellent sound quality with versatile connectivity options. Its advanced audio technologies and user-friendly design make it a perfect choice for anyone looking to enhance their home entertainment experience. Whether for movie nights or music sessions, the HTX-22HD is crafted to deliver impressive performance that meets the demands of modern home audio environments.

