TX-85228222_En.book 7 ページ 2006年5月4日 木曜日 午前11時51分

Getting to Know the Receiver—Continued

Some button number sections (such as 9 and K) contain multiple button descriptions because the name and function vary according to the model or shipping destination. Refer to the description corresponding to your model.

For detailed information, see the pages in parentheses.

ASTANDBY/ON button (20)

Sets the receiver to On or Standby.

BSPEAKERS A and B switches (21)

Turn speaker sets A and B on or off.

CPURE AUDIO button and indicator (23)

Selects the Pure Audio listening mode. The indicator lights up and the display disappears when this mode is selected.

DDIRECT button (23)

Outputs the original sound source without applying any effects.

ERemote-control sensor (10)

Receives control signals from the remote controller.

FDISPLAY (30)

Displays various information about the currently selected input source.

GTUNING UP/DOWN buttons (26, 29)

When AM, FM or SAT RADIO is selected, the

TUNING [UP ]/[ DOWN] buttons are used for radio tuning.

HDIRECT TUNING button (26)

When you know the frequency for the station you want to listen to, you can select the station by entering the frequency directly using this button and number buttons. When SAT RADIO is selected, you can select the channel number.

ICATEGORY button

Used to select a category for Satellite Radio stations.

PRESET [ ] button (27)

Selects a station from ones you preset.

CHARACTER button

Used to label the FM or AM station preset number.

RT/PTY/TP button (29)

On the European model, this is the RT/PTY/TP button, and it’s used with RDS (Radio Data System). See “Using RDS (European Models Only)” on page 28.

JNumber buttons (26, 27, 30)

Used to select a station by entering the frequency directly or to label the station preset number.

KENTER button

Used to select satellite radio stations.

PRESET [ ] button (27)

Selects a station from ones you preset.

DIMMER button (22)

Adjusts the display brightness.

SCAN button (29)

Used to find a station in RDS broadcasting.

LCHARACTER button

Used to label the FM or AM station preset number.

MDIMMER button (22)

Adjusts the display brightness.

NMASTER VOLUME control (21)

Sets the volume of the receiver.

OBALANCE control (23)

This control is for adjusting the sound level balance between the left and right channel for speakers and headphones.

PTREBLE control (23)

This control is for adjusting the level of treble sounds.

QBASS control (23)

This control is for adjusting the level of bass sounds.

RTUNING MODE button (26, 27)

Selects the Auto or Manual tuning mode for AM and FM radio.

SMEMORY button (27)

Used when storing or deleting radio presets.

TInput selector buttons (21, 24, 26)

Select the input sources.

The TAPE 2 button is also used to monitor the recorded sound.

USTANDBY indicator (20)

Lights up when the receiver is on Standby and flashes while a signal is being received from the remote controller.

VPHONES jack (22)

This 1/4-inch phone jack is for connecting a standard pair of stereo headphones for private listening.

7

Page 7
Image 7
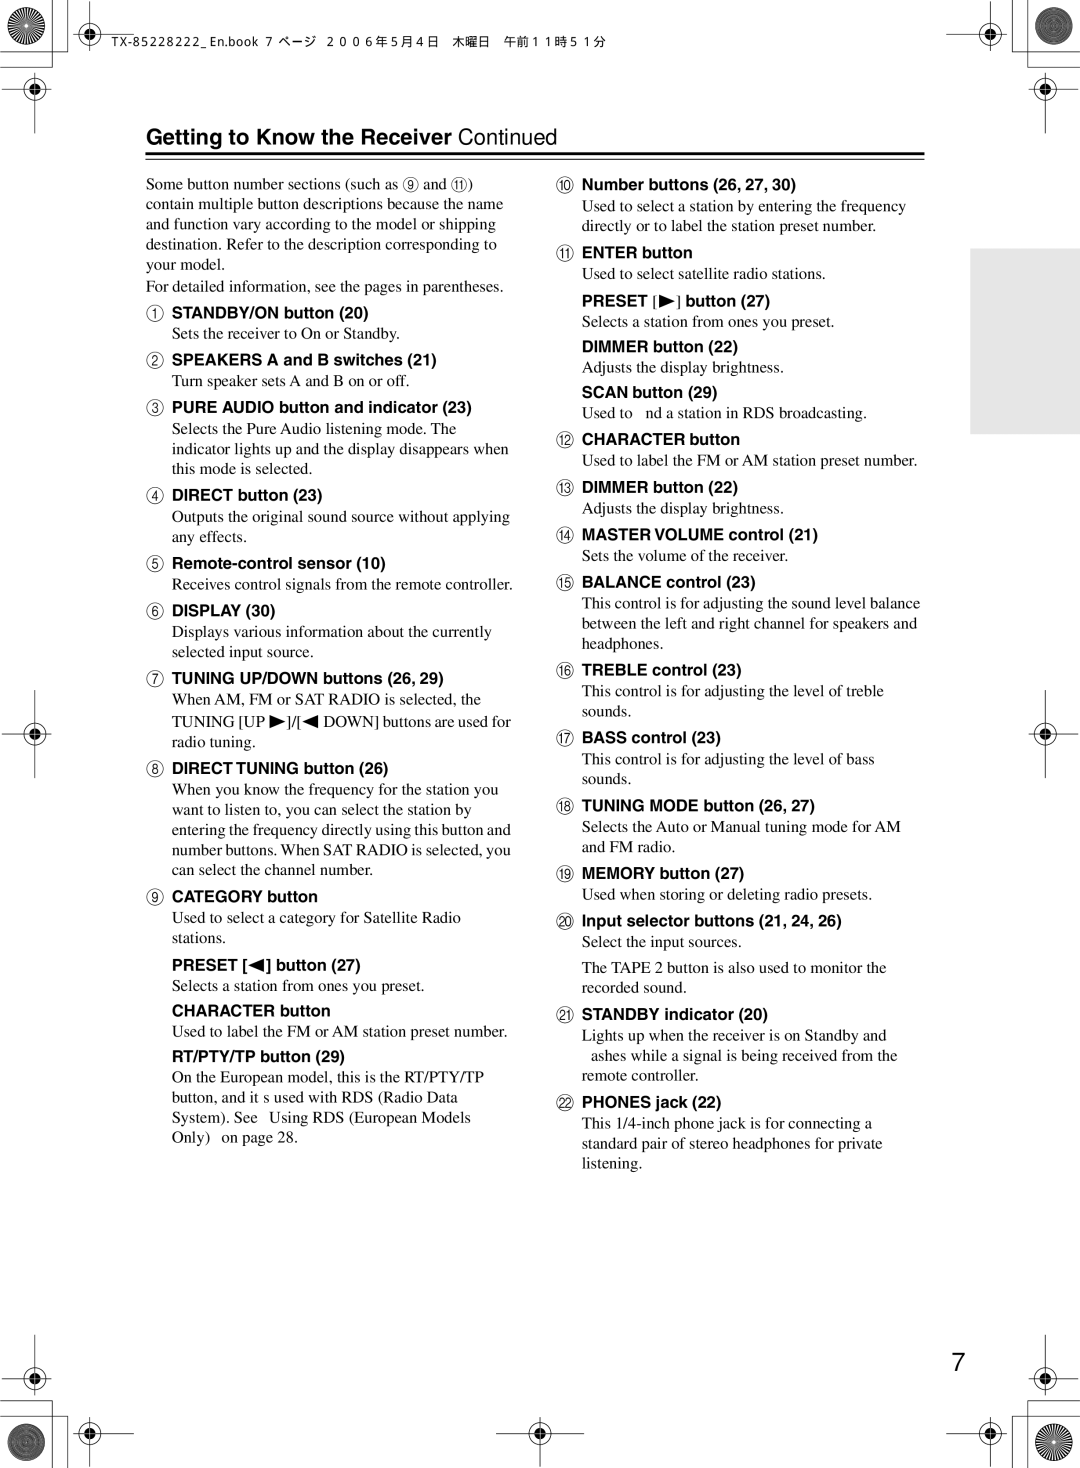
Onkyo TX-8522, TX-8222 instruction manual Getting to Know the Receiver

TX-8522, TX-8222 specifications

The Onkyo TX-8222 and TX-8522 are two exceptional stereo receivers that cater to audiophiles and casual listeners alike, offering a perfect blend of performance, versatility, and modern features. Both models stand out in the crowded landscape of audio equipment, making them worthy additions to any home entertainment system.

Starting with the TX-8222, this stereo receiver is designed with a focus on delivering high-quality sound. It boasts a robust power output of 50 watts per channel at 8 ohms, ensuring that it can drive a variety of speakers with ease. One of the key features of the TX-8222 is its adaptive circuitry that minimizes noise and distortion, providing clear audio regardless of the listening environment.

The TX-8222 supports a wide range of audio formats and sources, thanks to its multiple input options. It includes multiple analog audio inputs, a phono input for vinyl enthusiasts, and even digital inputs, allowing seamless connection with modern devices. This versatility makes it an excellent choice for those looking to integrate traditional analog sources with digital media.

On the other hand, the TX-8522 takes performance a step further with enhanced features and power. With a power output of 80 watts per channel at 8 ohms, this model can fill larger spaces with rich sound. The TX-8522 also incorporates advanced circuitry to ensure optimal signal fidelity, further enhancing the listening experience.

Both models feature Onkyo's acclaimed Wide Range Amplification Technology (WRAT), which enhances the overall sound quality by reducing crossover distortion and improving amplifier efficiency. This technology ensures that even the most demanding audio tracks are rendered with precision and clarity.

Connectivity is another strong suit for these models. Each receiver includes Bluetooth capability, enabling wireless streaming from smartphones and tablets, making it easy to enjoy your favorite playlists with family and friends. Additionally, with the inclusion of a user-friendly remote, control over playback and volume adjustments is extremely convenient.

Finally, both receivers come equipped with a classic design that complements any home décor. Their intuitive layout and controls make them accessible even for those less tech-savvy.

In summary, the Onkyo TX-8222 and TX-8522 are impressive stereo receivers that offer high-quality audio, versatile connectivity options, and user-friendly features. They cater to the needs of discerning listeners while providing the flexibility to accommodate modern devices and media, making them ideal for any audio setup.