S E T U P M E N U O P T I O N S
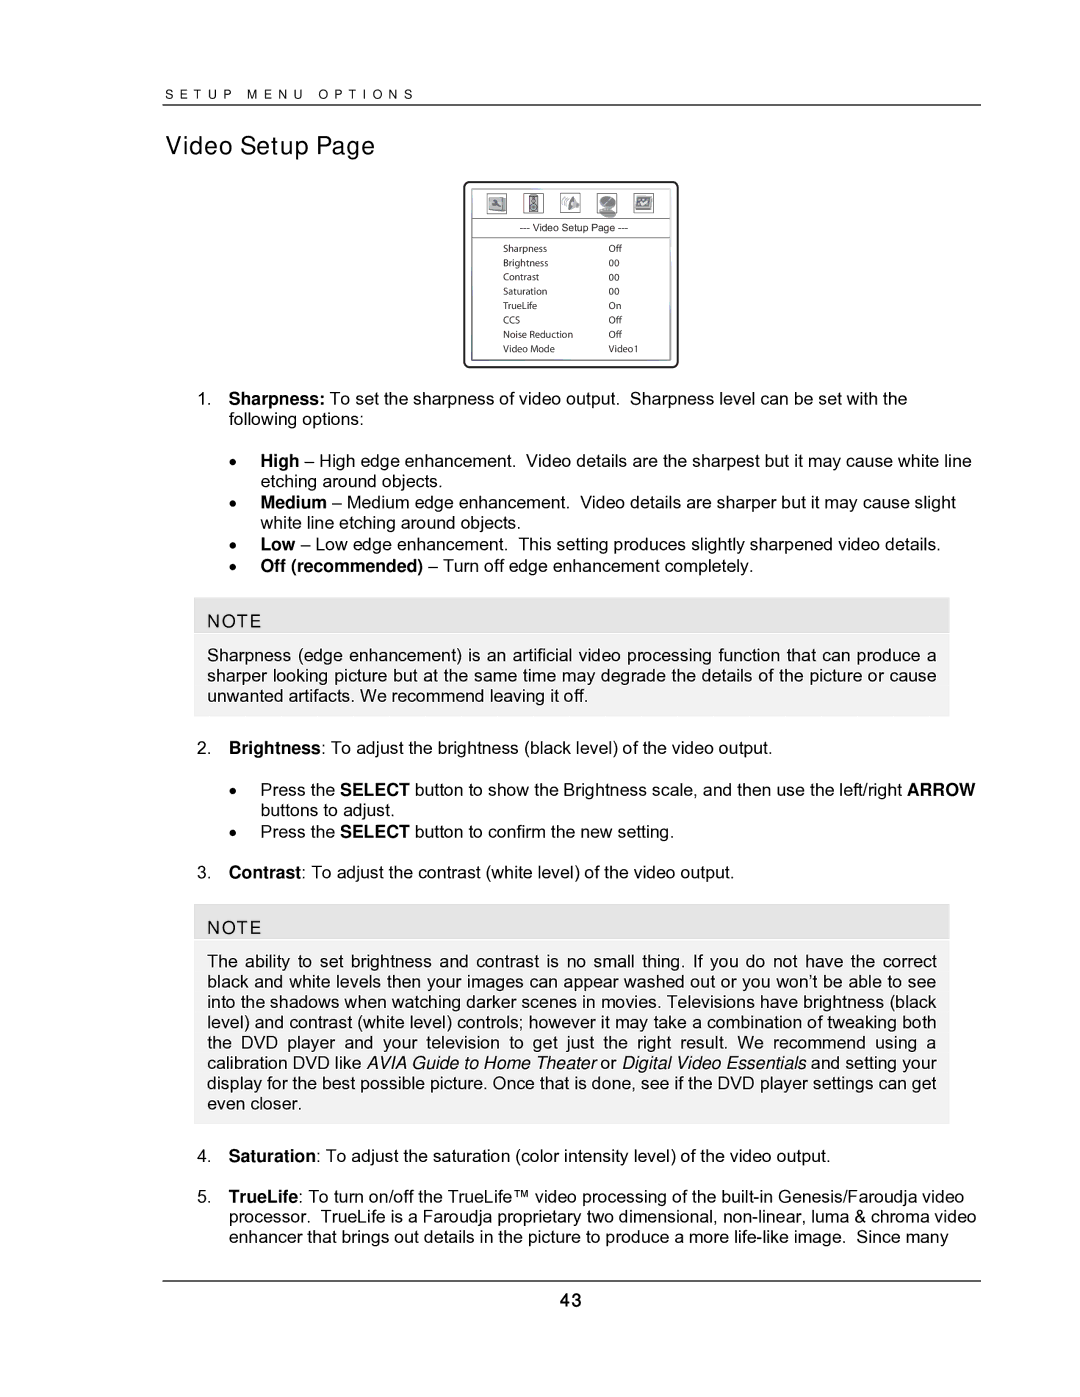
Video Setup Page
Sharpness | Off |
Brightness | 00 |
Contrast | 00 |
Saturation | 00 |
TrueLife | On |
CCS | Off |
Noise Reduction | Off |
Video Mode | Video1 |
1.Sharpness: To set the sharpness of video output. Sharpness level can be set with the following options:
•High – High edge enhancement. Video details are the sharpest but it may cause white line etching around objects.
•Medium – Medium edge enhancement. Video details are sharper but it may cause slight white line etching around objects.
•Low – Low edge enhancement. This setting produces slightly sharpened video details.
•Off (recommended) – Turn off edge enhancement completely.
NOTE
Sharpness (edge enhancement) is an artificial video processing function that can produce a sharper looking picture but at the same time may degrade the details of the picture or cause unwanted artifacts. We recommend leaving it off.
2.Brightness: To adjust the brightness (black level) of the video output.
•Press the SELECT button to show the Brightness scale, and then use the left/right ARROW buttons to adjust.
•Press the SELECT button to confirm the new setting.
3.Contrast: To adjust the contrast (white level) of the video output.
NOTE
The ability to set brightness and contrast is no small thing. If you do not have the correct black and white levels then your images can appear washed out or you won’t be able to see into the shadows when watching darker scenes in movies. Televisions have brightness (black level) and contrast (white level) controls; however it may take a combination of tweaking both the DVD player and your television to get just the right result. We recommend using a calibration DVD like AVIA Guide to Home Theater or Digital Video Essentials and setting your display for the best possible picture. Once that is done, see if the DVD player settings can get even closer.
4.Saturation: To adjust the saturation (color intensity level) of the video output.
5.TrueLife: To turn on/off the TrueLife™ video processing of the
43
