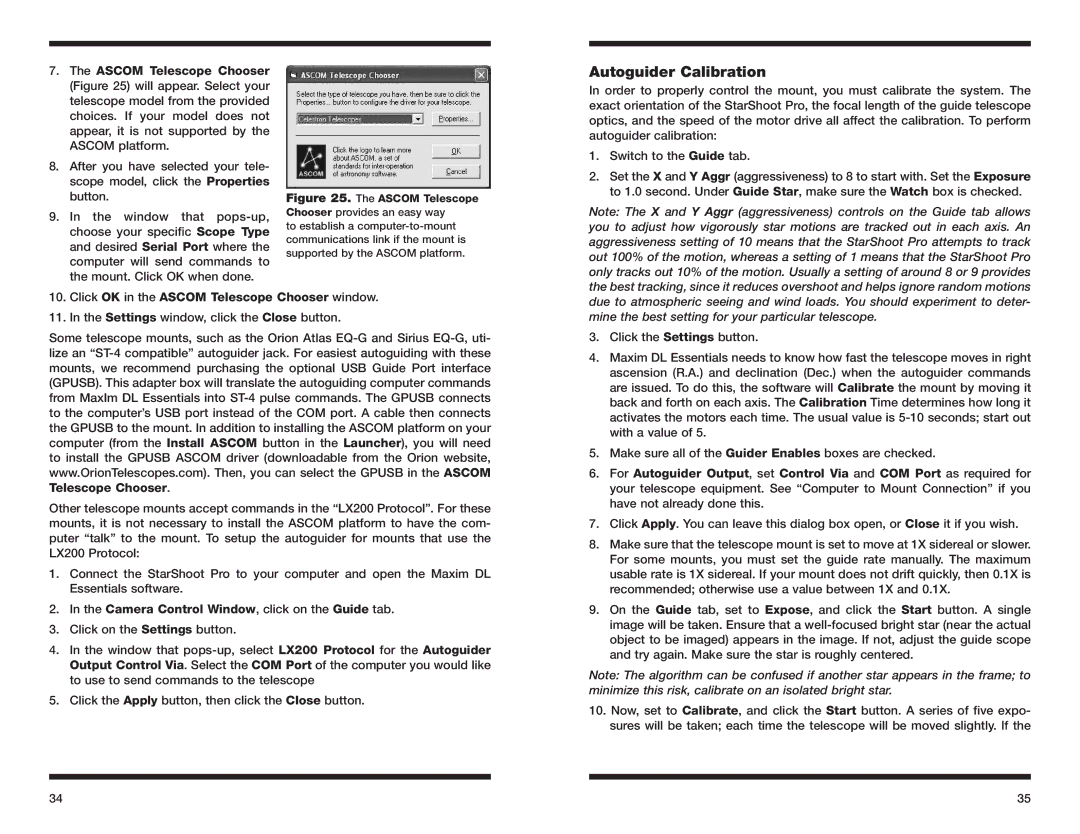
7.The ASCOM Telescope Chooser (Figure 25) will appear. Select your telescope model from the provided choices. If your model does not appear, it is not supported by the ASCOM platform.
8.After you have selected your tele- scope model, click the Properties button.
9.In the window that
Figure 25. The ASCOM Telescope Chooser provides an easy way
to establish a
Autoguider Calibration
In order to properly control the mount, you must calibrate the system. The exact orientation of the StarShoot Pro, the focal length of the guide telescope optics, and the speed of the motor drive all affect the calibration. To perform autoguider calibration:
1.Switch to the Guide tab.
2.Set the X and Y Aggr (aggressiveness) to 8 to start with. Set the Exposure to 1.0 second. Under Guide Star, make sure the Watch box is checked.
Note: The X and Y Aggr (aggressiveness) controls on the Guide tab allows you to adjust how vigorously star motions are tracked out in each axis. An aggressiveness setting of 10 means that the StarShoot Pro attempts to track out 100% of the motion, whereas a setting of 1 means that the StarShoot Pro only tracks out 10% of the motion. Usually a setting of around 8 or 9 provides the best tracking, since it reduces overshoot and helps ignore random motions
10.Click OK in the ASCOM Telescope Chooser window.
11.In the Settings window, click the Close button.
Some telescope mounts, such as the Orion Atlas
Other telescope mounts accept commands in the “LX200 Protocol”. For these mounts, it is not necessary to install the ASCOM platform to have the com- puter “talk” to the mount. To setup the autoguider for mounts that use the LX200 Protocol:
1.Connect the StarShoot Pro to your computer and open the Maxim DL Essentials software.
2.In the Camera Control Window, click on the Guide tab.
3.Click on the Settings button.
4.In the window that
5.Click the Apply button, then click the Close button.
due to atmospheric seeing and wind loads. You should experiment to deter- mine the best setting for your particular telescope.
3.Click the Settings button.
4.Maxim DL Essentials needs to know how fast the telescope moves in right ascension (R.A.) and declination (Dec.) when the autoguider commands are issued. To do this, the software will Calibrate the mount by moving it back and forth on each axis. The Calibration Time determines how long it activates the motors each time. The usual value is
5.Make sure all of the Guider Enables boxes are checked.
6.For Autoguider Output, set Control Via and COM Port as required for your telescope equipment. See “Computer to Mount Connection” if you have not already done this.
7.Click Apply. You can leave this dialog box open, or Close it if you wish.
8.Make sure that the telescope mount is set to move at 1X sidereal or slower. For some mounts, you must set the guide rate manually. The maximum usable rate is 1X sidereal. If your mount does not drift quickly, then 0.1X is recommended; otherwise use a value between 1X and 0.1X.
9.On the Guide tab, set to Expose, and click the Start button. A single image will be taken. Ensure that a
Note: The algorithm can be confused if another star appears in the frame; to minimize this risk, calibrate on an isolated bright star.
10.Now, set to Calibrate, and click the Start button. A series of five expo- sures will be taken; each time the telescope will be moved slightly. If the
34 | 35 |