Main Menu (continued)
■CALIBRATION
Select CALIBRATION in the “SYSTEM CONFIG” menu to open the following menus.
Sub menu | Setting | Description |
|
|
|
AUTO |
| Connect a |
CALIBRATION*1 |
| calibration. |
|
| Select “AUTO CALIBRATION” and select “YES” in the confirmation |
|
| screen that appears to start calibration. |
|
|
|
RESET*2 |
| Returns calibration data to their factory defaults. |
|
| Select “RESET” and select “YES” in the confirmation screen that |
|
| appears to return calibrated values to their factory defaults. |
|
|
|
*1 “EXECUTING” is displayed during “AUTO CALIBRATION” and “COMPLETE” appears when calibration ends. “INCOMPLETE” appears if calibration could not be completed.
*2 When “RESET” ends, “COMPLETE” appears.
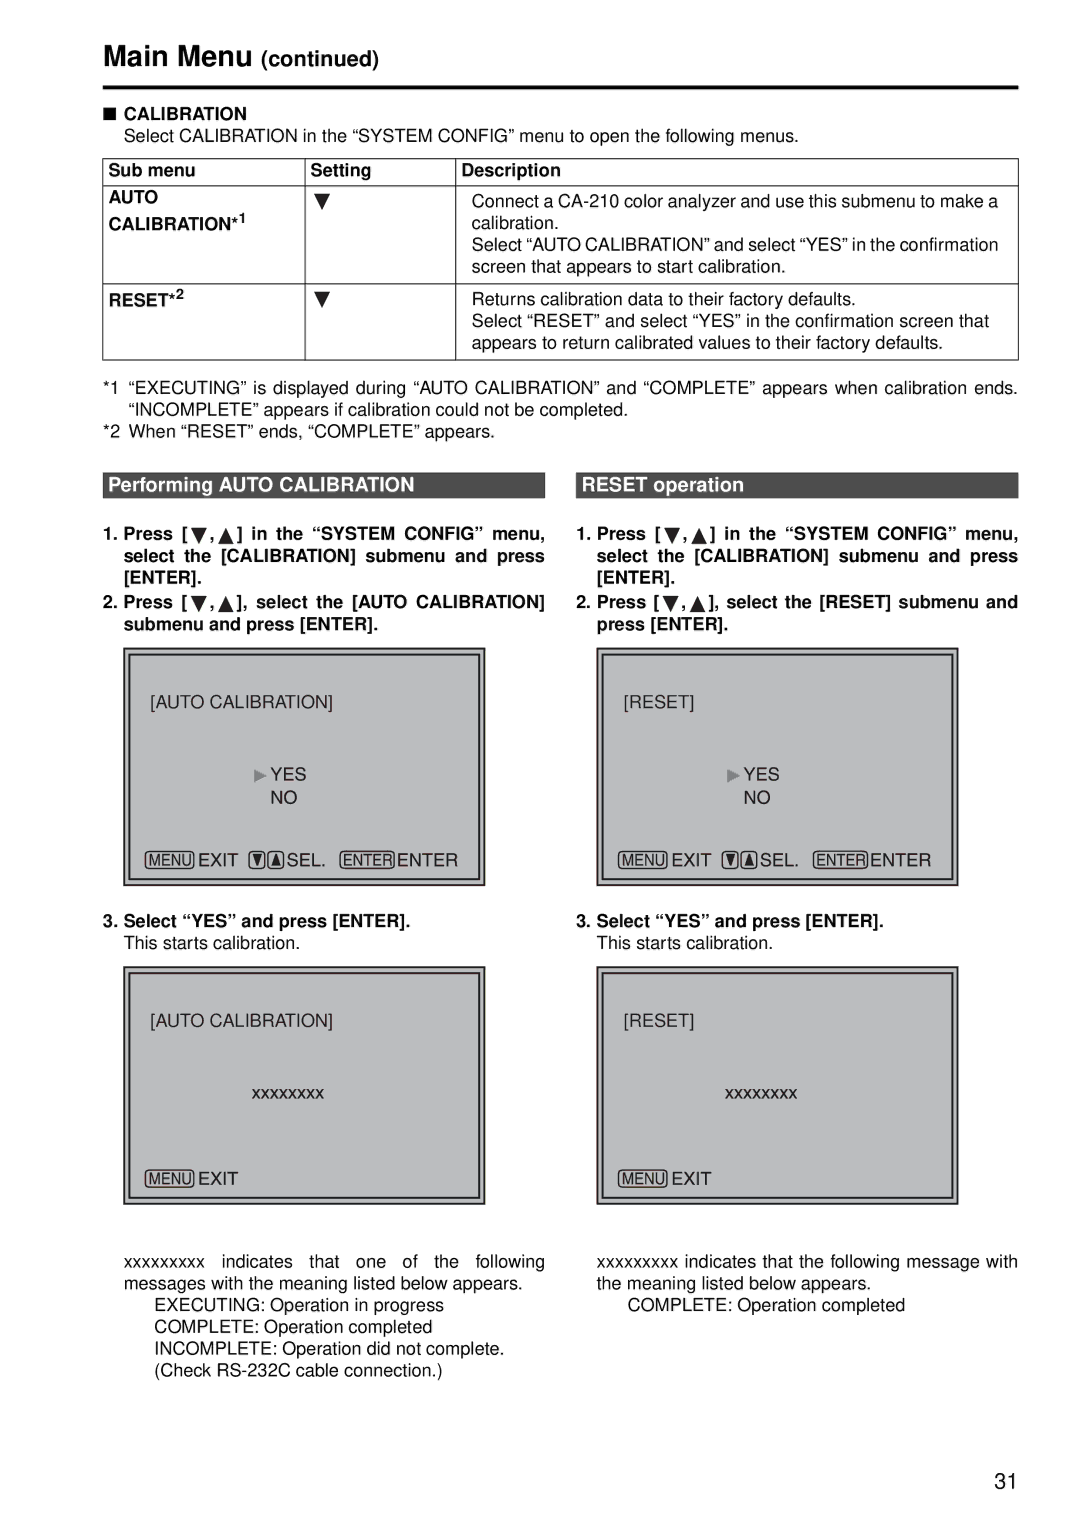
Performing AUTO CALIBRATION |
| RESET operation |
1.Press [ ![]() ,
, ![]() ] in the “SYSTEM CONFIG” menu, select the [CALIBRATION] submenu and press [ENTER].
] in the “SYSTEM CONFIG” menu, select the [CALIBRATION] submenu and press [ENTER].
2.Press [ ![]() ,
, ![]() ], select the [AUTO CALIBRATION] submenu and press [ENTER].
], select the [AUTO CALIBRATION] submenu and press [ENTER].
1.Press [ ![]() ,
, ![]() ] in the “SYSTEM CONFIG” menu, select the [CALIBRATION] submenu and press [ENTER].
] in the “SYSTEM CONFIG” menu, select the [CALIBRATION] submenu and press [ENTER].
2.Press [ ![]() ,
, ![]() ], select the [RESET] submenu and press [ENTER].
], select the [RESET] submenu and press [ENTER].
[AUTO CALIBRATION]
3.Select “YES” and press [ENTER]. This starts calibration.
[AUTO CALIBRATION]
xxxxxxxxxindicates that one of the following messages with the meaning listed below appears.
EXECUTING: Operation in progress
COMPLETE: Operation completed
INCOMPLETE: Operation did not complete. (Check
[RESET]
3.Select “YES” and press [ENTER]. This starts calibration.
[RESET]
xxxxxxxxxindicates that the following message with the meaning listed below appears.
COMPLETE: Operation completed
31