Preparation
Setting Date/Time (Clock Set)
∫Initial setting
The clock is not set when the camera is shipped. When you turn the camera on, the following screen appears.
PLEASE SET THE CLOCK
![]() CLOCK SET MENU
CLOCK SET MENU
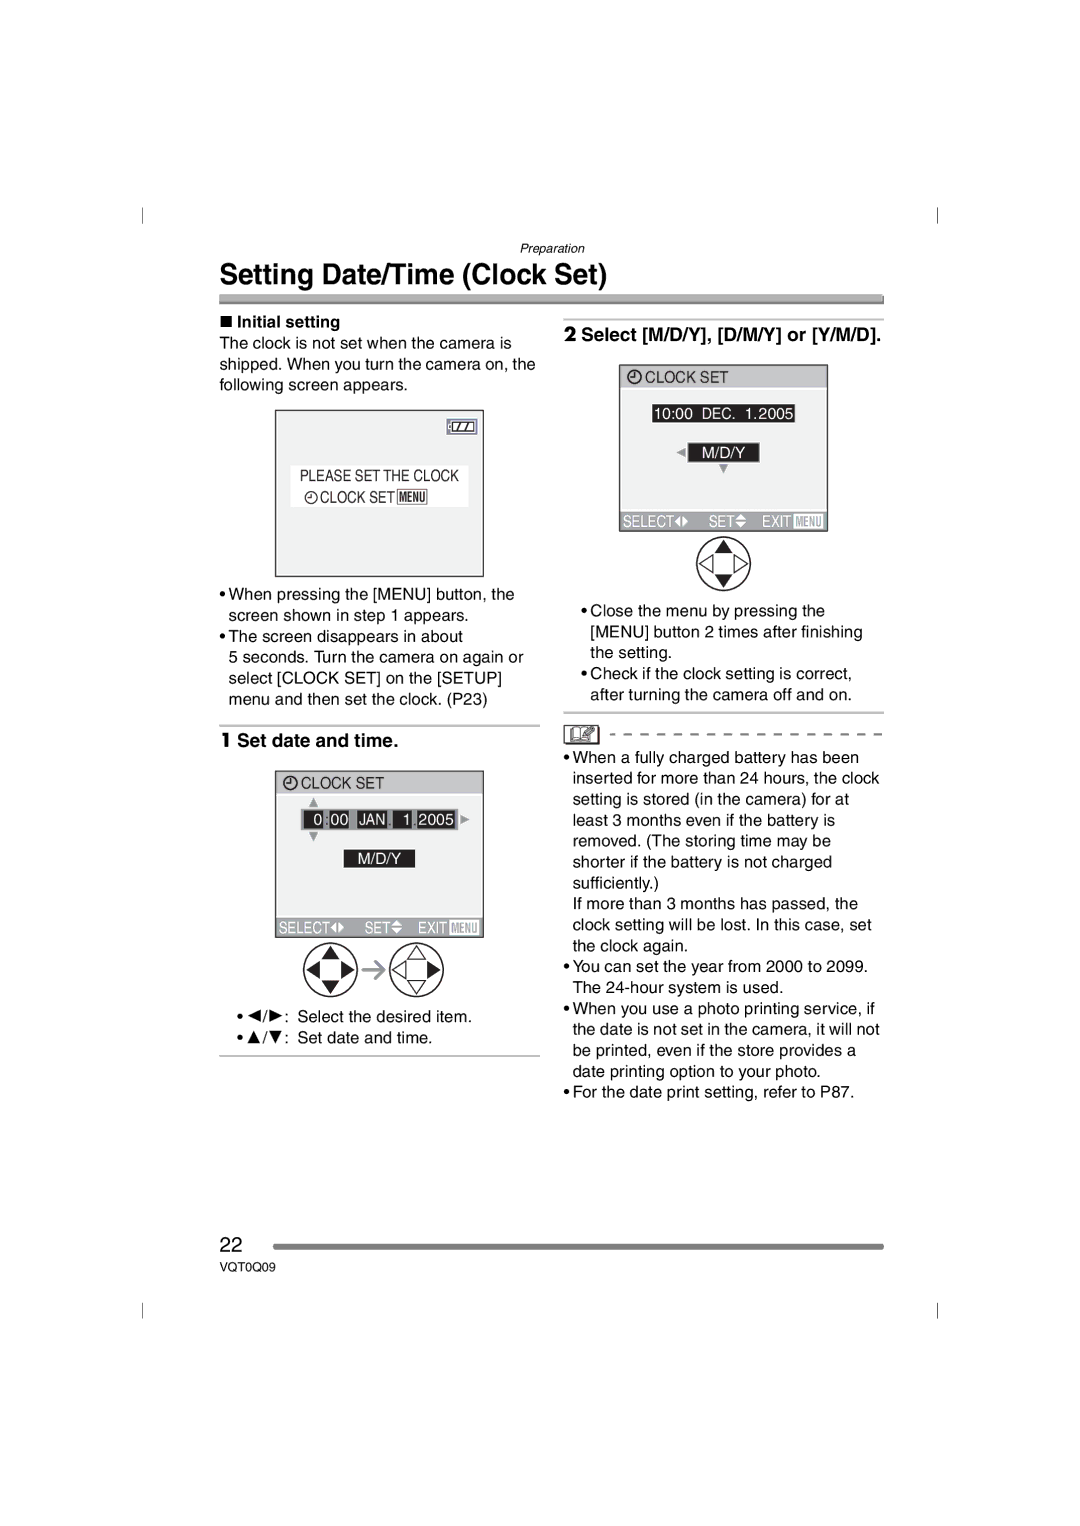
2 Select [M/D/Y], [D/M/Y] or [Y/M/D].
![]() CLOCK SET
CLOCK SET
10:001DEC.11.2005
M/D/Y
SELECT![]() SET
SET![]() EXIT MENU
EXIT MENU
•When pressing the [MENU] button, the screen shown in step 1 appears.
•The screen disappears in about
5 seconds. Turn the camera on again or select [CLOCK SET] on the [SETUP] menu and then set the clock. (P23)
•Close the menu by pressing the [MENU] button 2 times after finishing the setting.
•Check if the clock setting is correct, after turning the camera off and on.
1 Set date and time.
![]() CLOCK SET
CLOCK SET
00 : 00 JAN .11 . 2005 ![]()
M/D/Y
SELECT![]() SET
SET![]() EXIT MENU
EXIT MENU
•2/1: Select the desired item.
•3/4: Set date and time.
•When a fully charged battery has been inserted for more than 24 hours, the clock setting is stored (in the camera) for at least 3 months even if the battery is removed. (The storing time may be shorter if the battery is not charged sufficiently.)
If more than 3 months has passed, the clock setting will be lost. In this case, set the clock again.
•You can set the year from 2000 to 2099. The
•When you use a photo printing service, if the date is not set in the camera, it will not be printed, even if the store provides a date printing option to your photo.
•For the date print setting, refer to P87.
22
VQT0Q09