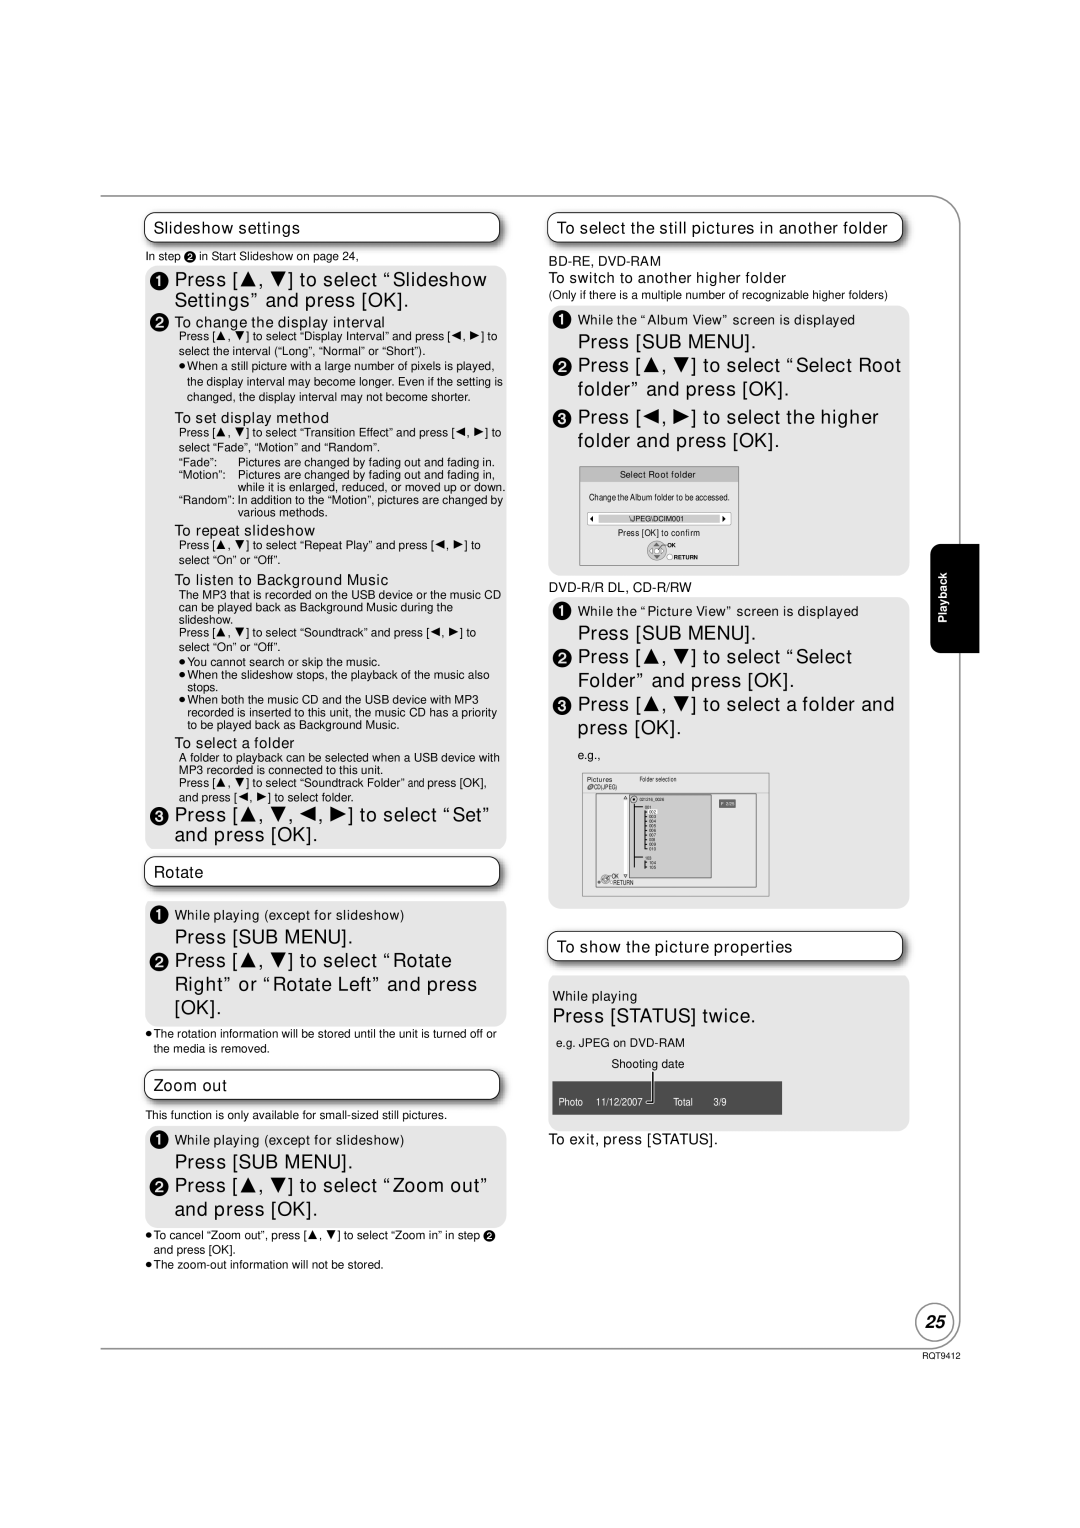
Slideshow settings
In step 2 in Start Slideshow on page 24,
1Press [3, 4] to select “Slideshow
Settings” and press [OK].
2To change the display interval
Press [3, 4] to select “Display Interval” and press [2, 1] to select the interval (“Long”, “Normal” or “Short”).
≥When a still picture with a large number of pixels is played, the display interval may become longer. Even if the setting is changed, the display interval may not become shorter.
To set display method
Press [3, 4] to select “Transition Effect” and press [2, 1] to select “Fade”, “Motion” and “Random”.
“Fade”: Pictures are changed by fading out and fading in.
“Motion”: Pictures are changed by fading out and fading in, while it is enlarged, reduced, or moved up or down.
“Random”: In addition to the “Motion”, pictures are changed by various methods.
To repeat slideshow
Press [3, 4] to select “Repeat Play” and press [2, 1] to select “On” or “Off”.
To listen to Background Music
The MP3 that is recorded on the USB device or the music CD can be played back as Background Music during the slideshow.
Press [3, 4] to select “Soundtrack” and press [2, 1] to select “On” or “Off”.
≥You cannot search or skip the music.
≥When the slideshow stops, the playback of the music also stops.
≥When both the music CD and the USB device with MP3 recorded is inserted to this unit, the music CD has a priority to be played back as Background Music.
To select a folder
A folder to playback can be selected when a USB device with MP3 recorded is connected to this unit.
Press [3, 4] to select “Soundtrack Folder” and press [OK], and press [2, 1] to select folder.
3Press [3, 4, 2, 1] to select “Set” and press [OK].
Rotate
1While playing (except for slideshow)
Press [SUB MENU].
2Press [3, 4] to select “Rotate Right” or “Rotate Left” and press
[OK].
≥The rotation information will be stored until the unit is turned off or the media is removed.
Zoom out
This function is only available for
1While playing (except for slideshow)
Press [SUB MENU].
2Press [3, 4] to select “Zoom out”
and press [OK].
≥To cancel “Zoom out”, press [3, 4] to select “Zoom in” in step 2 and press [OK].
≥The
To select the still pictures in another folder
BD-RE, DVD-RAM
To switch to another higher folder
(Only if there is a multiple number of recognizable higher folders)
1While the “Album View” screen is displayed
Press [SUB MENU].
2Press [3, 4] to select “Select Root folder” and press [OK].
3Press [2, 1] to select the higher folder and press [OK].
Select Root folder
Change the Album folder to be accessed.
\JPEG\DCIM001
Press [OK] to confirm
![]()
![]() OK
OK
![]() RETURN
RETURN
DVD-R/R DL, CD-R/RW
1While the “Picture View” screen is displayed
Press [SUB MENU].
2Press [3, 4] to select “Select Folder” and press [OK].
3Press [3, 4] to select a folder and press [OK].
e.g., |
|
Pictures | Folder selection |
CD(JPEG) |
|
| 021216_0026 |
| F 2/25 |
| 001 |
| 002 |
| 003 |
| 004 |
| 005 |
| 006 |
| 007 |
| 008 |
| 009 |
| 010 |
| 103 |
| 104 |
| 105 |
OK |
|
RETURN |
|
To show the picture properties
While playing
Press [STATUS] twice.
e.g. JPEG on
Photo 11/12/2007 | Total | 3/9 |
|
|
|
To exit, press [STATUS].
Playback
25
RQT9412
