
DVD-S58, DVD-S38 specifications
The Panasonic DVD-S38 and DVD-S58 are modern DVD players that embody a fusion of innovative technology and user-friendly features, appealing to both casual viewers and dedicated home theater enthusiasts. These models provide an impressive array of functionalities, enhanced playback capabilities, and a commitment to quality that defines Panasonic's legacy in the audiovisual market.One of the standout features of the DVD-S38 and DVD-S58 is their compatibility with various disc formats. These players can effortlessly handle DVD-Video, DVD-R/RW, and DVD+R/RW, along with CD-DA, CD-R/RW, and even certain audio and video file formats. This broad compatibility makes it easier for users to enjoy their favorite movies, music CDs, and personal video recordings without worrying about compatibility issues.
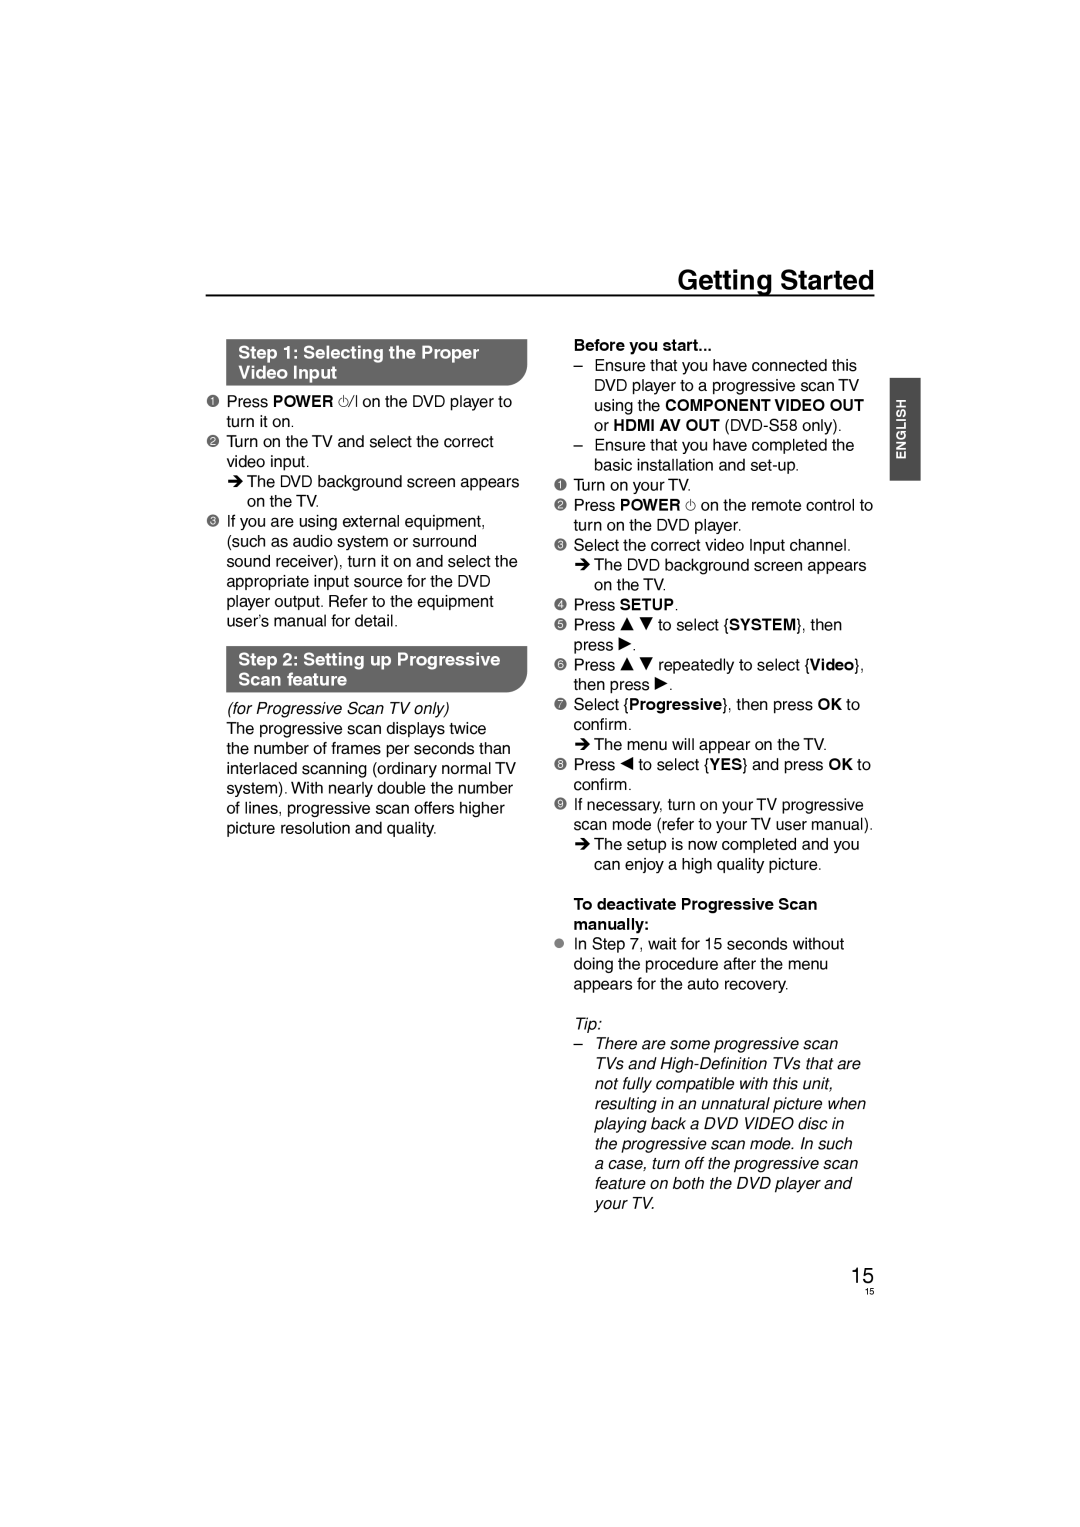
Both models come equipped with Progressive Scan technology, ensuring that viewers enjoy a clearer, high-quality image. This technology significantly reduces flicker, providing a smooth visual experience that is especially noticeable when watching fast-paced action films or sporting events. With the ability to enhance the output to 480p, the DVD-S38 and DVD-S58 deliver visuals that are vibrant and engaging on compatible televisions.
In terms of connectivity, these players offer a standard composite video output, along with an S-Video output for users looking to enhance their viewing experience further. The audio options include standard L/R audio outputs, providing ease of integration with home theater systems, ensuring that users enjoy quality sound alongside stunning visuals.
One of the more innovative features of the DVD-S58 is its USB port, allowing users to connect USB flash drives and play back a selection of media files directly. This feature adds versatility, enabling the playback of JPEG photos, MP3 audio files, and various other media formats, making it easier to share memories or enjoy personal playlists.
Additionally, both the DVD-S38 and DVD-S58 offer a user-friendly interface and remote control, ensuring that navigating through menus and settings is a seamless experience. Features like the Quick Start function allow for faster boot times, enabling users to jump into their favorite content without unnecessary delays.
In conclusion, the Panasonic DVD-S38 and DVD-S58 stand out for their robust features, versatility, and commitment to delivering an exceptional viewing experience. With a blend of modern technology and practicality, these DVD players are designed to meet the diverse needs of home entertainment enthusiasts, making them compelling options in the realm of multimedia playback.