2. ELC setting [ELC]
Setting ELC (electronic light control) to ON provides auto- matic adjustment of the screen brightness. The conver- gence level of ELC can be specified at “BRIGHTNESS” in the SEL menu (☞ page 25).
If a photographic subject has a bright light such as a spot- light in its backgroud, the subject may appear shadowy. To eliminate this phenomenon, mask the bright area in the background to perform correction.
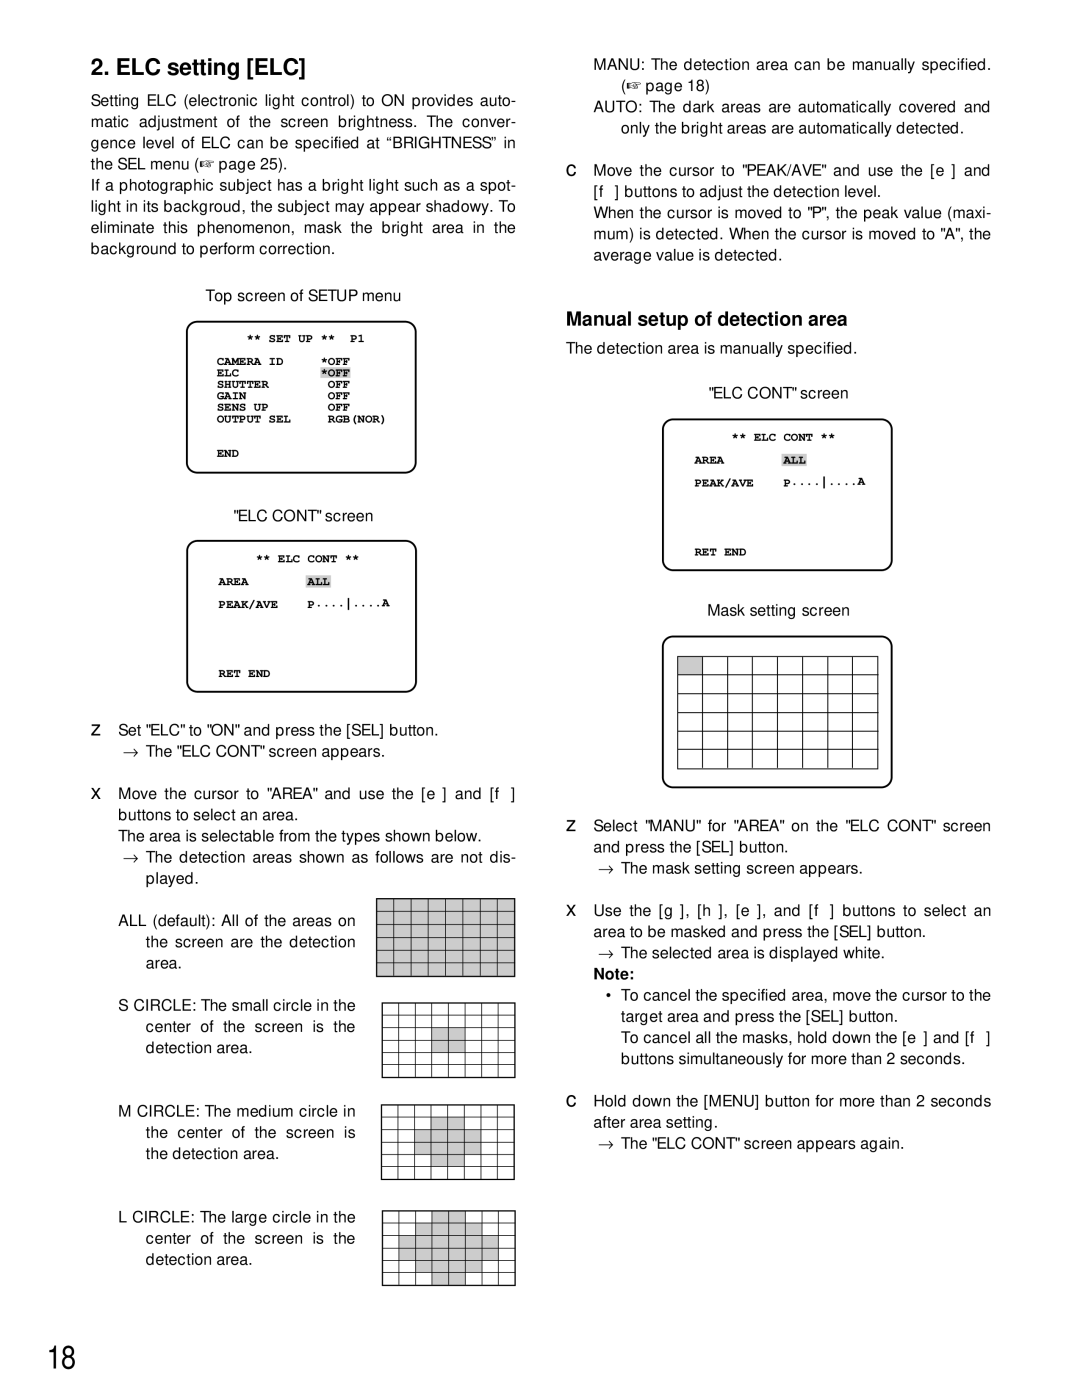
Top screen of SETUP menu
** SET UP ** P1
CAMERA ID | *OFF | |
ELC | *OFF |
|
SHUTTER | OFF | |
GAIN | OFF | |
SENS UP | OFF | |
OUTPUT SEL | RGB(NOR) | |
END |
|
|
"ELC CONT" screen
** ELC CONT **
AREA ALL
PEAK/AVE P........A
RET END
zSet "ELC" to "ON" and press the [SEL] button.
→The "ELC CONT" screen appears.
x Move the cursor to "AREA" and use the [e] and [f] buttons to select an area.
The area is selectable from the types shown below.
→The detection areas shown as follows are not dis- played.
ALL (default): All of the areas on the screen are the detection area.
S CIRCLE: The small circle in the center of the screen is the detection area.
M CIRCLE: The medium circle in the center of the screen is the detection area.
L CIRCLE: The large circle in the center of the screen is the detection area.
MANU: The detection area can be manually specified. (☞ page 18)
AUTO: The dark areas are automatically covered and
only the bright areas are automatically detected.
c Move the cursor to "PEAK/AVE" and use the [e] and [f] buttons to adjust the detection level.
When the cursor is moved to "P", the peak value (maxi- mum) is detected. When the cursor is moved to "A", the average value is detected.
Manual setup of detection area
The detection area is manually specified.
"ELC CONT" screen
** ELC CONT **
AREA ALL
PEAK/AVE P........A
RET END
Mask setting screen
z Select "MANU" for "AREA" on the "ELC CONT" screen and press the [SEL] button.
→The mask setting screen appears.
xUse the [g], [h], [e], and [f] buttons to select an area to be masked and press the [SEL] button.
→The selected area is displayed white.
Note:
•To cancel the specified area, move the cursor to the target area and press the [SEL] button.
To cancel all the masks, hold down the [e] and [f] buttons simultaneously for more than 2 seconds.
c Hold down the [MENU] button for more than 2 seconds after area setting.
→The "ELC CONT" screen appears again.
18