[ALERT SOUND] | [OFF]/ / |
Touch screen operation, starting and stopping of recording and unit on/off can be confirmed with this sound.
![]()
![]() (Volume low)/
(Volume low)/ ![]()
![]() (Volume high) 2 Beeps for 4 times
(Volume high) 2 Beeps for 4 times
When an error occurs. Check the sentence displayed on the screen. (l 120)
[POWER LCD] | +2 / +1 / 0 / |
This makes it easier to view the LCD monitor in bright places including outdoors.
≥These settings will not affect the images actually recorded.
+2 | (Makes even brighter)/ +1 (Makes brighter)/ 0 (Normal)/ |
A | *(Automatic adjustment) |
* It is not displayed in the Manual Mode or in the Playback Mode.
≥When the AC adaptor is in use, the LCD monitor is set to +1![]() automatically.
automatically.
≥The recordable time will become shorter when you use this unit with the LCD monitor lit up.
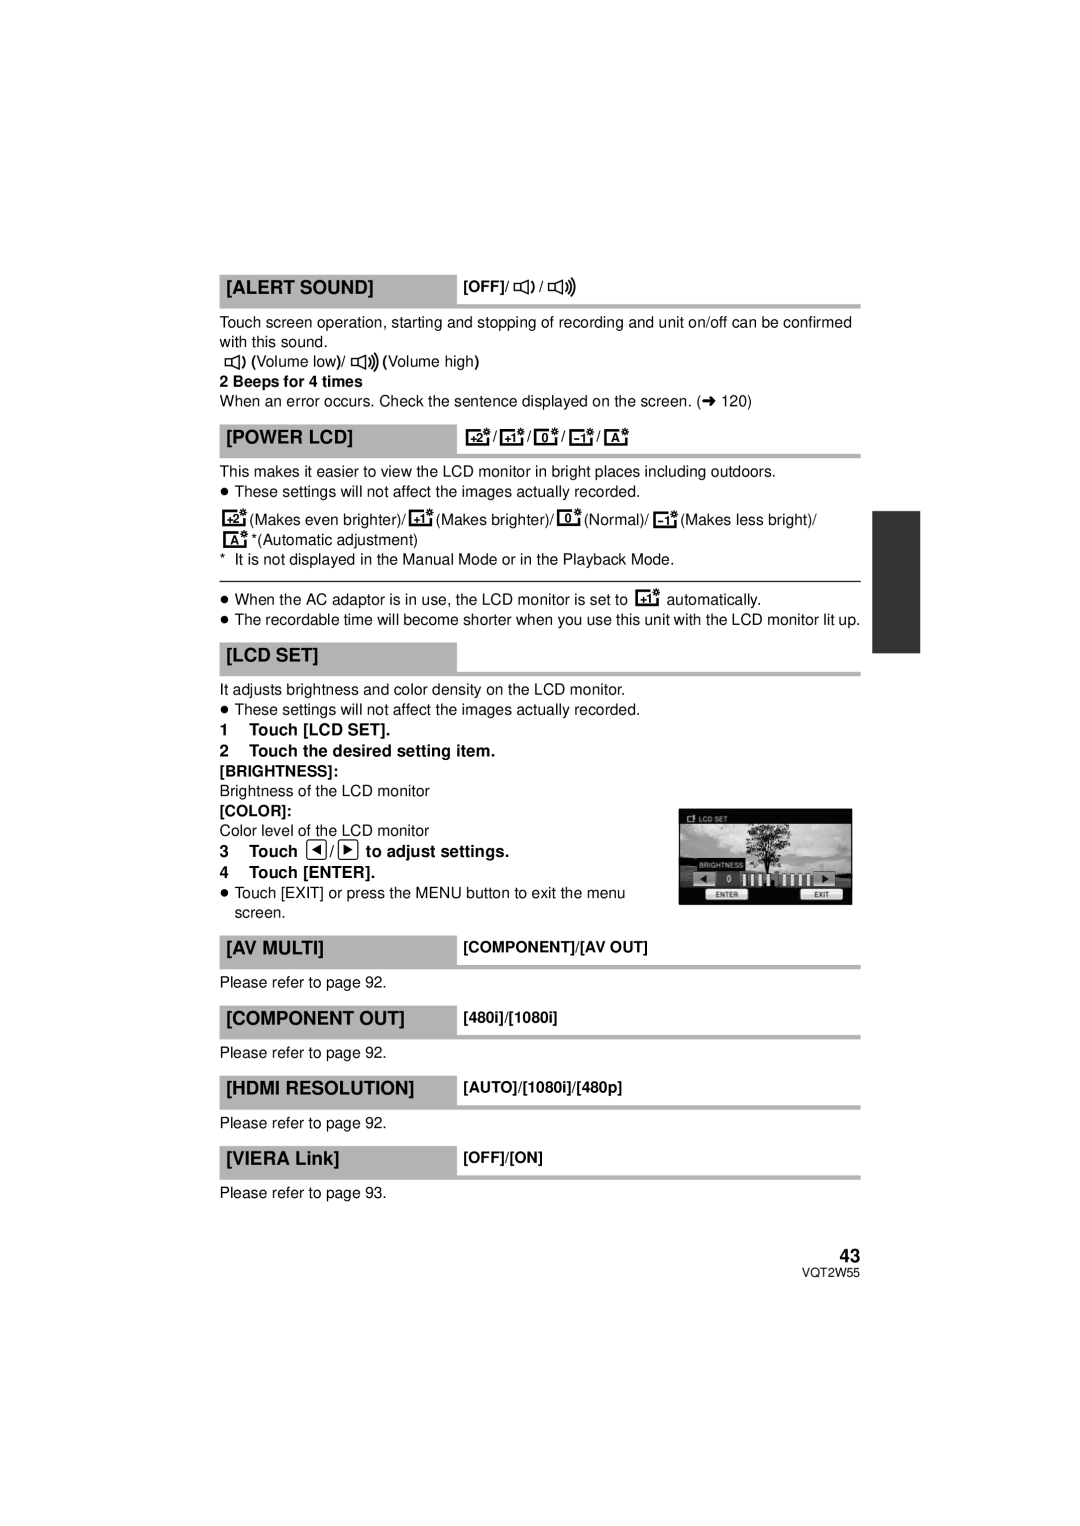
[LCD SET]
It adjusts brightness and color density on the LCD monitor.
≥These settings will not affect the images actually recorded.
1 Touch [LCD SET].
2 Touch the desired setting item. [BRIGHTNESS]:
Brightness of the LCD monitor
[COLOR]:
Color level of the LCD monitor
3 Touch ![]() /
/ ![]() to adjust settings.
to adjust settings.
4 Touch [ENTER].
≥Touch [EXIT] or press the MENU button to exit the menu screen.
[AV MULTI] | [COMPONENT]/[AV OUT] |
Please refer to page 92. |
|
|
|
[COMPONENT OUT] | [480i]/[1080i] |
|
|
Please refer to page 92. |
|
|
|
[HDMI RESOLUTION] | [AUTO]/[1080i]/[480p] |
|
|
Please refer to page 92. |
|
|
|
[VIERA Link] | [OFF]/[ON] |
|
|
Please refer to page 93. |
|
43
VQT2W55
