MEMORY SAVE
Press the ENTER button to display the “MEMORY SAVE” menu.
MEMORY SAVE
MEMORY 1
MEMORY 2
MEMORY 3
![]() SELECT
SELECT ![]() ENTER
ENTER ![]() ESC
ESC
The settings adjusted in “PICTURE” menu can be saved. Press the F or
Gbutton to select the number (“MEMORY 1/2/3”) in which you want to save the setting, and then press the ENTER button.
The confirmation screen will then be displayed. Press the I or H button to select “OK” and then press the ENTER button.
The current picture setting will be saved.
MEMORY SAVE
OK CANCEL
NOTE:
BYou can save up to 3 settings for each of the 2 signal groups described below (up to 6 settings can be saved).
(1 080)/50i signals from PCs
VGA480 HDMI signals and PC [except for 1 125 (1 080)/60i and 1 125 (1 080)/50i signals]
MEMORY LOAD
Press the ENTER button to display the “MEMORY LOAD” menu.
(If any setting is not saved in the “MEMORY SAVE” menu, the “MEMORY LOAD” menu will not be displayed.)
Refer to page 35 on how to retrieve the saved settings.
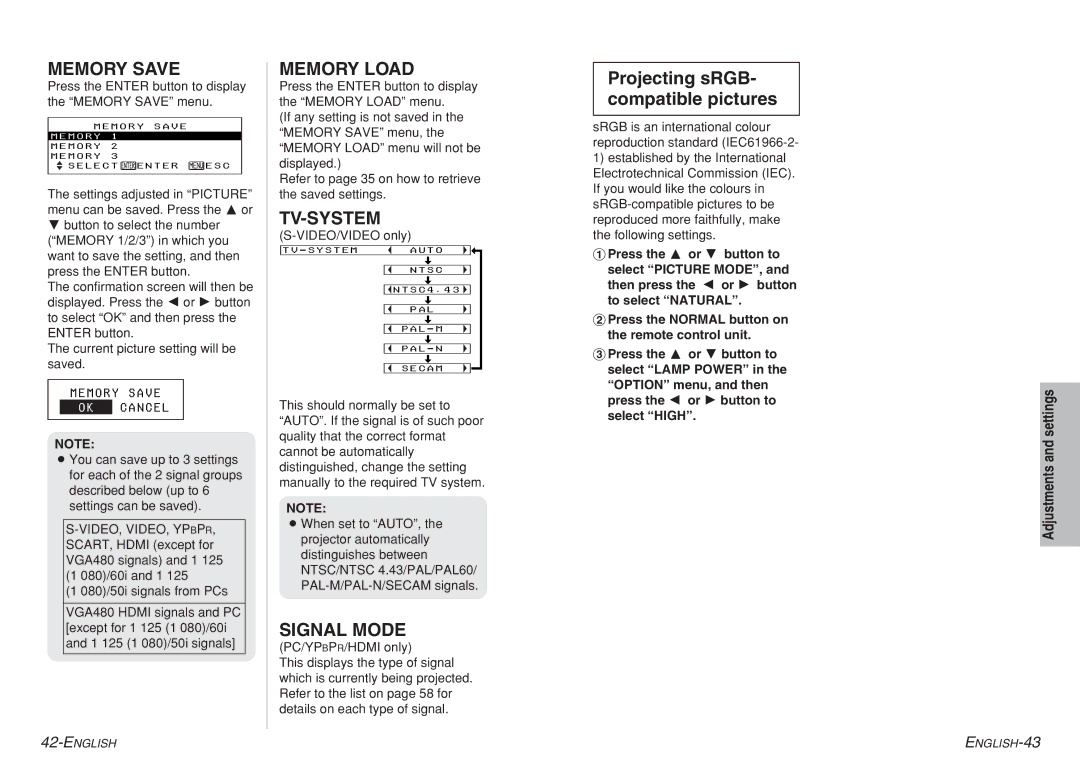
TV-SYSTEM
TV - SYSTEM AUTO
[
NTSC
[
![]() NTSC4 . 43
NTSC4 . 43 ![]()
[
PAL
[
PAL - M
[
PAL - N
[
SECAM
This should normally be set to “AUTO”. If the signal is of such poor quality that the correct format cannot be automatically distinguished, change the setting manually to the required TV system.
NOTE:
BWhen set to “AUTO”, the projector automatically distinguishes between NTSC/NTSC 4.43/PAL/PAL60/
SIGNAL MODE
(PC/YPBPR/HDMI only)
This displays the type of signal which is currently being projected. Refer to the list on page 58 for details on each type of signal.
Projecting sRGB- compatible pictures
sRGB is an international colour reproduction standard
1)established by the International Electrotechnical Commission (IEC). If you would like the colours in
#Press the F or G button to select “PICTURE MODE”, and then press the I or H button to select “NATURAL”.
$Press the NORMAL button on the remote control unit.
%Press the F or G button to select “LAMP POWER” in the “OPTION” menu, and then press the I or H button to select “HIGH”.
Adjustments and settings
