Recording
•Turn the power on (➜ page 6).
•Press STOP to stop the unit.
1Slide recording position switch to select a position.
Switch modes according to situations (➜ page 8).
2 Select a folder for recording.
FOLDER
The folder is switched each time you press .
Select among “![]()
![]()
![]()
![]() ” (The factory setting is “
” (The factory setting is “![]() ”).
”).
When you select “![]() ”, recording is automatically saved in “
”, recording is automatically saved in “![]() ” (If the folder already contains 99 files, the next folder with recordable space is used).
” (If the folder already contains 99 files, the next folder with recordable space is used).
3Press REC/PAUSE (Recording starts).
Each time you press Pause ![]() Recording resumes
Recording resumes
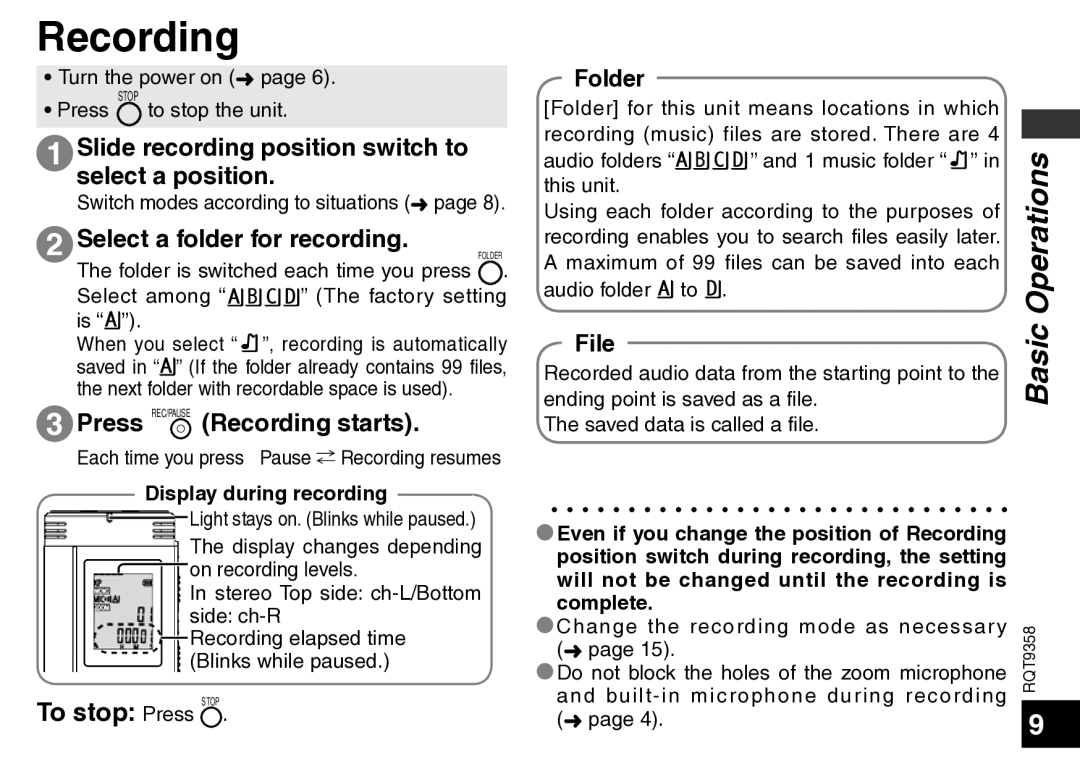
Display during recording
![]()
![]()
![]()
![]()
![]()
![]()
![]()
![]()
![]()
![]()
![]()
![]()
![]()
![]()
![]()
![]()
![]() Light stays on. (Blinks while paused.)
Light stays on. (Blinks while paused.)
![]()
![]()
![]()
![]()
![]()
![]()
![]()
![]()
![]()
![]()
![]()
![]() The display changes depending
The display changes depending ![]()
![]()
![]()
![]()
![]()
![]()
![]()
![]() on recording levels.
on recording levels.
![]() In stereo Top side:
In stereo Top side:
![]() side:
side:
![]()
![]()
![]()
![]() Recording elapsed time
Recording elapsed time ![]()
![]() (Blinks while paused.)
(Blinks while paused.)
To stop: Press STOP .
Folder
[Folder] for this unit means locations in which recording (music) files are stored. There are 4
audio folders “![]()
![]()
![]()
![]() ”
”![]() and 1 music folder “
and 1 music folder “![]() ” in this unit.
” in this unit.
Using each folder according to the purposes of recording enables you to search files easily later. A maximum of 99 files can be saved into each audio folder ![]() to
to ![]() .
.
File
Recorded audio data from the starting point to the ending point is saved as a file.
The saved data is called a file.
*Even if you change the position of Recording position switch during recording, the setting will not be changed until the recording is complete.
*Change the recording mode as necessary (➜ page 15).
*Do not block the holes of the zoom microphone and
Basic Operations
RQT9358
9