The warranty can be found on pages 42 and
The warranty can be found on pages 40 and
Operating Instructions IC Recorder
Model No. RR-US570
Features
Supplied accessories
Connecting this unit to a computer
Recording
Using with a computer
Table of contents
Other
Changing recording settings
Part names
Main unit
Display
Inserting the batteries
Make sure to turn the power off before removing the batteries
OPERATION/HOLD Switch
Turning ON/OFF the Power
Turning the power ON
Turning the power OFF
When “
Setting the time
When the time display is
Preparation
Switching recording position
Recording settings
Setting contents and
Switching
Recording
1 Slide recording position switch to select a position
Basic Operations
2 Select a folder for recording
Turn up the volume Press +
Adjusting the volume
Turn down the volume Press -. Volume range is 0 to
Playing
Adjusting the volume
Listening to the audio using earphones
Basic
Monitoring the recording
1 Press ERASE while playing or
Deleting recorded files
Press q/g to enter
Press u, i to select “ ”
Locking recorded files File protection
To cancel lock
3 Pressfile. u, i to select the
4 Press q/g to enter 5 Press u, i to select “” and press q/g to enter
Switching Monaural/Stereo
Changing recording settings Monaural/Stereo, Microphone sensitivity
Changing microphone sensitivity
2 Press +, - to select “ ” and press q/g to enter
How to set the recording mode XP/LP/SLP
Changing Zoom microphone setting
Changing recording settings Zoom microphone/Recording mode XP/LP/SLP
Operations
Turn the function off when recording important matters
Canceling VAS function
Confirming possible remaining recording time
while recording or
1 Press MENU/ REPEAT during playback
Setting the playback speed control function
2 Press i to select “SPEED” and press q/g to enter
3 Press u, i to select playback speed
Reducing noise EQ setting
Reducing noise EQ setting/Slight return playback
Setting Slight return playback
Canceling Slight return playback
Repeat play/Successive play, A-B Repeat play
Canceling A-B Repeat
Advanced Operations
A-B Repeat play
Canceling the security lock
Setting the password 4-digit number
Security functions
4 Press +, - to select a number and press q/g to enter
Perform step 4 in page 20. Enter the password
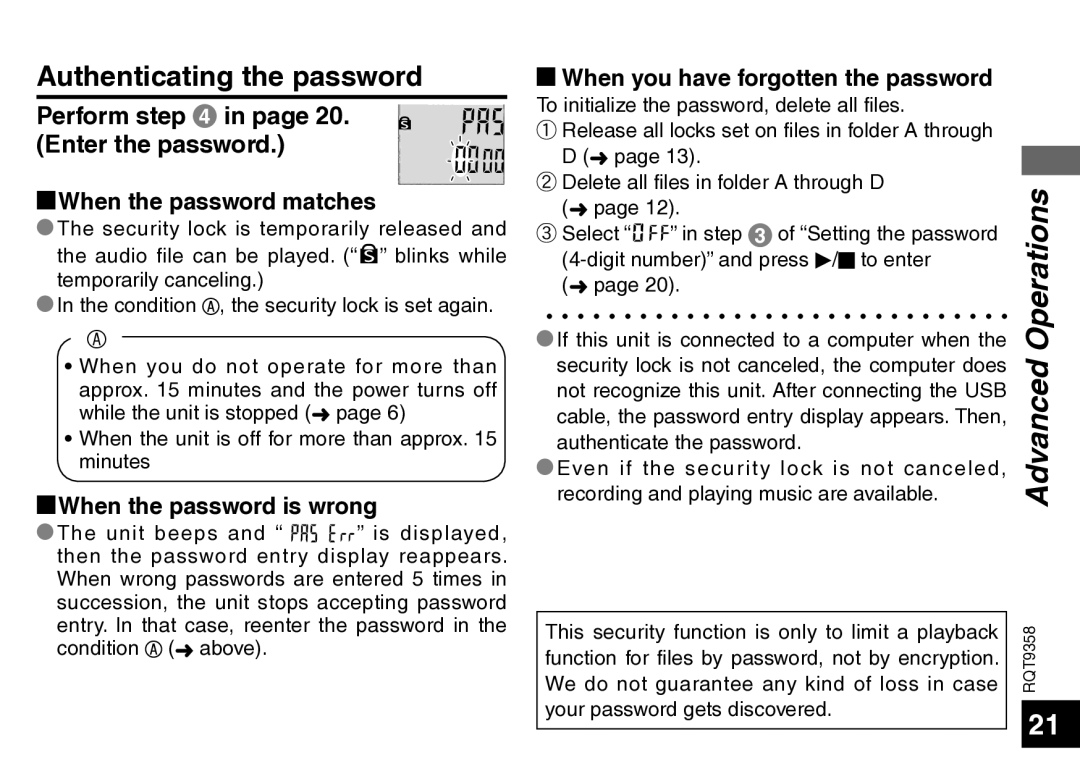
Authenticating the password
gWhen the password matches
gWhen the password is wrong
Recording using an external microphone
Recording using an external microphone/Recording from other devices
Recording from other devices
Read the operating instructions for the connected device
Setting the operation beep ON
Canceling the operation beep
Recording to other devices
Press u, i to select
g System requirements OS
Connecting this unit to a computer
g Removing the USB cable
g USB mass storage function
RQT9358 Using with a computer
Opening the folder of this unit using a computer
2. Right-click to open the removable disk this unit
1. Click Start → My Computer
Do not format this unit using a computer
Delete unnecessary files using the computer
Importing recorded files to a computer
Playing recorded files on the computer
with a computer
Returning the files imported to the computer to this unit
Returning recorded files to this unit from the computer
Do not change the file names
Open MUSIC folder of this unit beforehand page
Transferring MP3 music files to this unit from the computer
by the computer
the 3rd hierarchy and after are not playable
1 Press FOLDER to select “ ” MUSIC folder
Listening to music on this unit Playing MP3 music files on this unit
2 Press u, i to select the file you want to listen
3 Press q/g Playback starts Stop
Creating MP3 music files
4. Select Rip → Rip CD Automatically When Inserted and select Never
2. Select Rip → Format → mp3
256kbps and 320kbps Best Quality
System requirements
RQT9358 Using with a computer/Other
Computer
Interface
Can I do timer recording?
Q & A Frequently Asked Questions
Question
Answer
Symptom
Troubleshooting guide
Battery
This unit considers the battery as empty even if there is actually
The memory is used
Record
completely earlier than
expected
I hear noises
to the computer to this unit
Others
turns off
g Unit
Care and use
g Batteries
g Allergies
If you see this symbol
Maintenance
Clean this unit with a dry and soft cloth
g Listening caution
Product information
Product Service
Other
Specifications
PANASONIC PRODUCT - LIMITED WARRANTY
Limited Warranty ONLY FOR CANADA
EXCHANGE PROGRAM
Panasonic Canada Inc
TELEPHONE NUMBER
User memo DATE OF PURCHASE DEALER NAME DEALER ADDRESS
Product Identification Marking is located on the bottom of unit
Other
Limited Warranty ONLY FOR U.S.A. AND PUERTO RICO
Panasonic Audio Products Limited Warranty
Limited Warranty Limits And Exclusions
Limited Warranty Coverage For USA and Puerto Rico Only
Accessories or make Customer Service and Literature
nearest Dealer or Service Center purchase Parts and
Accessory Purchases United States and Puerto Rico
Customer Services Directory United States and Puerto Rico
THE FOLLOWING APPLIES ONLY IN CANADA
THE FOLLOWING APPLIES ONLY IN THE U.S.A FCC Note