Operating Manual
Regarding PictBridge
Regarding copyrights
Regarding trademarks
Regarding Product Registration
To users of this camera
About the Camera
Handling Precautions for Batteries
About the AC Adapter
Care to be Taken During Handling
Page
Contents
105
Playing Back and Deleting Images
103
106
Settings
Editing and Printing Images
Connecting with Computers
Appendix
2or 4or 5or 3or
Composition of the Operating Manual
Advanced Movie Recording and Picture Taking Functions
Camera Features
Perfect for Portrait Shots
Easy-to-Navigate Capture and Playback Functions
Add Various Frames to Your Pictures
For decorating your pictures with a frame
Display Images in Calendar Format
Checking the Contents of the Package
Front
Names of Parts
Back
Names of Operating Parts
Normal Display
Display in a Mode
Monitor Indications
Detailed Display
Normal Display in Still Picture Capture Mode
250 F3.5 02/02/2009 +1.0 15 16
A4 A5 A6 A7 A8
Display in Q Mode
Page
Guide Indications
Memo
Getting Started
Attaching the Strap
Installing the Batteries
Powering the Camera
Open the battery/card cover
GettingStarted
Battery Level Indicator
Using the AC Adapter
GettingStarted
Installing the SD Memory Card
Backing Up Data
Push the card into the SD Memory Card socket to eject it
To Remove the SD Memory Card
Precautions When Using an SD Memory Card
Number of Images Recordable on an SD Memory Card
Turning the Camera On and Off
Press the power switch
Press the power switch again
Checking the Memory Card
Playback Mode
Press the power switch while holding down the Q button
Initial Settings
Setting the Display Language
Press the 4 button
When Another Language Has Been Inadvertently Selected
When the Screen After Appears in Another Language
Use the four-way controller 45 to choose the city
To Set Hometown and DST
Setting the Date and Time
GettingStarted
Use the four-way controller 23 to change the month
Started
Memo
Common Operations
Understanding the Button Functions
Mode
W button
Four-way controller
Green button
Zoom/f/y button
Green/i button
To Switch from Q Mode to a Mode
Switching Between a Mode and Q Mode
To Switch from a Mode to Q Mode
Press the Q button
Displaying data stored in the built-in memory
Setting the Camera Functions
Operating the Menus
Returns to Q
Camera
Mode
Ex. To set the Focusing Area on the a Rec.Mode menu
Press the 3 button in a mode
Use the four-way controller 23 to change the setting
Press the 4 button or the four-way controller
To Cancel the Changes and Continue with Menu Operations
To Save the Setting and Start Taking Pictures
To Save the Setting and Begin Playback of Images
Press the shutter release button halfway
Menu List
Rec.Mode Menu
Setting Menu
Memo
Taking Pictures
Taking Pictures
Taking Still Pictures
Confirm the subject and shooting Information on the display
Press the shutter release button fully
Using the Shutter Release Button
Press halfway
Press fully
Poor focusing conditions
Blink Detection
Press the four-way controller 3 in a mode
Setting the Shooting Mode
Use the four-way controller 2345 to choose a shooting mode
There are 18 available shooting modes
Using the Face Recognition Function
To Switch the Face Recognition Function
Taking Pictures Automatically Auto Picture Mode
Taking Pictures in the Custom Settings Program Mode
Use the four-way controller 2345 to select R
Taking Pictures in the Basic Mode Green Mode
Set the functions you want to change
Press the Green button in a Mode
Camera switches to 9 mode
Using the Zoom
Press the Zoom/w/xbutton in a Mode
Recorded pixels and the maximum zoom ratio
Use the four-way controller 23 to select Digital Zoom
To Set the Digital Zoom
Use the four-way controller 45 to select O On or P Off
Using Pixel Track SR
Use the four-way controller 23 to select Pixel Track
Night Scene Portrait
Press the shutter release button halfway
Shutter release
Taking Pictures of Children Kids Mode
Taking Pictures of Your Pet Pet Mode
Use the four-way controller 23 to select Y, Z, Z, a, b or b
Press the four-way controller 3 in a mode
Framing Your Pictures Frame Composite Mode
Press y on the Zoom/f/y button
Optional Frames
Shutter release Button Four-way controller
Using the Self-timer
Using the self-timer When the camera recognizes a face,
Camera is ready to take the picture
Taking a Series of Pictures Continuous Shooting Mode
Press the four-way controller 2 in a mode
Camera is ready to take a series of pictures
Taking Panoramic Pictures Digital Panorama Mode
Pictures
Take the second frame
Take the third frame
If you select right 5 in Step
To Cancel after Taking the First or Second Frame
Setting the Shooting Functions
Selecting the Flash Mode
Press the four-way controller 4 in a mode
About the red-eye phenomenon
Selecting the Focus Mode
Press the four-way controller 5 in a mode
To Set the Focusing Area
Area
Default setting is N 3648×2736
Shooting/Playback screen when yis Selected
Selecting the Recorded Pixels
To change the number of recorded
Use the four-way controller 23 to select Recorded
Pixels Press the four-way controller
Pixels
Use the four-way controller 23 to select EV Compensation
Setting the Exposure EV Compensation
To select the EV value
Use the four-way controller 23 to select Sensitivity
Setting the Sensitivity
Use the four-way controller 23 to change the sensitivity
Detection Use the four-way controller
Setting Blink Detection
Use the four-way controller 23 to select Blink
To select O On or P Off
Setting the Date Imprint Function
Choose from Date, Date & Time, Time or Off
To select C Movie
Recording Movies
Recording a Movie
Recording Movie shake reduction function icon
Keeping the Shutter Release Button Pressed
100
Press the 3 button twice
Default setting is s 640×480 30fps
Selecting the Recorded Pixels for Movies
101
Use the four-way controller 23 to select Movie SR
Setting the Movie SR Movie Shake Reduction Function
102
Saving the Settings Memory
103
Use the four-way controller 23 to choose an item
104
Playing Back and Deleting Images
Playing Back Still Pictures
Playing Back Images
Press the Q button after taking a picture
Playback starts
Playing Back a Movie
Deleting Images
Following operations can be performed during playback
Four-Image/Nine-Image Display
Q mode, press f on the Zoom/f/y button
108
Playing Back Folder display
To Switch to Folder Display or Calendar Display
Press f on the Zoom/f/y button
Calendar display
110
Press halfway
Using the Playback Function
Closes the Playback Mode
111
Deleting Images Playback Mode Palette
112
Slideshow
Effect
Use the four-way controller 23 to change the interval
Use the four-way controller 23 to select Screen
Use the four-way controller 23 to select Sound
Rotating the Image
115
Zoom Playback
116
Press the 4button
Recognized when the image was taken
117
Saving Images As Favorite
118
Use the four-way controller 2345 to select Favorite
Playing Back Favorite Images
119
Playing back favorite images in slideshow
120
Enter the playback screen of favorite images
Deleting Favorite Images
Use the four-way controller 23 to select Delete
Press the i button twice
Deleting Selected Favorite Images
Use the four-way controller 23 to select Delete All
Press the i button
122
Use the four-way controller 23 to select Select & Delete
123
Deleting a Single Image
When images are inadvertently deleted
Deleting Images
124
Deleting Selected Images
125
Recovering Deleted Images
126
5button
Protecting Images from Deletion Protect
After deleting a file, press the four-way controller
127
Images
Use the four-way controller 2345 to select Z Protect
To select Protect
128
To Protect All Images
Use the four-way controller 23 to select All Images
129
Turn the AV device on
Connecting the Camera to AV Equipment
Connect the AV cable to the PC/AV terminal
130
Turn the camera on
131
132
Editing and Printing Images
Use the four-way controller To select nResize
Editing Images
Changing the Image Size Resize
Editing
Select Recorded Pixels
Cropping Images
135
Printing Images
Use the four-way controller 2345 to select oCropping
Choose the cropping conditions
136
Use the four-way controller 2345 to select Digital Filter
Using the Digital Filters
137
To Select a Color Filter
Use the four-way controller 23 to choose a digital filter
To Select a B&W Filter or Sepia Filter
138
To Select a Brightness Filter
Use the four-way controller 23 to select the digital
139
Printing
Red-eye Compensation
Use the four-way controller To select ZRed-eye Compensation
140
Composite
Adding a Frame Frame Composite
141
142
To Copy Frames
Remove the SD Memory Card from the camera
143
To Use a New Frame
Copying Images
Use the four-way controller 2345 to select pImage Copy
144
To select the image you want to
Use the four-way controller 23 to select
145
Q mode, press the four-way controller
Setting the Printing Service Dpof
Printing Single Images
Use the four-way controller 2345 to select rDPOF
Printing Images
Use the four-way controller 23 to select Single Image
147
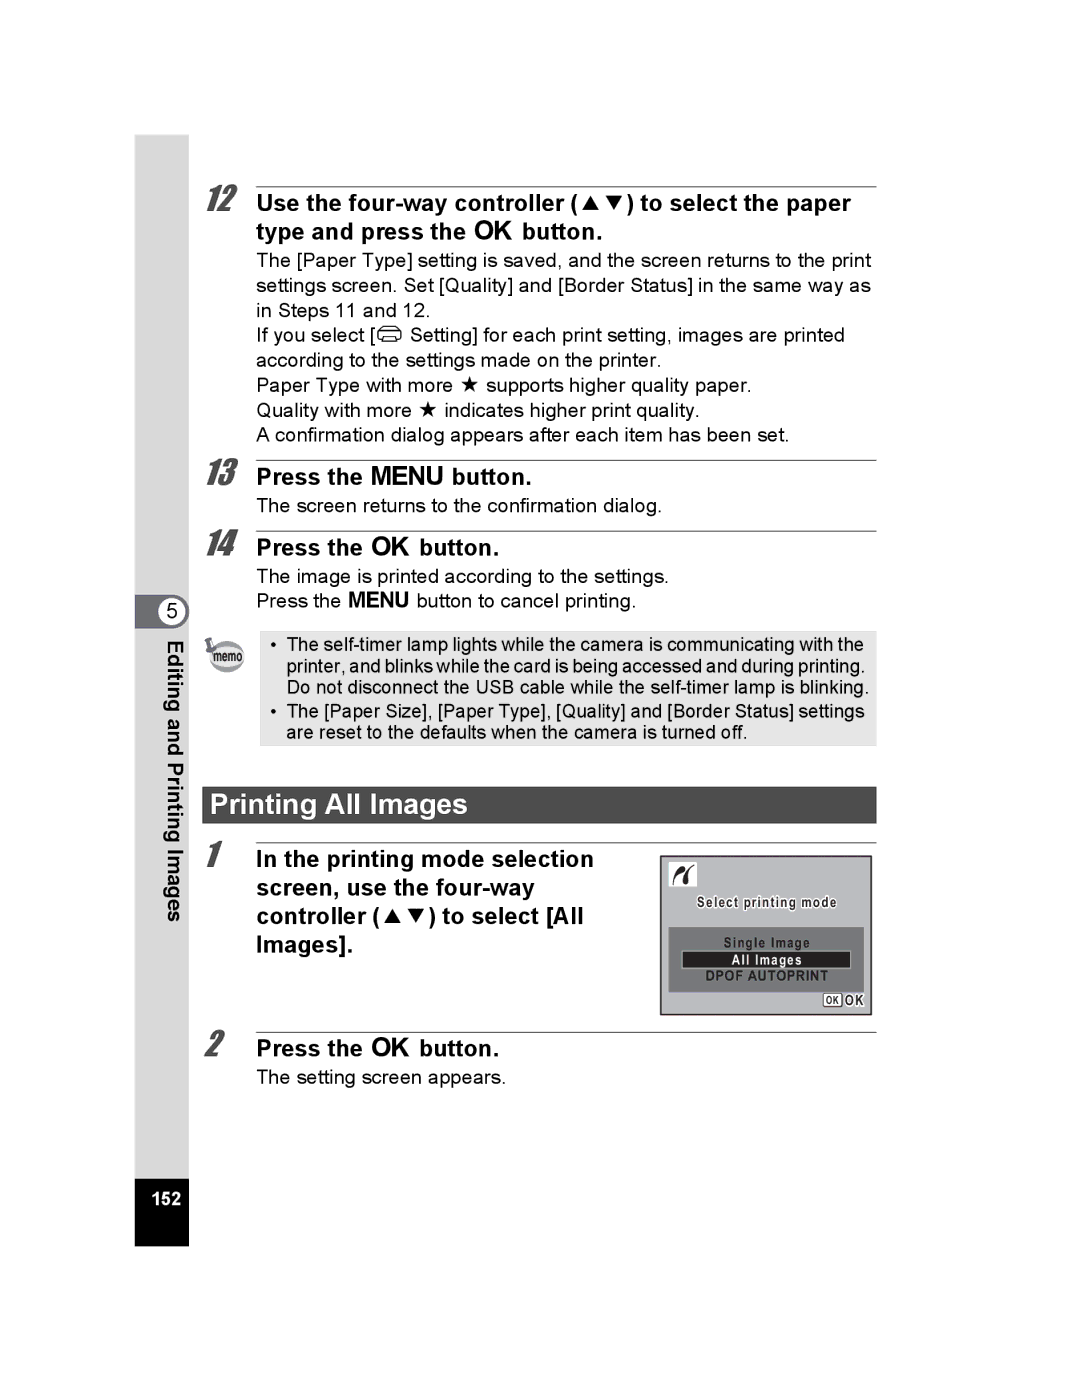
Printing All Images
Display the screen for Dpof settings in Q mode
148
Connecting the Camera to the Printer
Printing Using PictBridge
149
When the printer is ready to print, turn the camera on
150
151
152
Press the 4button on the print settings confirmation screen
Printing Using the Dpof Settings
153
Disconnecting the Cable from the Printer
154
Settings
Formatting an SD Memory Card
Camera Settings
Press the 3 button in Q mode
Use the four-way controller 23 to select Format
To Change the Operation Volume/Playback Volume
Changing the Sound Settings
Change Playback Volume in the same way as in Steps 4
Sound screen appears
To Change the Sound Type
Changing the Date and Time
Use the four-way controller 23 to select the sound type
158
159
Change the time in the same way as in Steps 8 to
160
To Set the Destination
Setting the World Time
161
162
Use the four-way controller 23 to select Language
Changing the Display Language
163
Use the four-way controller 2345 to select the language
Changing the Naming Rule of the Folder
164
Use the four-way controller 23 to select Standard or Date
Changing the USB Connection Mode
Use the four-way controller 23 to select Folder Name
165
Use the four-way controller 23 to select PC or PictBridge
Changing the Video Output Format
166
Use the four-way controller 23 to select Brightness Level
Adjusting the Brightness of the Display
Use the four-way controller 45 to adjust the brightness
167
Using the Power Saving Function
168
Setting Auto Power Off
169
170
Reset screen appears
Resetting to Default Settings Reset
Use the four-way controller 23 to select Reset
171
172
Connecting with Computers
Computers
Preparations
Supplied Software
174
USB connection
System Requirements
Windows System Requirements
Application Software
Application Software ACDSee 2 for Mac
Macintosh System Requirements USB connection
176
If you are using Windows Vista
Installing the Software
Installing on Windows PC
177
Click Finish
Click Install
Choose a language from the displayed screen
178
Installing on Macintosh
When the screen shown on the right appears, click Yes
179
Product Registration on the Internet
Click Close
180
Connecting with
Setting Up Your Digital Camera
Setting the USB Connection Mode to PC
Press the Menu button
Turn your camera on
Connecting the Camera and PC
Transferring Images to a Windows PC
182
Transferring Images
183
184
Specify the destination folder Click OK
Double-click the Dcim folder
185
Select USB Mass Storage Device and click OK
Computers Disconnecting the Camera from Your Windows PC
Select USB Mass Storage Device and click Stop
186
Transferring Images to a Macintosh
Connecting the Camera and Macintosh
187
Disconnect the USB cable from your Macintosh and the camera
Disconnecting the Camera from Your Macintosh
Drag Noname icon on the desktop to trash
188
Starting ACDSee for Pentax
Using the Supplied Software
Double-click the ACDSee for Pentax 3.0 icon on the desktop
Viewing Images
ACDSee Quick View
Details on How to Use ACDSee for Pentax
Click the ? icon at the top right of the screen
191
For Macintosh
Starting ACDSee 2 for Mac
Double-click the desired topic
ACDSee Browser Interface Menu bar
Favorites pane
193
Click the desired topic
Details on How to Use ACDSee 2 for Mac
Select ACDSee 2 for Mac from Help on the menu bar
194
Appendix
Functions Available for Each Shooting Mode
196
197
Messages
198
199
Memory Display
200
Troubleshooting
201
202
Reset Setting
Default Settings
Last Memory Setting
Rec.Mode Menu Items
204
Setting Menu Items
205
Playback Mode Palette Items
206
Key Operation
207
List of World Time Cities
208
Cable USB cable I-USB7 AV cable I-AVC7 Strap ST51
Optional Accessories
Power supply AC adapter kit K-AC62
Camera case CC72 CC79 CC81 Appendix
Main Specifications
210
211
It is possible to switch to Pan Focus and Infinity
212
213
Warranty Policy
214
215
Pour les utilisateurs au Canada
For customers in USA
For customers in Canada
216
Class B Personal Computers and Peripherals
217
218
219
Index
221
222
Zoom /w/x Zoom button
223
Hoya Corporation