Installing your LCD Monitor
UP and DOWN buttons are used when adjusting the OSD of your monitor
LEFT and RIGHT buttons, like the UP and DOWN buttons, are also used in adjusting the OSD of your monitor.
BRIGHTNESS hotkey. When the UP and DOWN arrow buttons are pressed, the adjustment controls for the BRIGHTNESS will show up.
.OK button which when pressed will take you to the OSD controls
POWER button switches your monitor on
MUTE hotkey. When the LEFT and RIGHT arrow buttons are pressed, the sound mute ON or OFF setting will show up. (Option only available for Audio version)
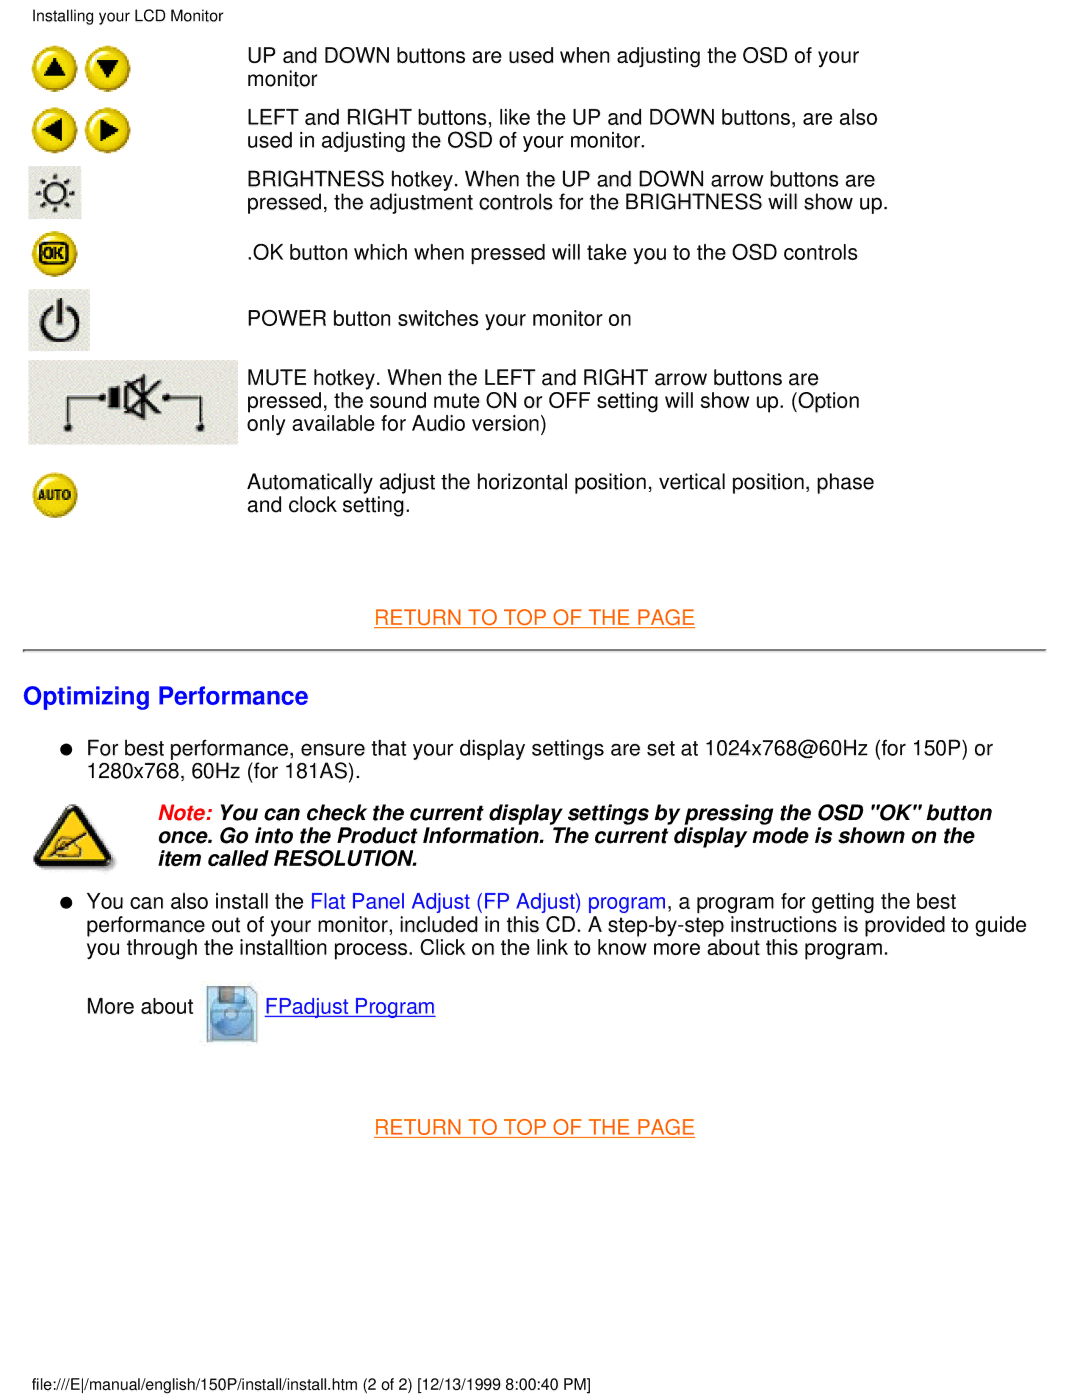
Automatically adjust the horizontal position, vertical position, phase and clock setting.
RETURN TO TOP OF THE PAGE
Optimizing Performance
●For best performance, ensure that your display settings are set at 1024x768@60Hz (for 150P) or 1280x768, 60Hz (for 181AS).
Note: You can check the current display settings by pressing the OSD "OK" button once. Go into the Product Information. The current display mode is shown on the item called RESOLUTION.
●You can also install the Flat Panel Adjust (FP Adjust) program, a program for getting the best performance out of your monitor, included in this CD. A
More about ![]() FPadjust Program
FPadjust Program
RETURN TO TOP OF THE PAGE
file:///E/manual/english/150P/install/install.htm (2 of 2) [12/13/1999 8:00:40 PM]