Glossary
its ports.
Device
A logical or physical entity that performs a function. The actual entity described depends on the context of the reference. At the lowest level, device may refer to a single hardware component, as in a memory device. At a higher level, it may refer to a collection of hardware components that perform a particular function, such as a Universal Serial Bus interface device. At an even higher level, device may refer to the function performed by an entity attached to the Universal Serial Bus; for example, a data/FAX modem device. Devices may be physical, electrical, addressable, and logical.
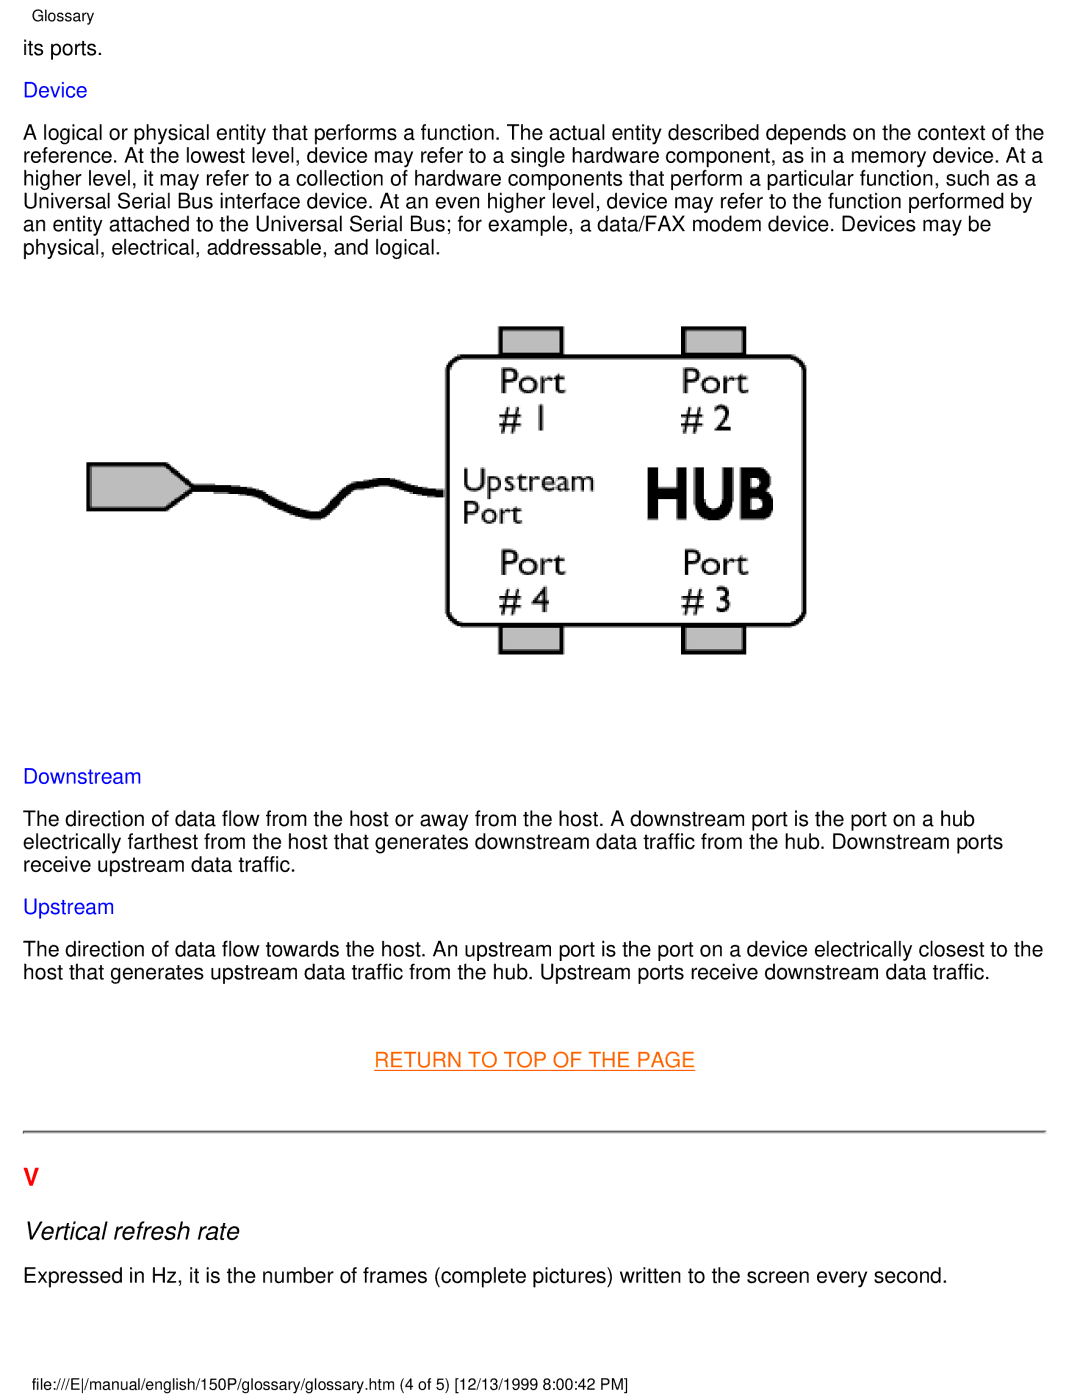
Downstream
The direction of data flow from the host or away from the host. A downstream port is the port on a hub electrically farthest from the host that generates downstream data traffic from the hub. Downstream ports receive upstream data traffic.
Upstream
The direction of data flow towards the host. An upstream port is the port on a device electrically closest to the host that generates upstream data traffic from the hub. Upstream ports receive downstream data traffic.
RETURN TO TOP OF THE PAGE
V
Vertical refresh rate
Expressed in Hz, it is the number of frames (complete pictures) written to the screen every second.
file:///E/manual/english/150P/glossary/glossary.htm (4 of 5) [12/13/1999 8:00:42 PM]