Page
Installation Locations
Safety and Troubleshooting Information
Safety precautions and maintenance
Return to TOP
Notational Descriptions
About This Manual
About This Guide
Return to TOP
180MT
Product Features
Technical Specifications
Product Information
Video
User definable modes
Resolution & Preset Modes
Vesa Mode Video Sync Power Used LED color
Automatic Power Saving
Pin Assignment
Physical Specifications
Tilt
Product Views
Physical Function
Return to TOP
Installing your LCD Monitor/TV
Side View
Rear View
Europe
North America and Asia Pacific
Optimising Performance
Description of the On Screen Display
PC Mode TV/Video Mode
PC Mode
On-Screen Display
Page
For Europe
TV/Video Mode
For Asia Pacific
Page
For Ntsc system North America, Philippine, Taiwan and Korea
Return to TOP
TV Control
Using your Remote Control
Teletext features
Personal
Sound mode Previous programme Screen information
For Ntsc system North America, Philippine, Taiwan and Korea
TV Control
Press button
On/Off Teletext
Direct Access
Press the button to return to the main index generally on
Using the Programme Listing
Hold
Main Index
Return to TOP
North America Canada USA
Customer Care & Warranty
Download and Print
Installing Your LCD monitor driver
Printing instructions
Installing FPadjust Program
General FAQs
FAQs Frequently Asked Questions
FAQs Frequently Asked Questions
Screen Adjustments
Compatibility with other Peripherals
LCD Panel Technology
FAQs Frequently Asked Questions
Ergonomics, Ecology and Safety Standards
Return to TOP
Display position is incorrect Image vibrates on the screen
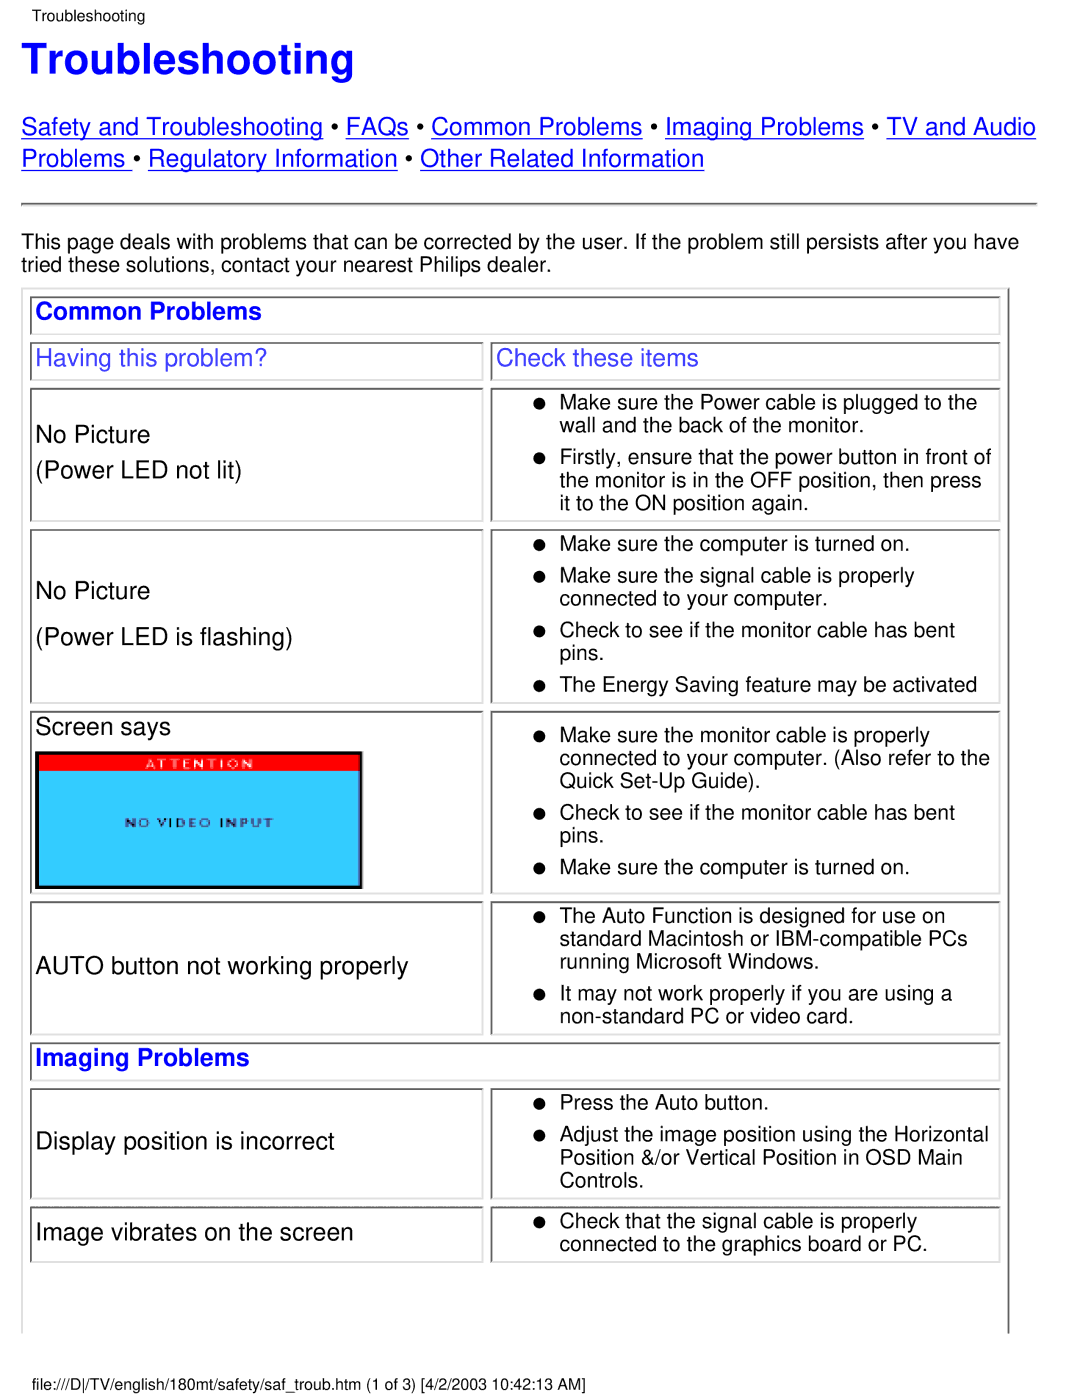
Troubleshooting
Common Problems
Imaging Problems
Vertical flicker appears
TV and Audio Problems
Poor TV signal reception No TV picture No sound
Congratulations
Why do we have environmentally labelled computers?
Regulatory Information
TCO 95 Information
TCO Development Unit
What does labelling involve?
Brominated flame retardants
Environmental Requirements
Energy Star Declaration
CE Declaration of Conformity
Nutek
Federal Communications Commission FCC Notice U.S. Only
EN 55022 Compliance Czech Republic Only
Commission Federale de la Communication FCC Declaration
Class B Device
Vcci Notice Japan Only
Class B ITE
MIC Notice South Korea Only
Polish Center for Testing and Certification Notice
Placering/Ventilation
North Europe Nordic Countries Information
Ergonomie Hinweis nur Deutschland
Paikka/Ilmankierto
Plassering/Ventilasjon
Bsmi Notice Taiwan Only
Information for UK only
End-of-Life Disposal
Blue Neutral N Brown Live L Green & Yellow Earth E
How to connect a plug
Information for Users outside the U.S
Other Related Information
Information for Users in the U. S
Types of Pixel Defects
Philips Pixel Defect Policy
Philips LCD Panel Pixel Defect Policy
Pixels and Sub pixels
Pixel Defect Tolerances
Proximity of Pixel Defects
Black DOT Defects Acceptable Level
Accessory Pack
Connecting to Your PC, TV Antenna, DVD/VCR etc
Europe
Setting up and connecting your monitor/TV
Connecting the monitor/TV
North America and Asia Pacific
Connect to PC
Connect to DVD/VCR/VCD through S-VIDEO
Installation section Getting Started
Connect to DVD/VCD/VCR
Connecting to Your PC, TV Antenna, DVD/VCR etc
Return to TOP
Removing the Base
Removing and Re-installing the Base
Condition
Re-installing the Base
Page
Return to TOP
Antenna
Basic Monitor/TV Connections
Cable TV
Basic Connection
Monitor TV to VCR
Return to TOP
Getting Started
Getting Started
For Windows XP
Return to TOP
Press to exit the Country menu
Using Other Menus PAL System Europe
To exit from the menus, press
Automatic tuning
Manual tuning
Sorting programmes
To exit press the key
Programme name
From option is activated
Press Menu then . The Picture menu appears
Adjusting the picture
Adjusting the sound
Timer function
Repeat stages 1 to 4 above, then select Clear ALL and press
Locking the set
Return to TOP
Using Other Menus PAL System Asia
Screen
Manual Tuning of Channels
Selecting the Colour/Sound System
Fine Tuning of Channels
Sorting of Channels
Editing of Channels
How to add channels again
Naming of Channels
Description of the picture settings
Using the Picture/Sound Menu
Description of the sound settings
Tuner
Using Other Menus Ntsc System
Using Other Menus with remote control Language
Smart Help
Auto Program
Monitor TV connection section
Manual
Name
Channel Edit
Adjusting the Picture
Imagemax
Speakers
Activate
Using Other Menus with remote control Activating the Timer
Display
Activating the Child Lock Access Code/Change Code
Activating the Child Lock Lock Channel
Activating the Child Lock Clear All
Using the Programme List Feature
Smart Picture and Smart Sound Control
Emphasizes low tone. Bass boosted
Sound settings are set to your preference
Emphasizes high tone. Treble boosted
Setting the Start Time
Setting the Clock
Setting the Stop Time
Selecting the Channel
Setting Activate to on or OFF
Turning on the Timer Display
AutoLockTM offers a variety of Blocking Options
Understanding AutoLockTM
Movie Ratings TV Parental Guidelines
Using other menus NTSC2
Features
Setting up the Access Code
Blocking by Movie Rating
Blocking Channels
Blocking by TV Rating
Turning Block on or OFF
Blocking Unrated Broadcasts
Blocking Broadcasts That Have No Rating
Viewing Blocked Programming
Using the Closed Captioning Control
Return to TOP
Thank you for purchasing this Philips monitor
Your International Philips F1rst Choice Warranty
Your International Guarantee
WHO is COVERED? What is COVERED?
Limited Warranty Computer Monitor
Before Requesting Service
Philips Customer Care Center, P. O. Box 2976, Longview, TX
F1rst Choice Contact Information
Eastern Europe
Consumer Information Centers
Argentina
Canada
NEW Zealand
Fax 21-656
Hong Kong
Phone 91-20-712 2048 ext Fax 91-20-712
Korea
Domestic toll free 1-800-10-PHILIPS or 1-800-10-744
Africa
Dubai