User Manual BDH5011
11. Picture Adjustment
11.1 For AV/Component Video
(480i signal)
Accessing Picture Adjustment Mode
Various picture adjustments can be set using the Picture Adjustment OSD menu.To access the OSD menu:
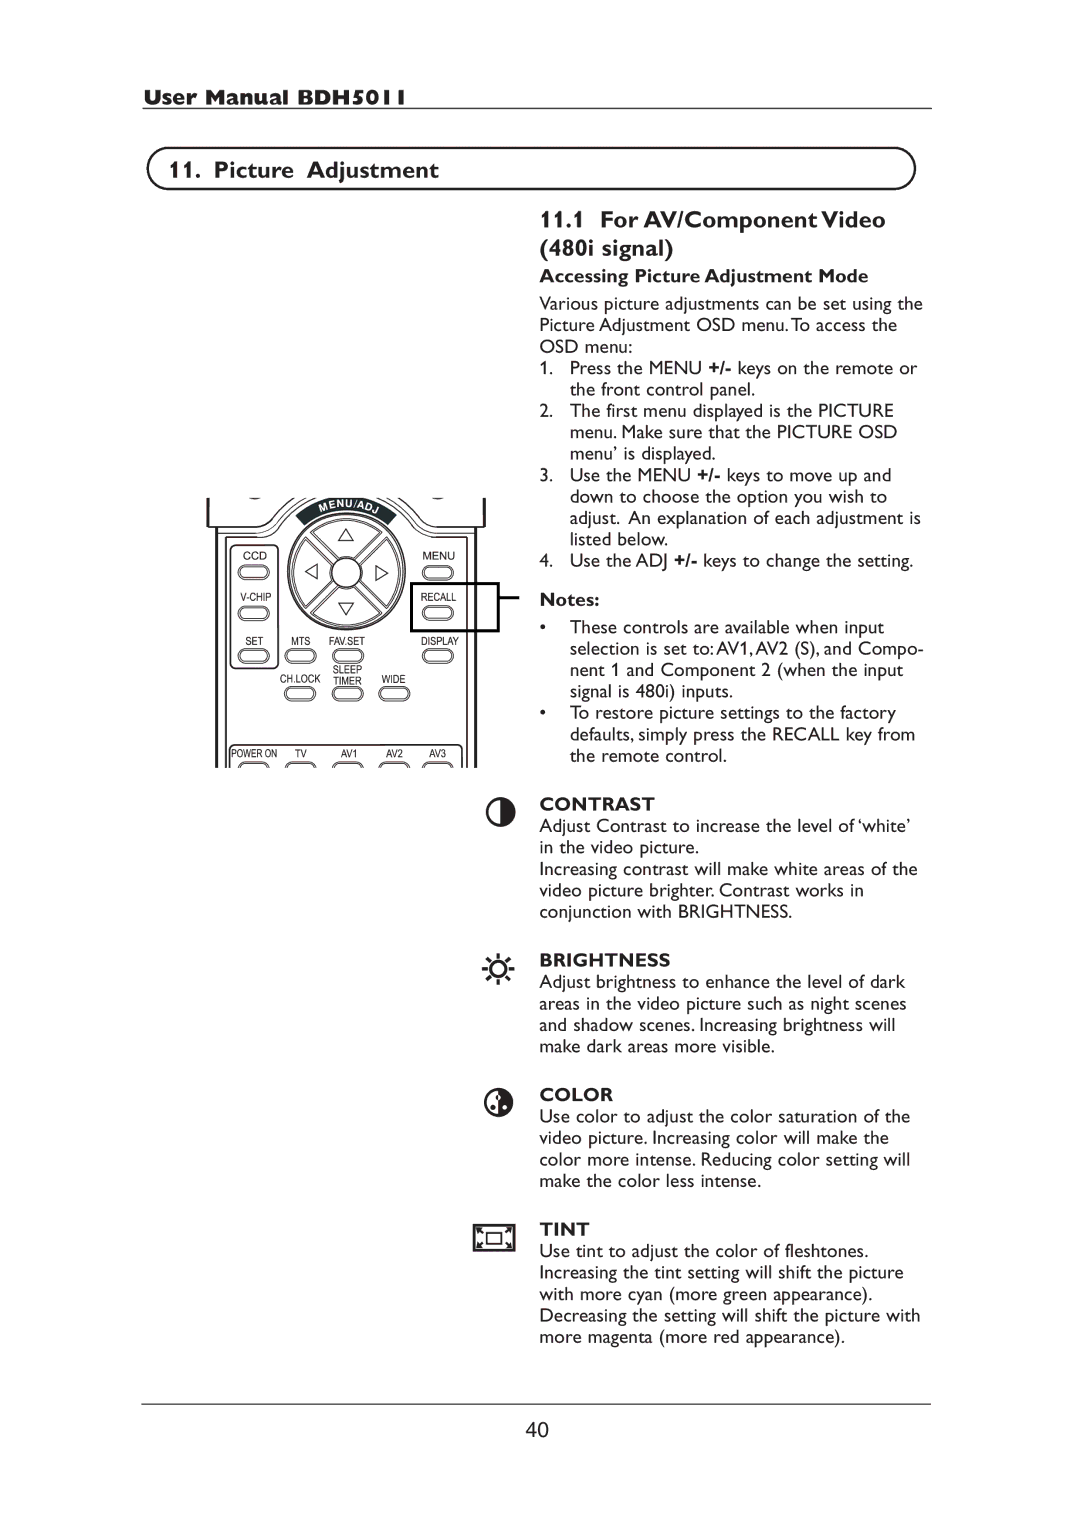
1. Press the MENU +/- keys on the remote or the front control panel.
2. The first menu displayed is the PICTURE menu. Make sure that the PICTURE OSD menu’ is displayed.
3. Use the MENU +/- keys to move up and down to choose the option you wish to adjust. An explanation of each adjustment is listed below.
4. Use the ADJ +/- keys to change the setting.
Notes:
•These controls are available when input selection is set to:AV1,AV2 (S), and Compo-
nent 1 and Component 2 (when the input signal is 480i) inputs.
•To restore picture settings to the factory defaults, simply press the RECALL key from
the remote control.
CONTRAST
Adjust Contrast to increase the level of ‘white’ in the video picture.
Increasing contrast will make white areas of the video picture brighter. Contrast works in conjunction with BRIGHTNESS.
BRIGHTNESS
Adjust brightness to enhance the level of dark areas in the video picture such as night scenes and shadow scenes. Increasing brightness will make dark areas more visible.
COLOR
Use color to adjust the color saturation of the video picture. Increasing color will make the color more intense. Reducing color setting will make the color less intense.
TINT
Use tint to adjust the color of fleshtones. Increasing the tint setting will shift the picture with more cyan (more green appearance). Decreasing the setting will shift the picture with more magenta (more red appearance).
40