User Manual BDH5031V
Picture
Sound
Screen
Feature
Input
![]() Move
Move
| Time Setting |
|
|
Clock | AM 11 : 50 |
|
|
Off Timer | Off |
Off Time | AM 12 : 00 |
Adjust | MENU Exit |
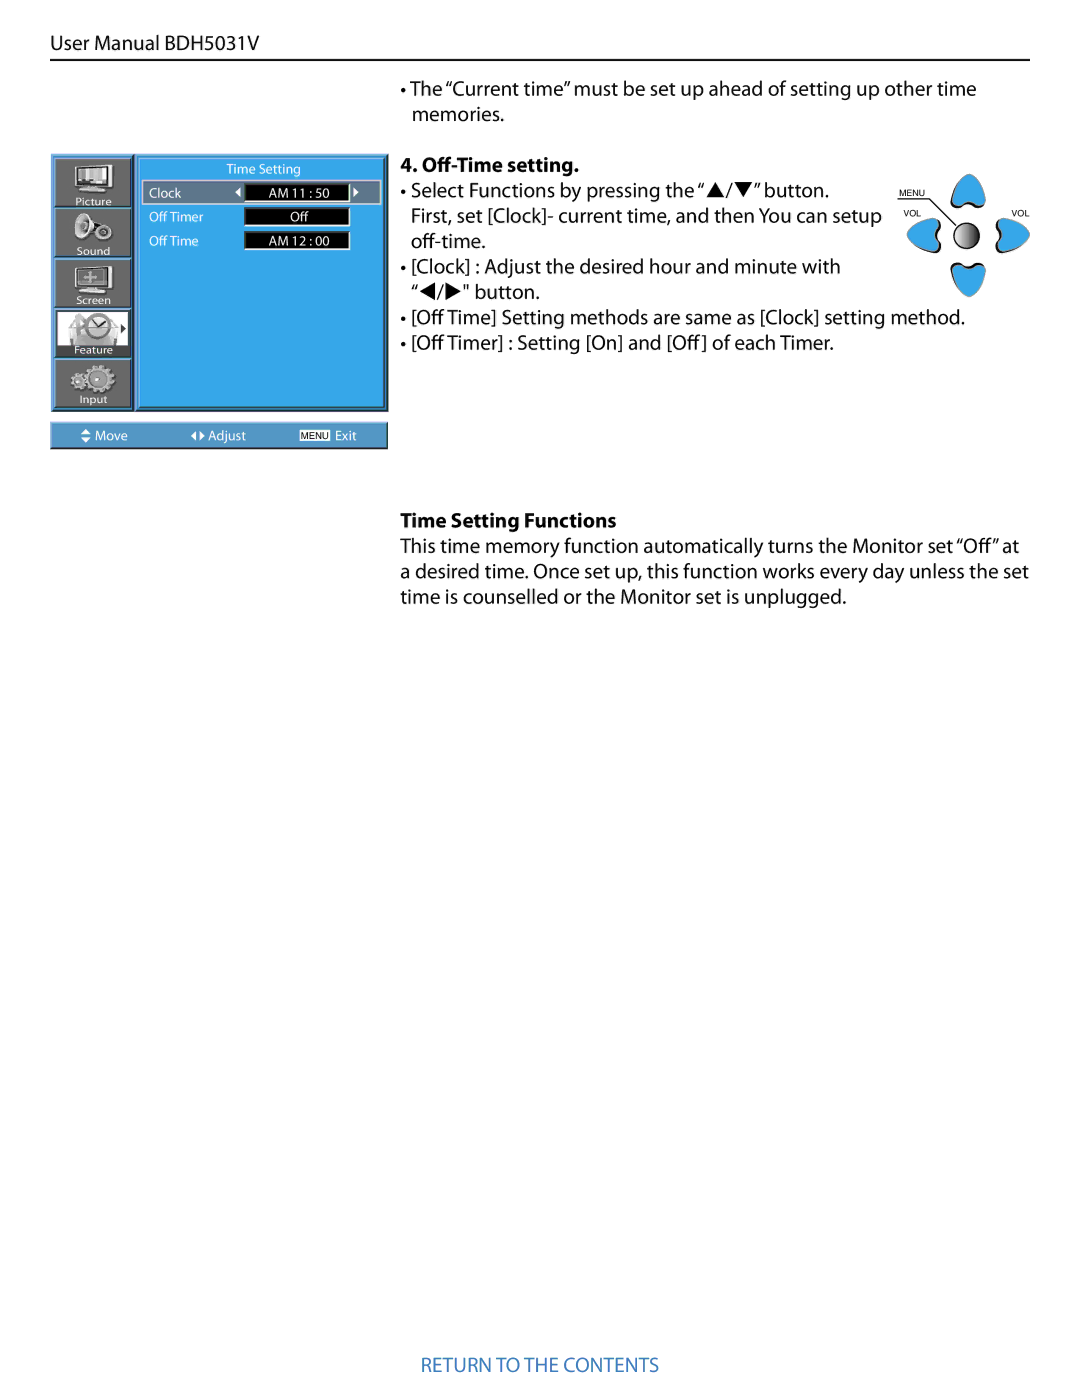
•The “Current time” must be set up ahead of setting up other time memories.
4. Off-Time setting.
• Select Functions by pressing the “/” button. | MENU |
|
First, set [Clock]- current time, and then You can setup | VOL | VOL |
|
|
•[Clock] : Adjust the desired hour and minute with “/" button.
•[Off Time] Setting methods are same as [Clock] setting method.
•[Off Timer] : Setting [On] and [Off] of each Timer.
Time Setting Functions
This time memory function automatically turns the Monitor set “Off” at a desired time. Once set up, this function works every day unless the set time is counselled or the Monitor set is unplugged.