5 QUICK START GUIDE (INITIAL POWER-UP)
The default setting (Profile 1 only is in use) has all four channels recording high quality real time video. To change these settings, proceed to Programming the
1.Install the
2.Connect camera(s).
3.Connect audio (optional; See Figure 3.2 for configuration).
NOTES:
•By default, audio recording is disabled to prevent unintentional audio recording that could violate legal restrictions. The administrator must enable the audio feature if desired.
•Audio recording occurs only if Channel 1 is recording video.
4.Attach a monitor to MON A for viewing
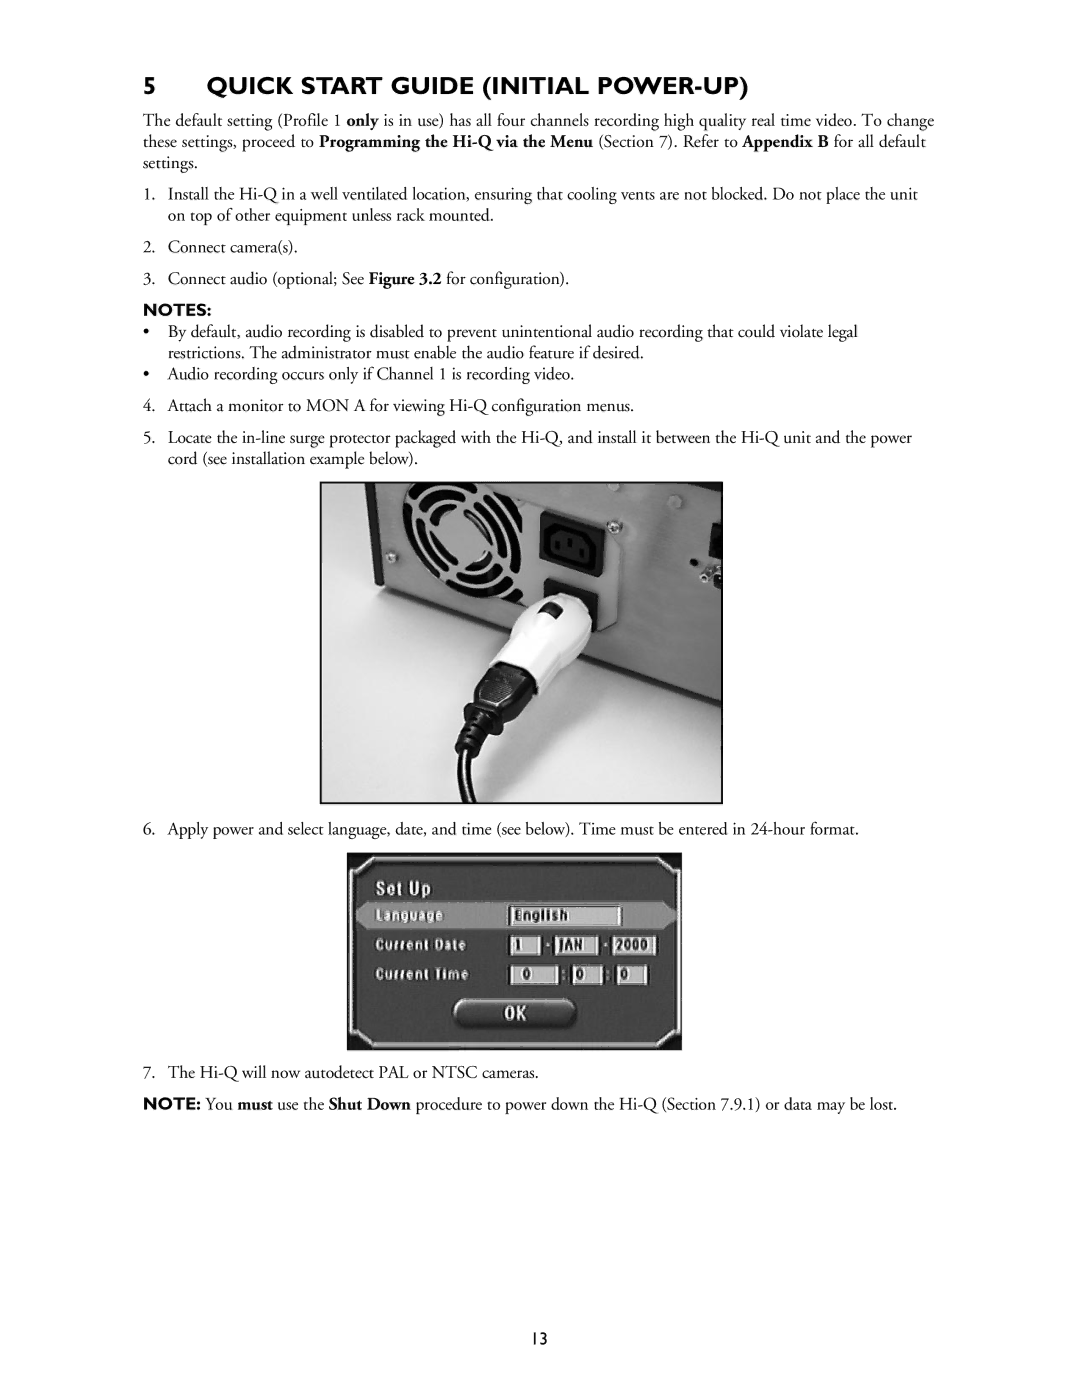
5.Locate the
6. Apply power and select language, date, and time (see below). Time must be entered in
7. The
NOTE: You must use the Shut Down procedure to power down the
13