Step 3: Installation and Setup (continued)
GENERAL settings (underlined options are the factory default settings)
English
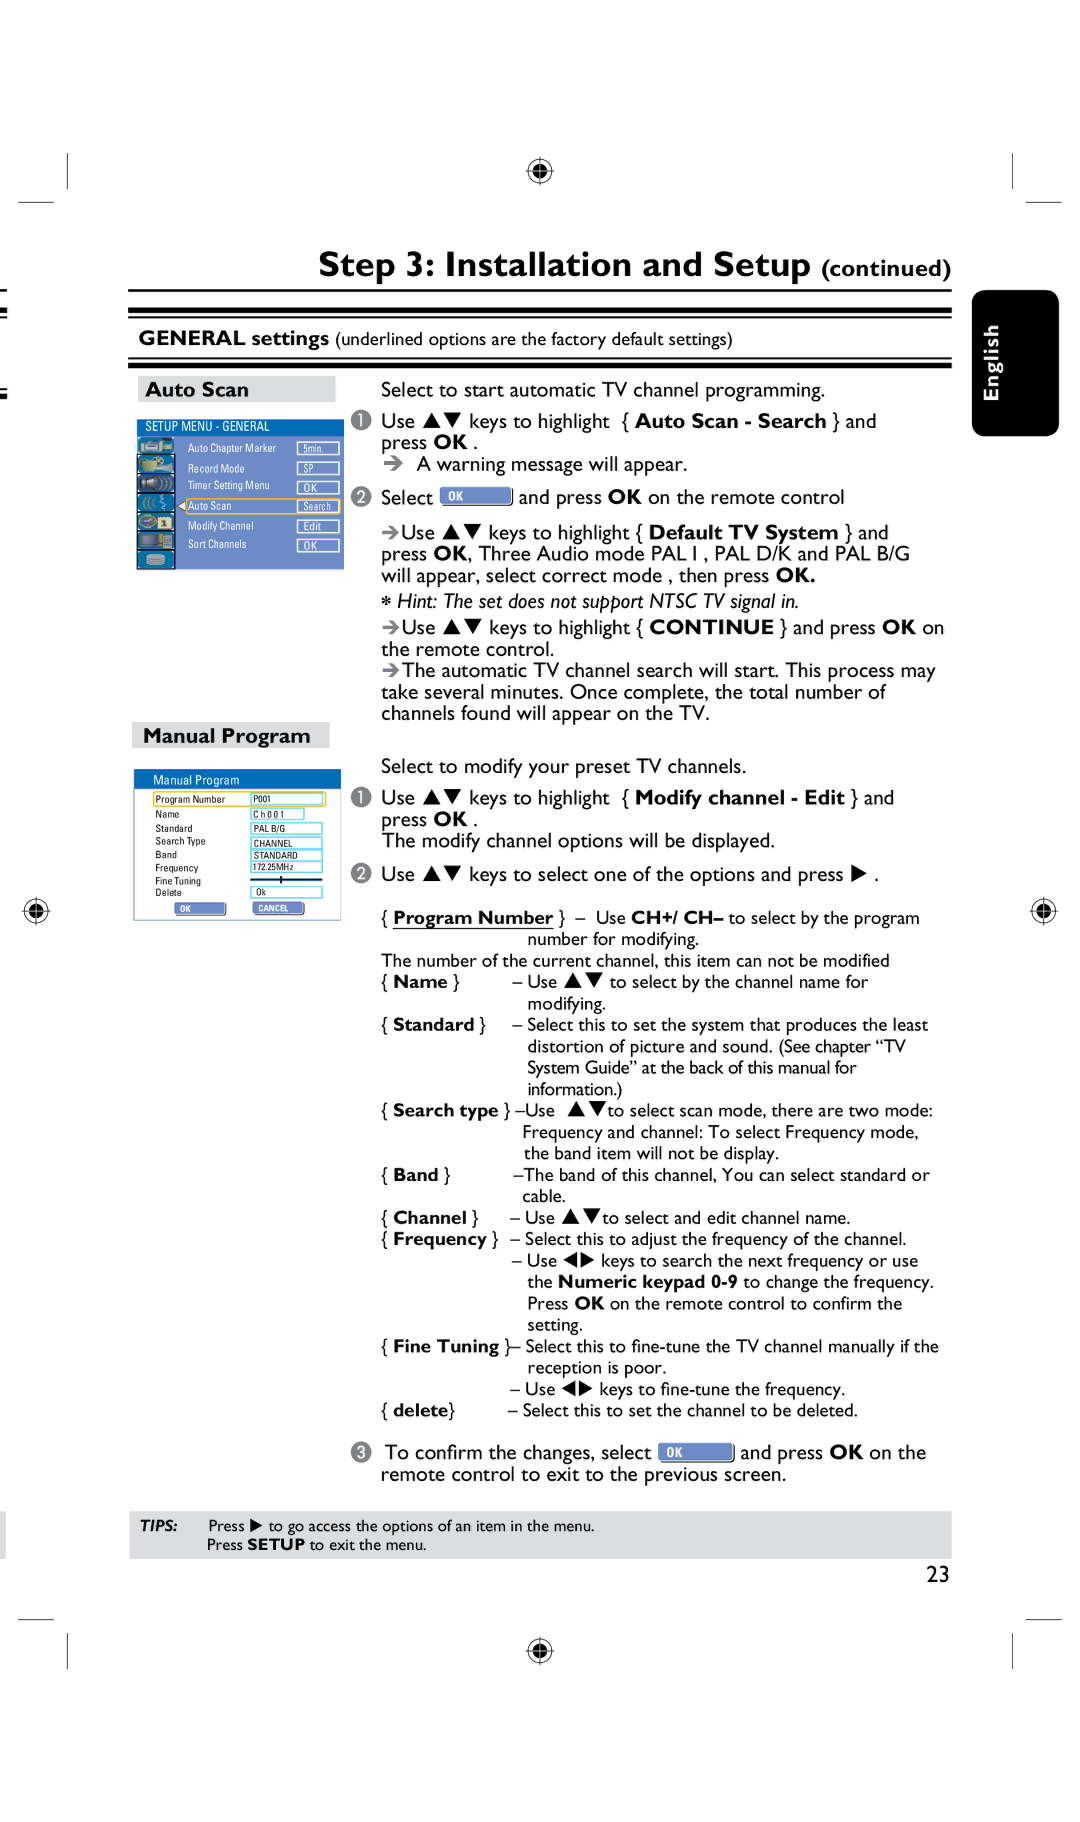
Auto Scan
SETUP MENU - GENERAL
|
|
| Auto Chapter Marker | 5min. |
|
|
| Record Mode | SP |
|
|
| Timer Setting Menu | OK |
|
|
| Auto Scan | Search |
|
|
| Modify Channel | Edit |
|
|
| Sort Channels | OK |
|
|
|
|
|
|
|
|
|
|
Manual Program
Manual Program
Program Number |
|
|
|
|
| ||
P001 |
| ||||||
|
|
|
|
| |||
Name | C h 0 0 1 |
|
| ||||
Standard |
|
|
|
|
| ||
PAL B/G |
| ||||||
Search Type |
|
|
| ||||
| CHANNEL |
| |||||
Band |
| STANDARD |
| ||||
Frequency |
| 172.25MHz |
| ||||
Fine Tuning |
|
|
|
|
|
|
|
Delete | Ok |
| |||||
OK OK | CANCELOK | ||||||
|
|
|
|
|
|
|
|
Select to start automatic TV channel programming.
AUse keys to highlight { Auto Scan - Search } and press OK .
A warning message will appear.
B Select OK OK | and press OK on the remote control |
Use keys to highlight { Default TV System } and press OK, Three Audio mode PAL I , PAL D/K and PAL B/G will appear, select correct mode , then press OK.
*Hint: The set does not support NTSC TV signal in.
Use keys to highlight { CONTINUE } and press OK on the remote control.
The automatic TV channel search will start. This process may take several minutes. Once complete, the total number of channels found will appear on the TV.
Select to modify your preset TV channels.
AUse keys to highlight { Modify channel - Edit } and press OK .
The modify channel options will be displayed.
BUse keys to select one of the options and press .
{Program Number } – Use CH+/ CH– to select by the program number for modifying.
The number of the current channel, this item can not be modified
{Name } – Use to select by the channel name for modifying.
{Standard } – Select this to set the system that produces the least distortion of picture and sound. (See chapter “TV System Guide” at the back of this manual for information.)
{Search type }
{Band }
{Channel } – Use to select and edit channel name.
{Frequency } – Select this to adjust the frequency of the channel.
–Use tu keys to search the next frequency or use the Numeric keypad
{ Fine Tuning }– Select this to
–Use tu keys to
{delete} – Select this to set the channel to be deleted.
C To confirm the changes, select OK OK and press OK on the remote control to exit to the previous screen.
TIPS: Press u to go access the options of an item in the menu.
Press SETUP to exit the menu.
23