Record on Hard Disk (continued)
Recording from a DV camcorder
Using this feature, you can record video directly from a connected DV camcorder onto the HDD, where you can edit it easily and copy to a recordable DVD if required.
IMPORTANT!
Before starting camcorder recording, mark the contents in the temporary HDD storage for which you wish to record to the HDD.
STOP | OK | |
REC | ||
PAUSE | ||
|
DV ![]()
![]()
![]()
![]()
![]()
![]()
![]()
![]()
![]()
![]()
![]()
![]()
![]() CH +/-
CH +/-

 REC MODE
A Connect the DV camcorder to the DV IN socket at the front panel of this recorder (see page 22).
B Find the place on the DV camcorder that you want to start recording from and set
ou | the camcorder to pause mode. |
| |
| C Turn on the TV to the correct |
| programme number for the recorder |
| (e.g. ‘EXT’, ‘0’, ‘AV’). |
| D Turn on the recorder and press DV on |
| the remote control. |
This will clear Time Shift Video Bar
Press OK to continue
Cancel
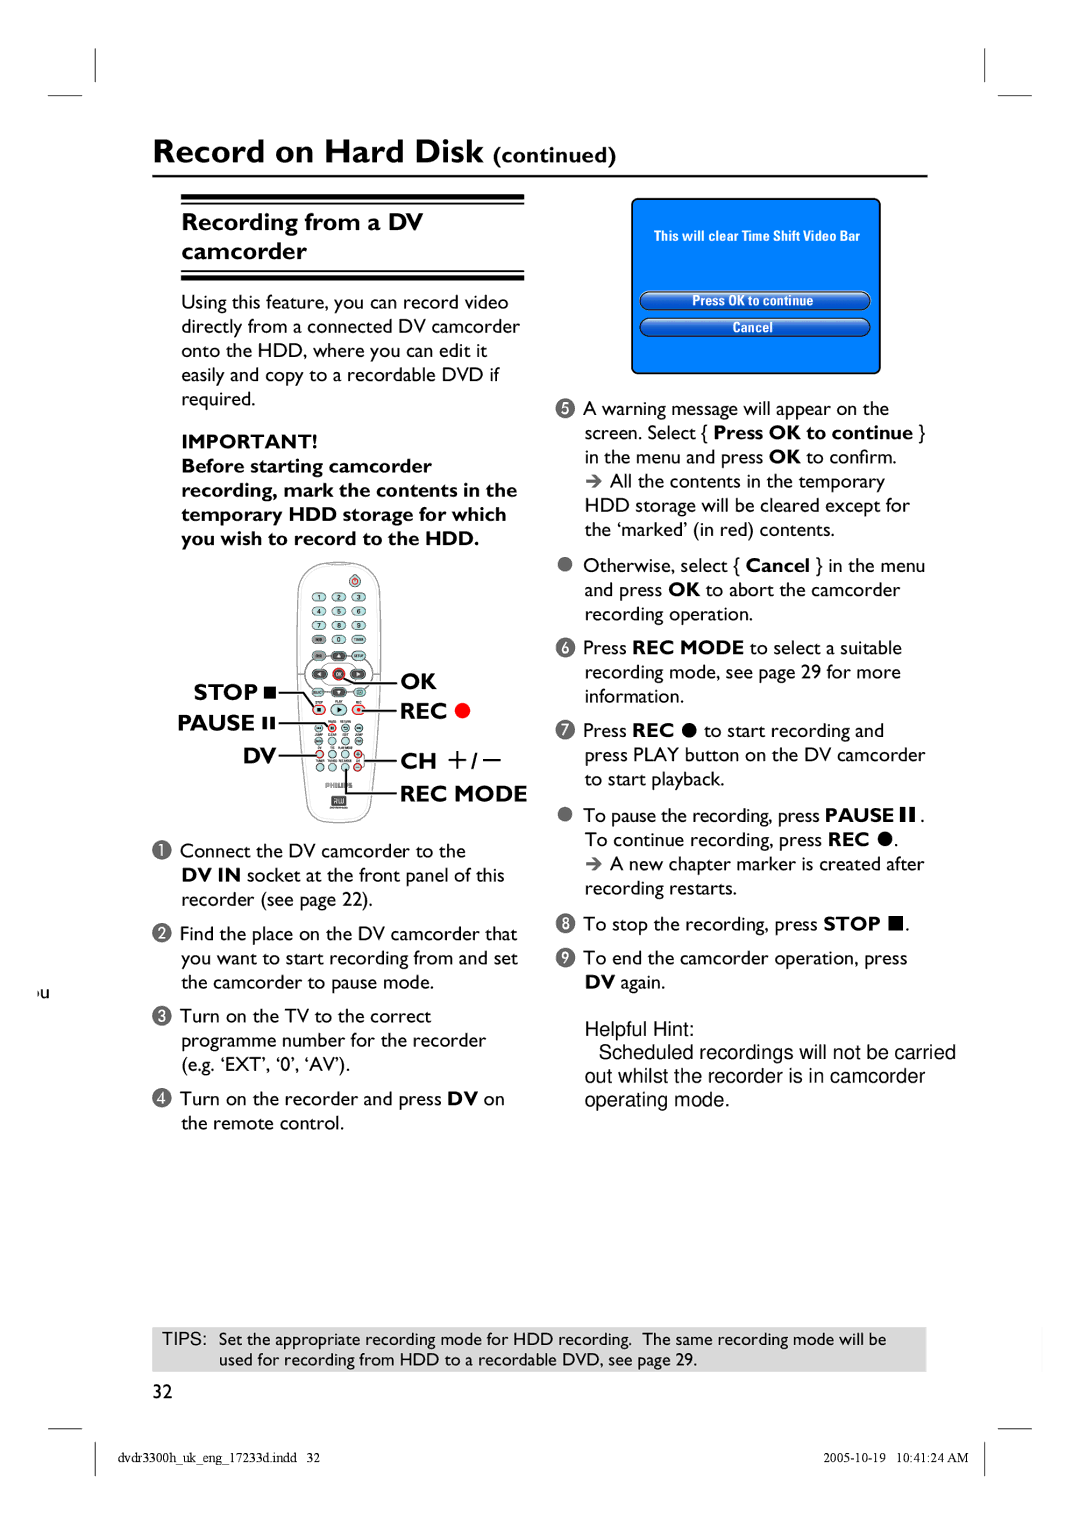
EA warning message will appear on the screen. Select { Press OK to continue } in the menu and press OK to confirm.
All the contents in the temporary
HDD storage will be cleared except for the ‘marked’ (in red) contents.
Otherwise, select { Cancel } in the menu and press OK to abort the camcorder recording operation.
FPress REC MODE to select a suitable recording mode, see page 29 for more information.
GPress REC to start recording and press PLAY button on the DV camcorder to start playback.
To pause the recording, press PAUSEÅ. To continue recording, press REC .
A new chapter marker is created after recording restarts.
H To stop the recording, press STOP .
ITo end the camcorder operation, press DV again.
Helpful Hint:
– Scheduled recordings will not be carried out whilst the recorder is in camcorder operating mode.
TIPS: Set the appropriate recording mode for HDD recording. The same recording mode will be used for recording from HDD to a recordable DVD, see page 29.
32
dvdr3300h_uk_eng_17233d.indd 32 |
