Step 3: Installation and Set-up
The basic installation menu will appear the very first time you turn on this recorder. These settings will help you set up the basic recorder features easily, including TV programme installation and language settings.
IMPORTANT!
Complete the basic installation settings before inserting a disc for playback or recording. The disc tray will not open until the basic setup is completed.


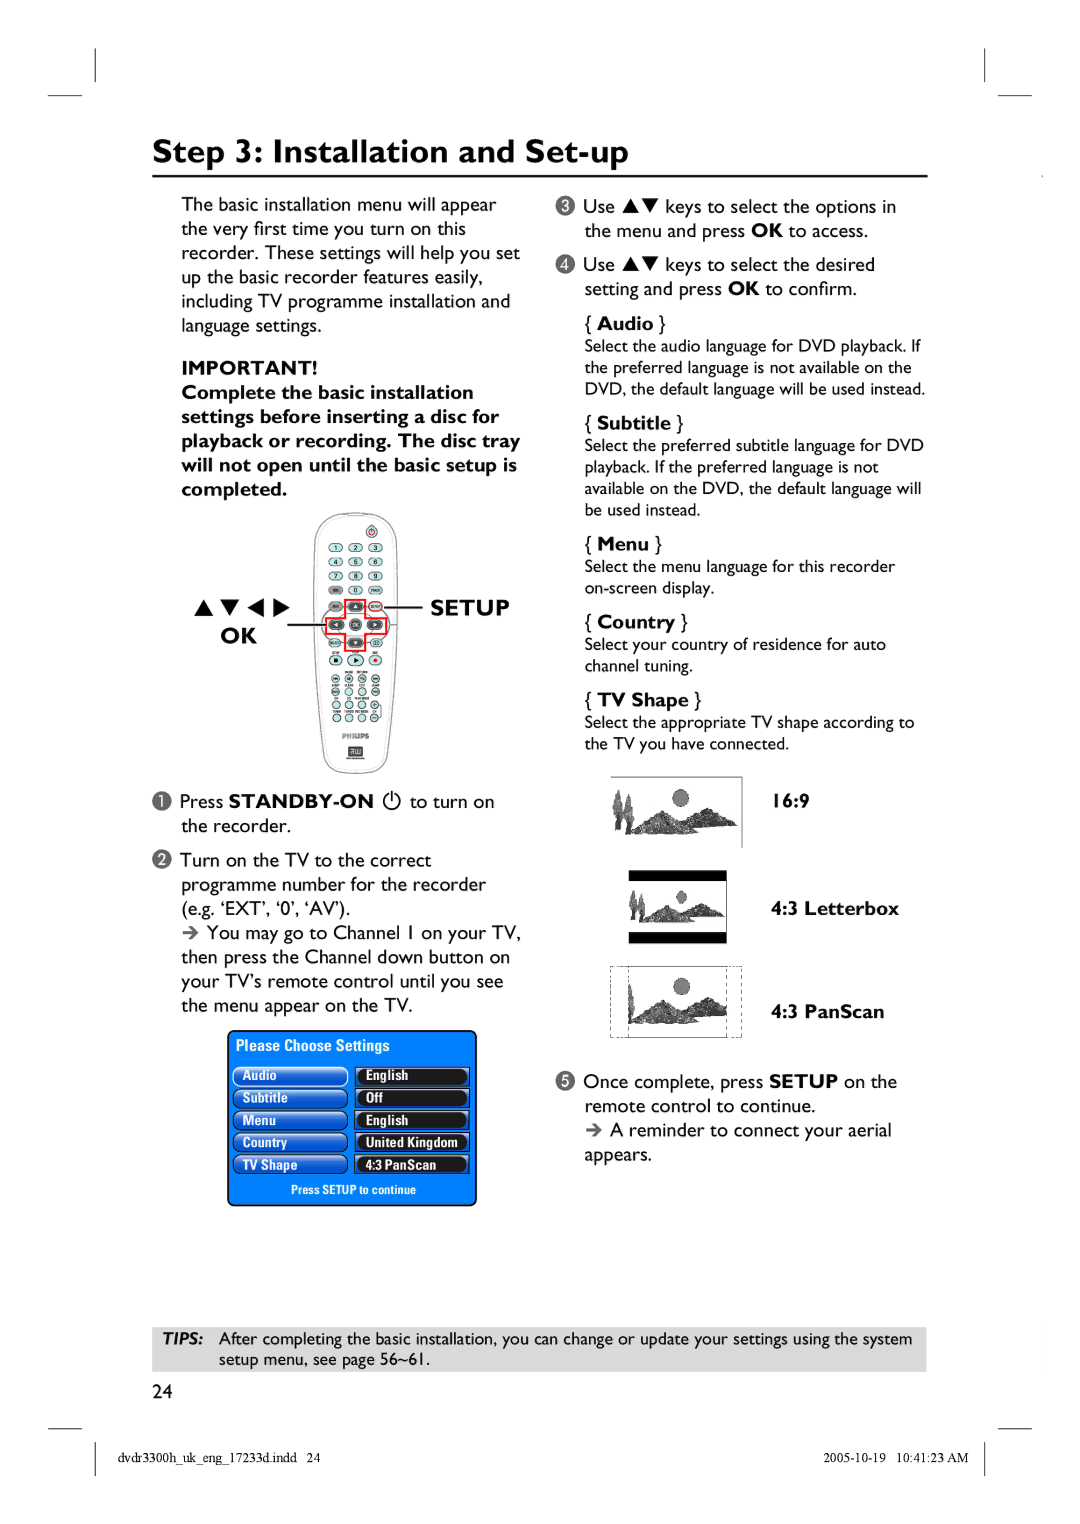
 SETUP OK
C Use | keys to select the options in |
the menu and press OK to access. | |
D Use | keys to select the desired |
setting and press OK to confirm.
{Audio }
Select the audio language for DVD playback. If the preferred language is not available on the DVD, the default language will be used instead.
{Subtitle }
Select the preferred subtitle language for DVD playback. If the preferred language is not available on the DVD, the default language will be used instead.
{Menu }
Select the menu language for this recorder
{Country }
Select your country of residence for auto channel tuning.
{TV Shape }
Select the appropriate TV shape according to the TV you have connected.
APress
BTurn on the TV to the correct programme number for the recorder (e.g. ‘EXT’, ‘0’, ‘AV’).
You may go to Channel 1 on your TV, then press the Channel down button on your TV’s remote control until you see the menu appear on the TV.
Please Choose Settings
Audio | English | |
|
|
|
Subtitle | Off | |
|
|
|
Menu | English |
|
|
| |
Country | United Kingdom | |
|
| |
TV Shape | 4:3 PanScan |
|
Press SETUP to continue
16:9
4:3 Letterbox
4:3 PanScan
EOnce complete, press SETUP on the remote control to continue.
A reminder to connect your aerial appears.
TIPS: After completing the basic installation, you can change or update your settings using the system setup menu, see page 56~61.
24
dvdr3300h_uk_eng_17233d.indd 24 |