Connect video cables
This section describes how to connect this DVD Home Theatre unit to your TV so to enable viewing of disc play.
Select the best video connection that your TV can support.
•Option 1: Connect to HDMI socket (for a HDMI, DVI or
•Option 2: Connect to Scart socket (for a standard TV).
•Option 3: Connect to component video socket (for a standard TV or Progressive Scan TV).
•Option 4: Connect to Video socket (for a standard TV).
Note
•You must connect this unit directly to a TV.
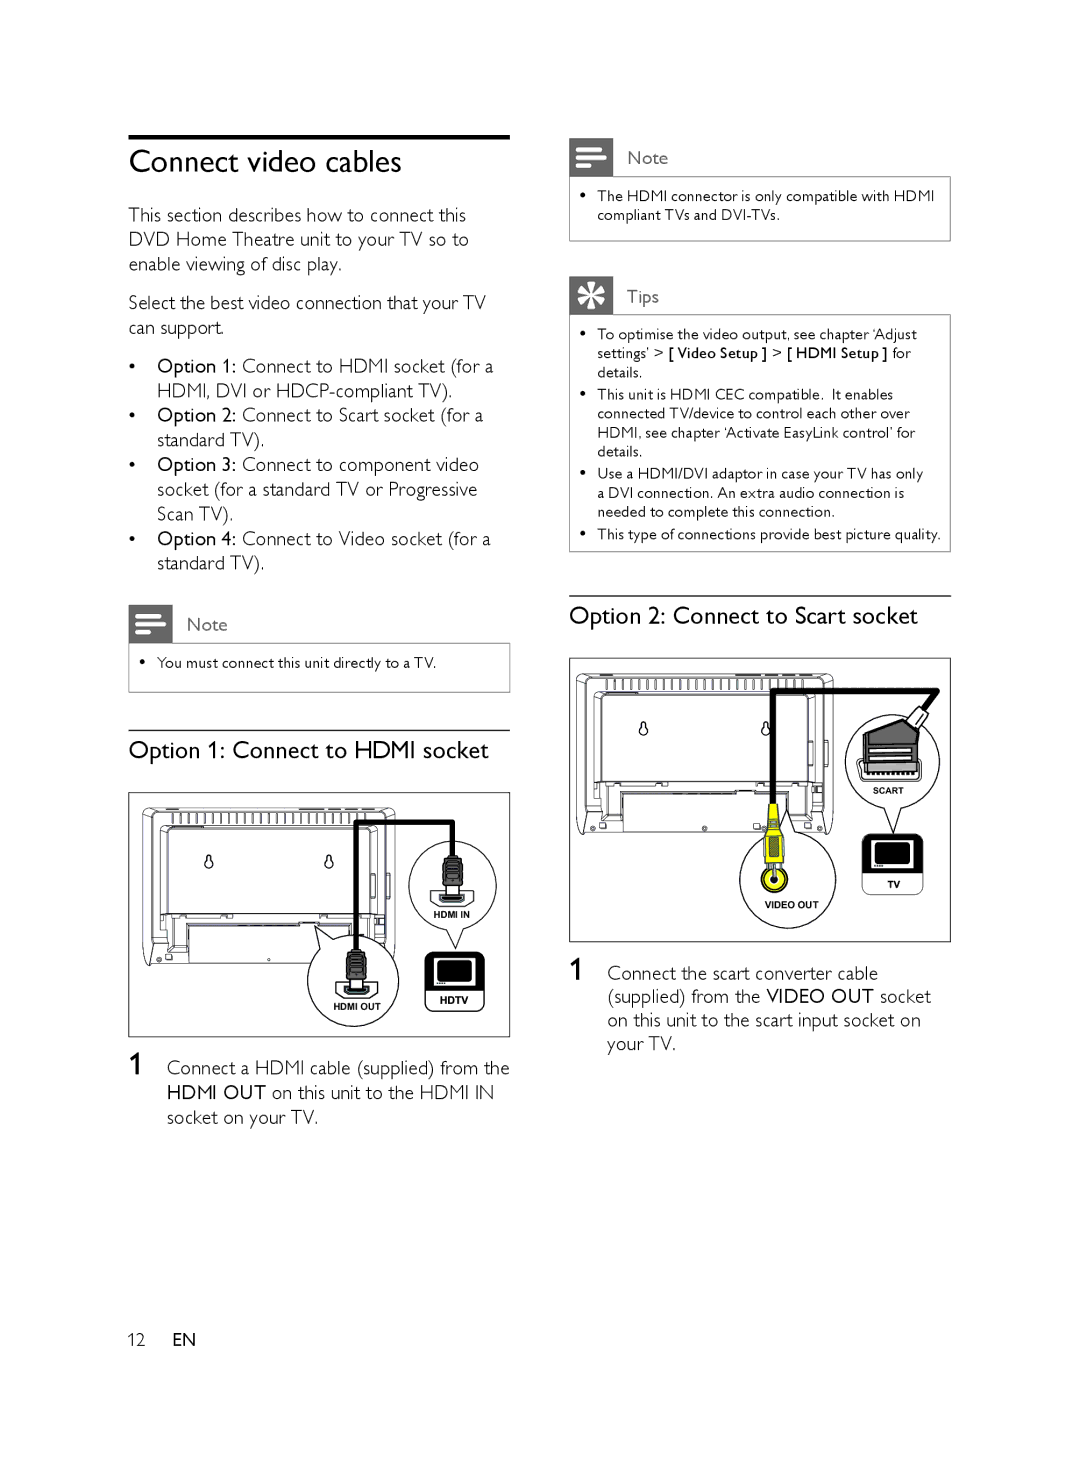
Option 1: Connect to HDMI socket
HDMI IN |
HDMI OUT |
1 Connect a HDMI cable (supplied) from the HDMI OUT on this unit to the HDMI IN socket on your TV.
Note
•The HDMI connector is only compatible with HDMI compliant TVs and
Tips
•To optimise the video output, see chapter ‘Adjust settings’ > [ Video Setup ] > [ HDMI Setup ] for details.
•This unit is HDMI CEC compatible. It enables connected TV/device to control each other over HDMI, see chapter ‘Activate EasyLink control’ for details.
•Use a HDMI/DVI adaptor in case your TV has only a DVI connection. An extra audio connection is needed to complete this connection.
•This type of connections provide best picture quality.
Option 2: Connect to Scart socket
SCART |
VIDEO OUT |
1 Connect the scart converter cable (supplied) from the VIDEO OUT socket on this unit to the scart input socket on your TV.
12EN
