| Before Use |
|
| ||
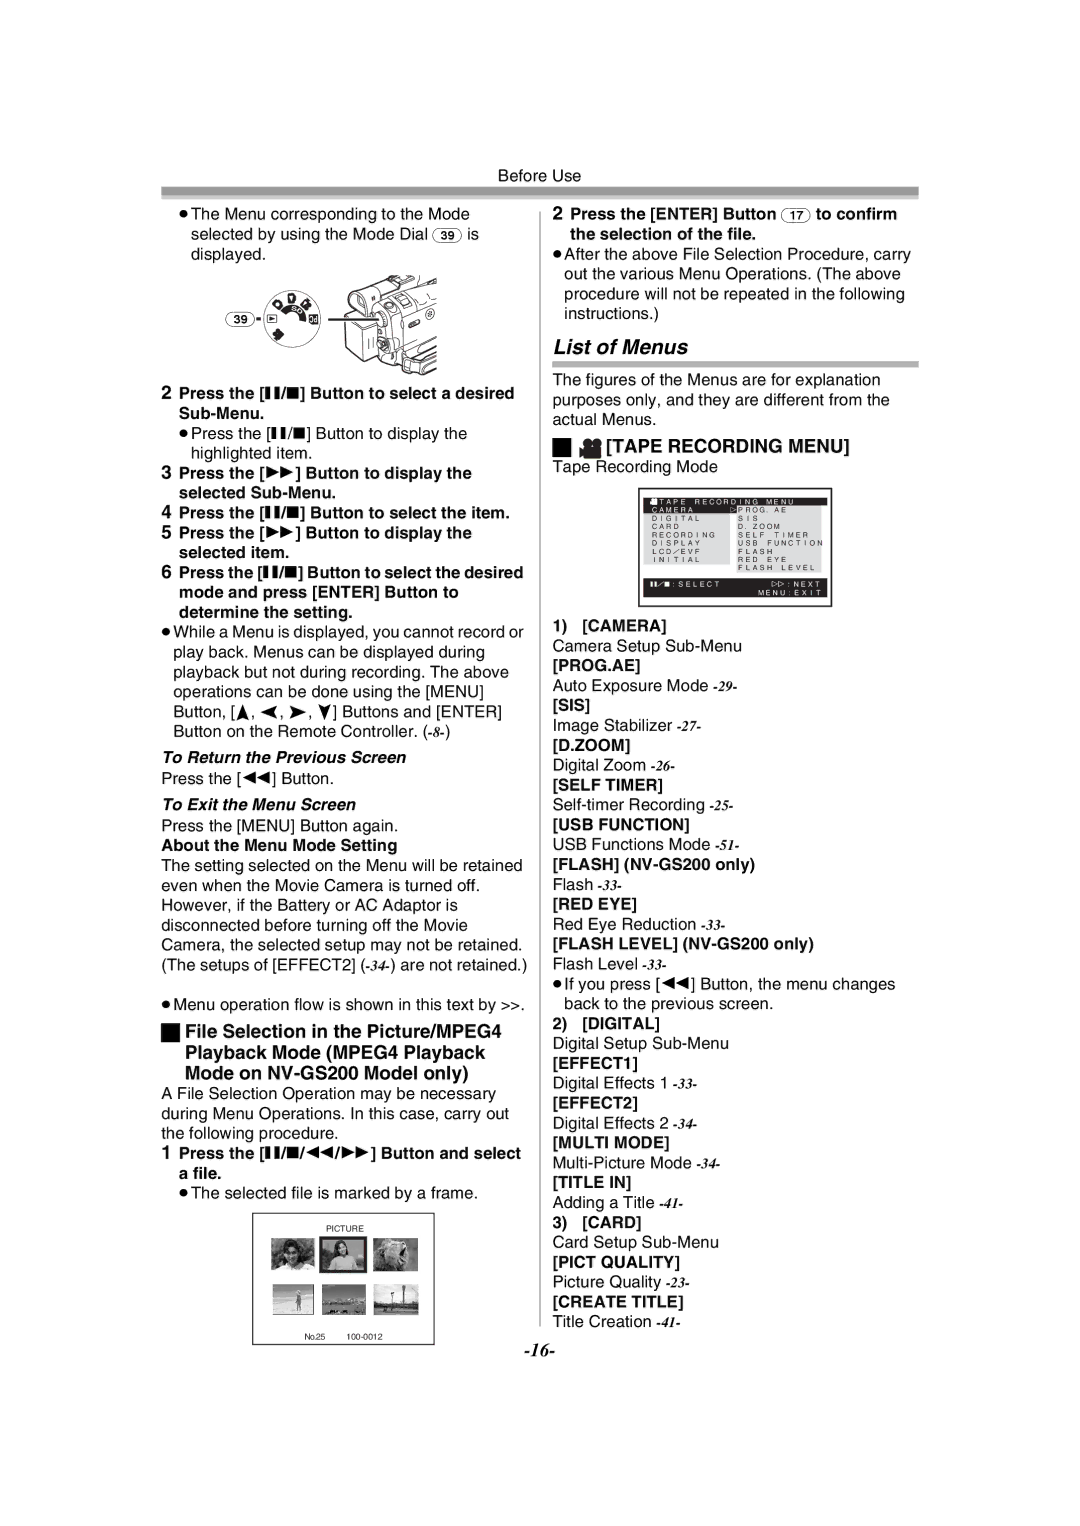
≥The Menu corresponding to the Mode | 2 Press the [ENTER] Button (17) to confirm | ||||
selected by using the Mode Dial (39) is | the selection of the file. | ||||
displayed. |
| ≥After the above File Selection Procedure, carry | |||
|
| out the various Menu Operations. (The above | |||
|
| procedure will not be repeated in the following | |||
| S | instructions.) |
| ||
| PC |
| |||
(39) | D |
|
|
| |
|
|
|
| ||
|
| List of Menus |
| ||
2 Press the [;/∫] Button to select a desired | The figures of the Menus are for explanation | ||||
purposes only, and they are different from the | |||||
| |||||
| actual Menus. |
| |||
≥Press the [;/∫] Button to display the |
| ||||
ª | [TAPE RECORDING MENU] | ||||
highlighted item. | |||||
Tape Recording Mode |
| ||||
3 Press the [5] Button to display the |
| ||||
selected |
| TAPE RECORDING MENU | |||
4 Press the [;/∫] Button to select the item. |
| ||||
| DIGITAL | SIS | |||
|
|
| CAMERA | !PROG.AE | |
5 Press the [5] Button to display the |
| CARD | D.ZOOM | ||
| RECORDING | SELF TIMER | |||
selected item. |
|
| DISPLAY | USB FUNCTION | |
|
| INITIAL | RED EYE | ||
|
|
| LCD/EVF | FLASH | |
6 Press the [;/∫] Button to select the desired |
|
| FLASH LEVEL | ||
| ;/∫:SELECT | %:NEXT | |||
mode and press [ENTER] Button to |
| ||||
|
| MENU:EXIT | |||
determine the setting. | 1) | [CAMERA] |
| ||
≥While a Menu is displayed, you cannot record or |
| ||||
Camera Setup | |||||
play back. Menus can be displayed during | |||||
[PROG.AE] |
| ||||
playback but not during recording. The above |
| ||||
Auto Exposure Mode | |||||
operations can be done using the [MENU] | |||||
[SIS] |
| ||||
Button, [π, ∑, ∏, ∫] Buttons and [ENTER] |
| ||||
Image Stabilizer |
| ||||
Button on the Remote Controller. |
| ||||
[D.ZOOM] |
| ||||
To Return the Previous Screen |
| ||||
Digital Zoom |
| ||||
Press the [6] Button. |
| ||||
[SELF TIMER] |
| ||||
|
|
| |||
To Exit the Menu Screen | |||||
Press the [MENU] Button again. | [USB FUNCTION] |
| |||
About the Menu Mode Setting | USB Functions Mode | ||||
The setting selected on the Menu will be retained | [FLASH] | ||||
even when the Movie Camera is turned off. | Flash |
| |||
However, if the Battery or AC Adaptor is | [RED EYE] |
| |||
disconnected before turning off the Movie | Red Eye Reduction |
| |||
Camera, the selected setup may not be retained. | [FLASH LEVEL] | ||||
(The setups of [EFFECT2] | Flash Level |
| |||
|
| ≥If you press [6] Button, the menu changes | |||
≥Menu operation flow is shown in this text by >>. | back to the previous screen. | ||||
ª File Selection in the Picture/MPEG4 | 2) | [DIGITAL] |
| ||
Digital Setup |
| ||||
Playback Mode (MPEG4 Playback |
| ||||
[EFFECT1] |
| ||||
Mode on |
| ||||
Digital Effects 1 |
| ||||
A File Selection Operation may be necessary |
| ||||
[EFFECT2] |
| ||||
during Menu Operations. In this case, carry out |
| ||||
Digital Effects 2 |
| ||||
the following procedure. |
| ||||
[MULTI MODE] |
| ||||
1 Press the [;/∫/6/5] Button and select |
| ||||
| |||||
a file. |
|
| |||
| [TITLE IN] |
| |||
≥The selected file is marked by a frame. |
| ||||
Adding a Title |
| ||||
|
|
| |||
| PICTURE | 3) | [CARD] |
| |
|
| Card Setup |
| ||
[PICT QUALITY]
Picture Quality
[CREATE TITLE]
Title Creation
No.25