Before Use
ªFile Selection in the Picture/MPEG4
Playback Mode
A File Selection Operation may be necessary during Menu Operations. In this case, carry out the following procedure.
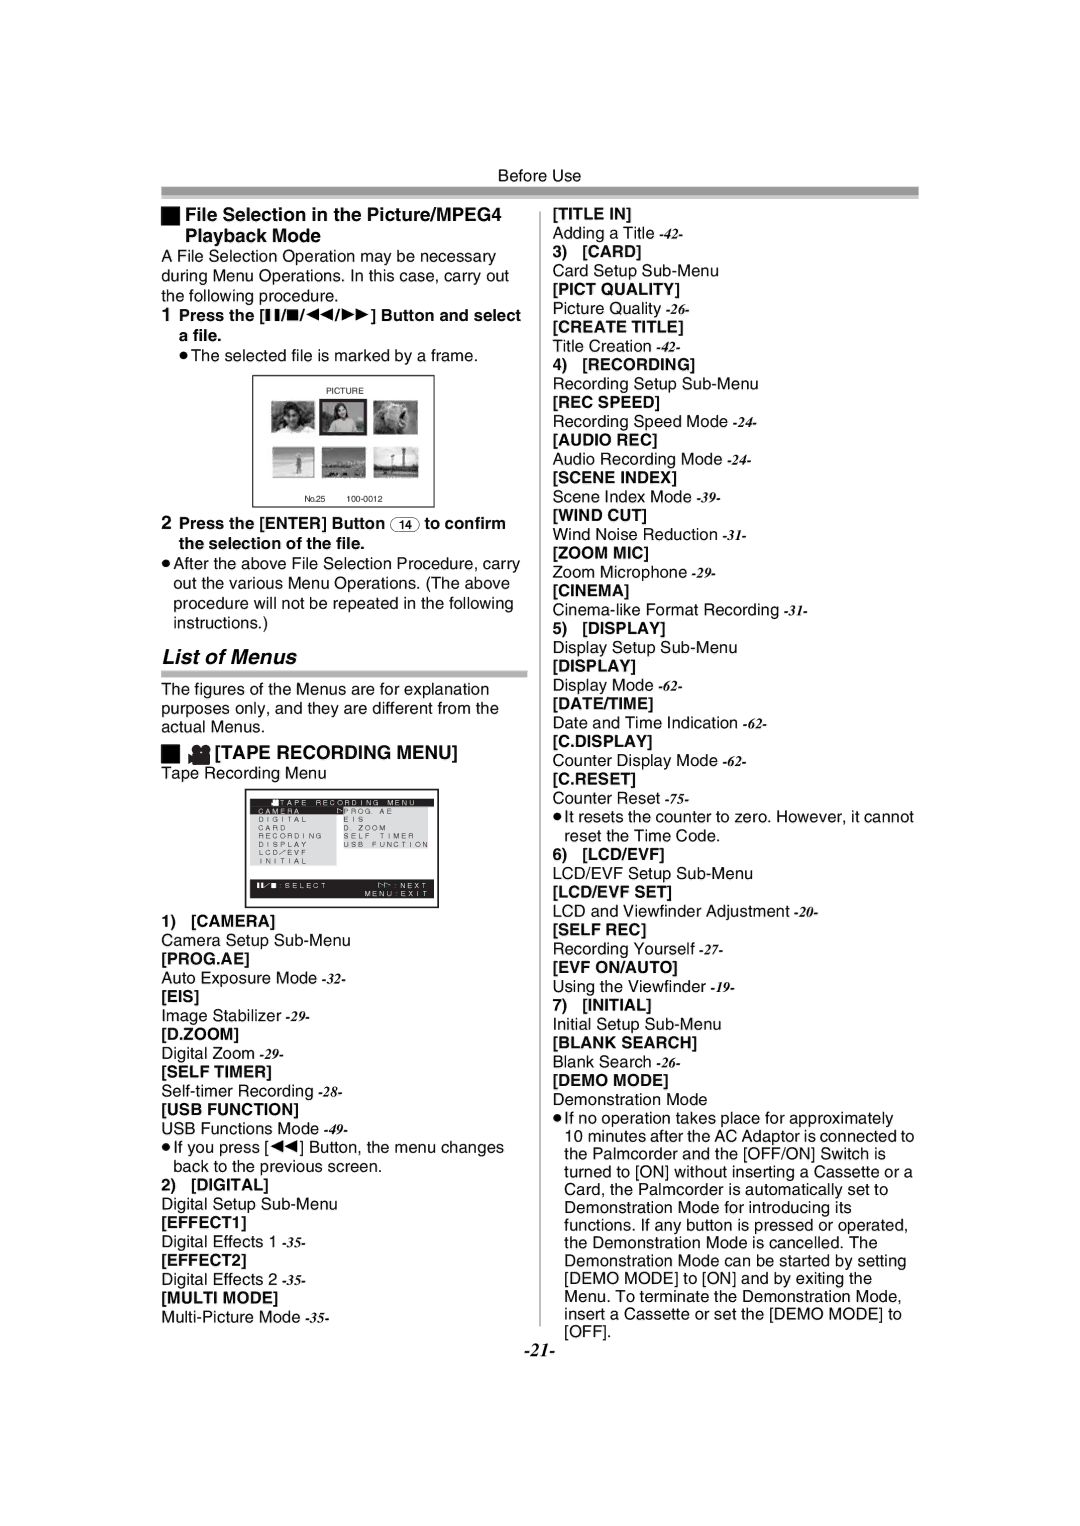
1Press the [;/∫/6/5] Button and select a file.
≥The selected file is marked by a frame.
PICTURE
No.25
2Press the [ENTER] Button (14) to confirm
the selection of the file.
≥After the above File Selection Procedure, carry out the various Menu Operations. (The above procedure will not be repeated in the following instructions.)
List of Menus
The figures of the Menus are for explanation purposes only, and they are different from the actual Menus.
ª[TAPE RECORDING MENU]
Tape Recording Menu
TAPE RECORDING MENU
CAMERA | ! | PROG.AE |
|
DIGITAL |
| EIS |
|
CARD |
| D.ZOOM |
|
RECORDING |
| SELF TIMER |
|
DISPLAY |
| USB FUNCTION |
|
LCD/EVF |
|
|
|
INITIAL |
|
|
|
|
|
|
|
;/∫:SELECT |
| %:NEXT | |
|
| MENU:EXIT | |
1) [CAMERA]
Camera Setup
[PROG.AE]
Auto Exposure Mode
Image Stabilizer
Digital Zoom
[SELF TIMER]
[USB FUNCTION]
USB Functions Mode
≥If you press [6] Button, the menu changes
back to the previous screen.
2) [DIGITAL]
Digital Setup
[EFFECT1]
Digital Effects 1
[MULTI MODE]
[TITLE IN]
Adding a Title
3) [CARD]
Card Setup
[PICT QUALITY]
Picture Quality
[CREATE TITLE]
Title Creation
4)[RECORDING] Recording Setup
[REC SPEED]
Recording Speed Mode
[AUDIO REC]
Audio Recording Mode
[SCENE INDEX] Scene Index Mode
[WIND CUT]
Wind Noise Reduction
[ZOOM MIC]
Zoom Microphone
[CINEMA]
5)[DISPLAY]
Display Setup
[DISPLAY]
Display Mode
[DATE/TIME]
Date and Time Indication
Counter Display Mode
Counter Reset
≥It resets the counter to zero. However, it cannot
reset the Time Code.
6) [LCD/EVF]
LCD/EVF Setup
[LCD/EVF SET]
LCD and Viewfinder Adjustment
[SELF REC]
Recording Yourself
[EVF ON/AUTO]
Using the Viewfinder
7) [INITIAL]
Initial Setup
[BLANK SEARCH]
Blank Search
[DEMO MODE]
Demonstration Mode
≥If no operation takes place for approximately 10 minutes after the AC Adaptor is connected to the Palmcorder and the [OFF/ON] Switch is turned to [ON] without inserting a Cassette or a Card, the Palmcorder is automatically set to Demonstration Mode for introducing its functions. If any button is pressed or operated, the Demonstration Mode is cancelled. The Demonstration Mode can be started by setting [DEMO MODE] to [ON] and by exiting the Menu. To terminate the Demonstration Mode, insert a Cassette or set the [DEMO MODE] to [OFF].