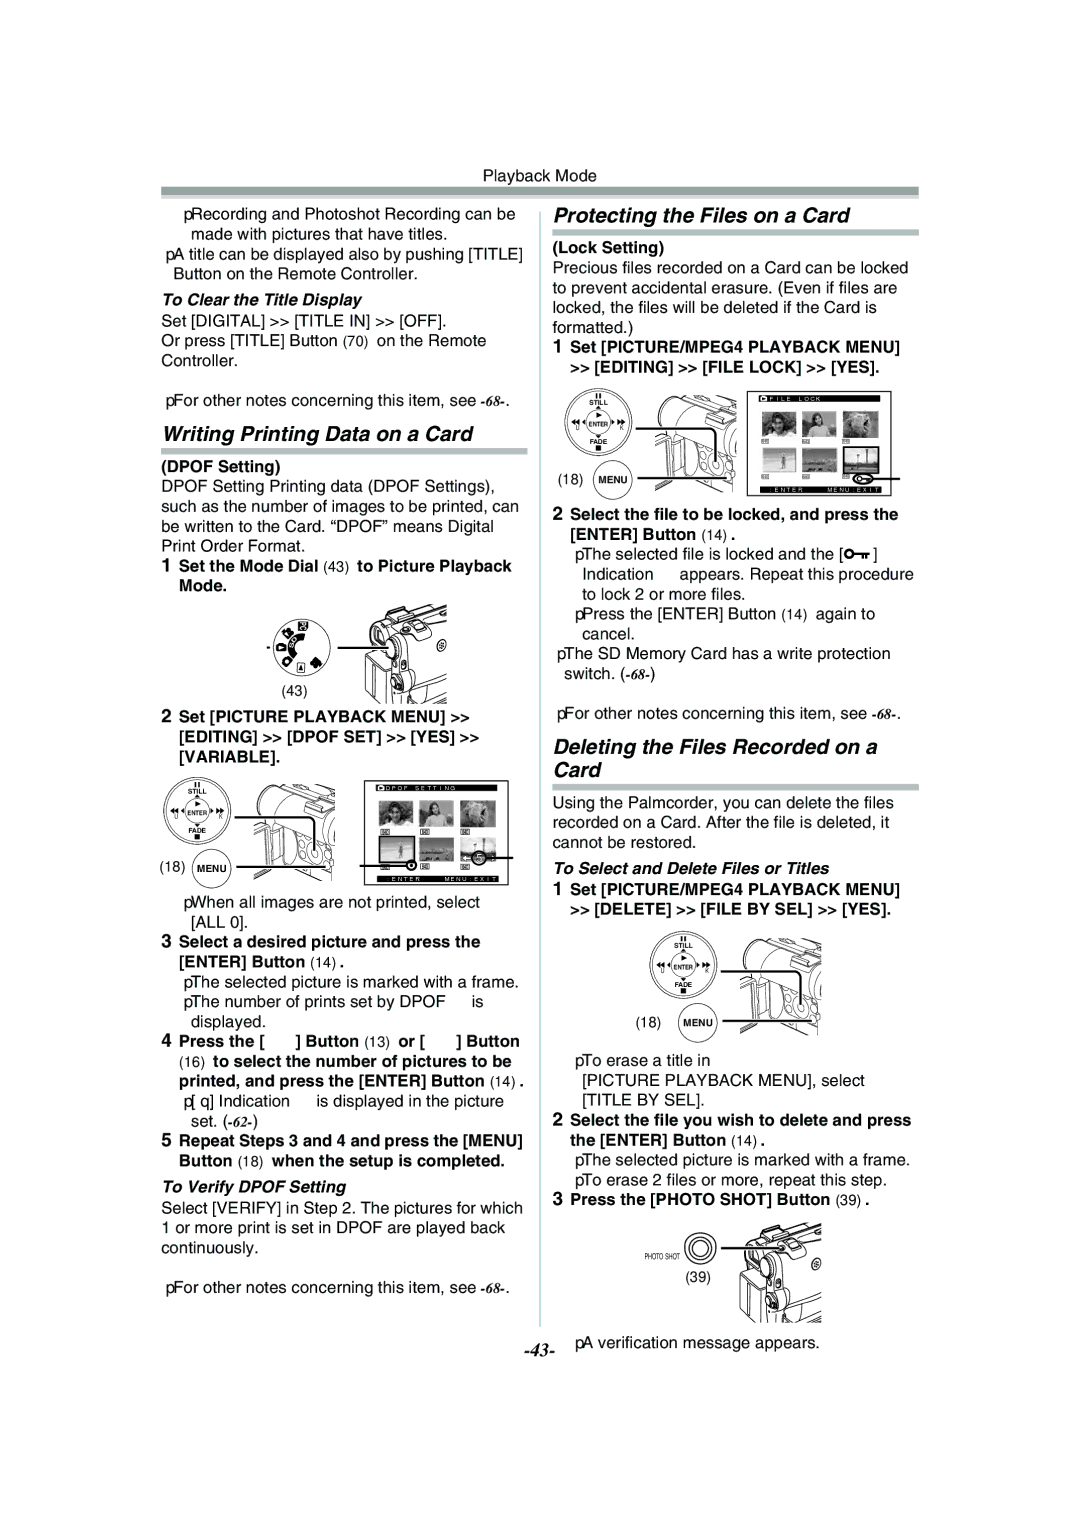
Playback Mode
≥Recording and Photoshot Recording can be made with pictures that have titles.
≥A title can be displayed also by pushing [TITLE] Button on the Remote Controller.
To Clear the Title Display
Set [DIGITAL] >> [TITLE IN] >> [OFF].
Or press [TITLE] Button (70) on the Remote Controller.
≥For other notes concerning this item, see
Writing Printing Data on a Card
(DPOF Setting)
DPOF Setting Printing data (DPOF Settings), such as the number of images to be printed, can be written to the Card. “DPOF” means Digital Print Order Format.
1Set the Mode Dial (43) to Picture Playback
Mode.
PC
![]() SD
SD
(43)
Protecting the Files on a Card
(Lock Setting)
Precious files recorded on a Card can be locked to prevent accidental erasure. (Even if files are locked, the files will be deleted if the Card is formatted.)
1Set [PICTURE/MPEG4 PLAYBACK MENU] >> [EDITING] >> [FILE LOCK] >> [YES].
| STILL |
|
| FILE LOCK |
|
|
|
|
|
|
|
| |
s | ENTER | i |
|
|
|
|
| FADE |
| 640 | 640 | 640 |
|
(18) | MENU | 640 | 640 | 640 | 1 | |
|
|
| !:ENTER | MENU:EXIT |
| |
2Select the file to be locked, and press the [ENTER] Button (14).
≥The selected file is locked and the [![]()
![]()
![]() ] Indication 1 appears. Repeat this procedure to lock 2 or more files.
] Indication 1 appears. Repeat this procedure to lock 2 or more files.
≥Press the [ENTER] Button (14) again to cancel.
≥The SD Memory Card has a write protection switch.
2 Set [PICTURE PLAYBACK MENU] >> |
| ≥For other notes concerning this item, see | |||
| [EDITING] >> [DPOF SET] >> [YES] >> |
| Deleting the Files Recorded on a | ||
| [VARIABLE]. |
|
|
| |
|
|
|
| Card | |
|
|
|
|
| |
| STILL | DPOF SETTING |
|
| |
|
|
|
| Using the Palmcorder, you can delete the files | |
| ENTER i |
|
|
| |
s |
|
|
| recorded on a Card. After the file is deleted, it | |
| FADE |
|
|
| |
|
|
|
| cannot be restored. | |
|
|
|
| 1 | |
(18) MENU | 2 |
| To Select and Delete Files or Titles | ||
|
| !:ENTER | MENU:EXIT |
| 1 Set [PICTURE/MPEG4 PLAYBACK MENU] |
| ≥When all images are not printed, select |
| |||
|
| >> [DELETE] >> [FILE BY SEL] >> [YES]. | |||
| [ALL 0]. |
|
|
| |
|
|
|
|
| |
3 Select a desired picture and press the |
| STILL |
[ENTER] Button (14). | s | ENTER i |
≥The selected picture is marked with a frame. |
| FADE |
≥The number of prints set by DPOF 1 is |
|
|
displayed. | (18) | MENU |
4Press the [5] Button (13) or [6] Button
(16) to select the number of pictures to be |
| ≥To erase a title in | |
printed, and press the [ENTER] Button (14). |
| [PICTURE PLAYBACK MENU], select | |
≥[¥] Indication 2 is displayed in the picture | 2 | [TITLE BY SEL]. | |
set. | Select the file you wish to delete and press | ||
5 Repeat Steps 3 and 4 and press the [MENU] |
| the [ENTER] Button (14). | |
Button (18) when the setup is completed. |
| ≥The selected picture is marked with a frame. | |
To Verify DPOF Setting | 3 | ≥To erase 2 files or more, repeat this step. | |
Press the [PHOTO SHOT] Button (39). | |||
Select [VERIFY] in Step 2. The pictures for which | |||
|
| ||
1 or more print is set in DPOF are played back |
|
| |
continuously. |
| PHOTO SHOT | |
|
| ||
≥For other notes concerning this item, see |
| (39) | |
|
| ||
| ≥A verification message appears. |
