3To create a playlist, click New Auto Playlist and follow the steps on the screen to specify criteria for files in the auto playlist (for details on how to create an auto playlist, see 4.4.2 Create an Auto Playlist).
4To remove a playlist, click the playlist in the list of Playlists to sync, and then click Remove.
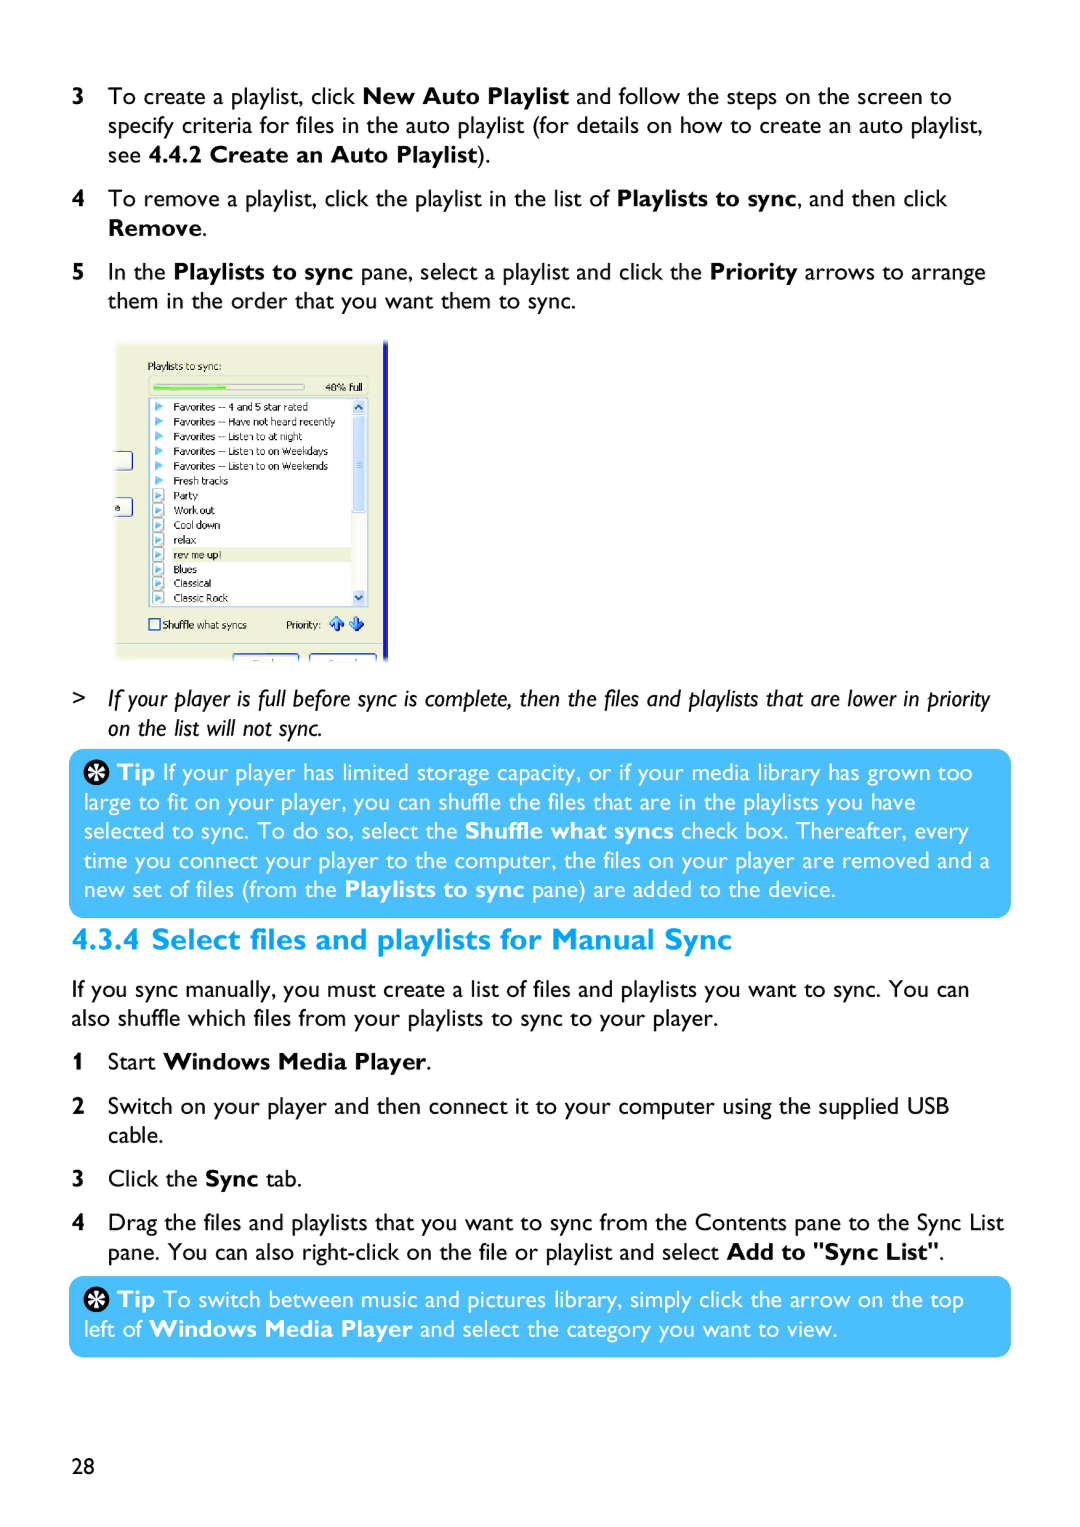
5In the Playlists to sync pane, select a playlist and click the Priority arrows to arrange them in the order that you want them to sync.
>If your player is full before sync is complete, then the files and playlists that are lower in priority on the list will not sync.
![]() Tip If your player has limited storage capacity, or if your media library has grown too large to fit on your player, you can shuffle the files that are in the playlists you have selected to sync. To do so, select the Shuffle what syncs check box. Thereafter, every time you connect your player to the computer, the files on your player are removed and a new set of files (from the Playlists to sync pane) are added to the device.
Tip If your player has limited storage capacity, or if your media library has grown too large to fit on your player, you can shuffle the files that are in the playlists you have selected to sync. To do so, select the Shuffle what syncs check box. Thereafter, every time you connect your player to the computer, the files on your player are removed and a new set of files (from the Playlists to sync pane) are added to the device.
4.3.4 Select files and playlists for Manual Sync
If you sync manually, you must create a list of files and playlists you want to sync. You can also shuffle which files from your playlists to sync to your player.
1Start Windows Media Player.
2Switch on your player and then connect it to your computer using the supplied USB cable.
3Click the Sync tab.
4Drag the files and playlists that you want to sync from the Contents pane to the Sync List pane. You can also
![]() Tip To switch between music and pictures library, simply click the arrow on the top left of Windows Media Player and select the category you want to view.
Tip To switch between music and pictures library, simply click the arrow on the top left of Windows Media Player and select the category you want to view.
28
