3.4Auto Scan (First Item of the Main menu / Shortcut: Scan)
The Auto scan supports up to 8 programmed angles at
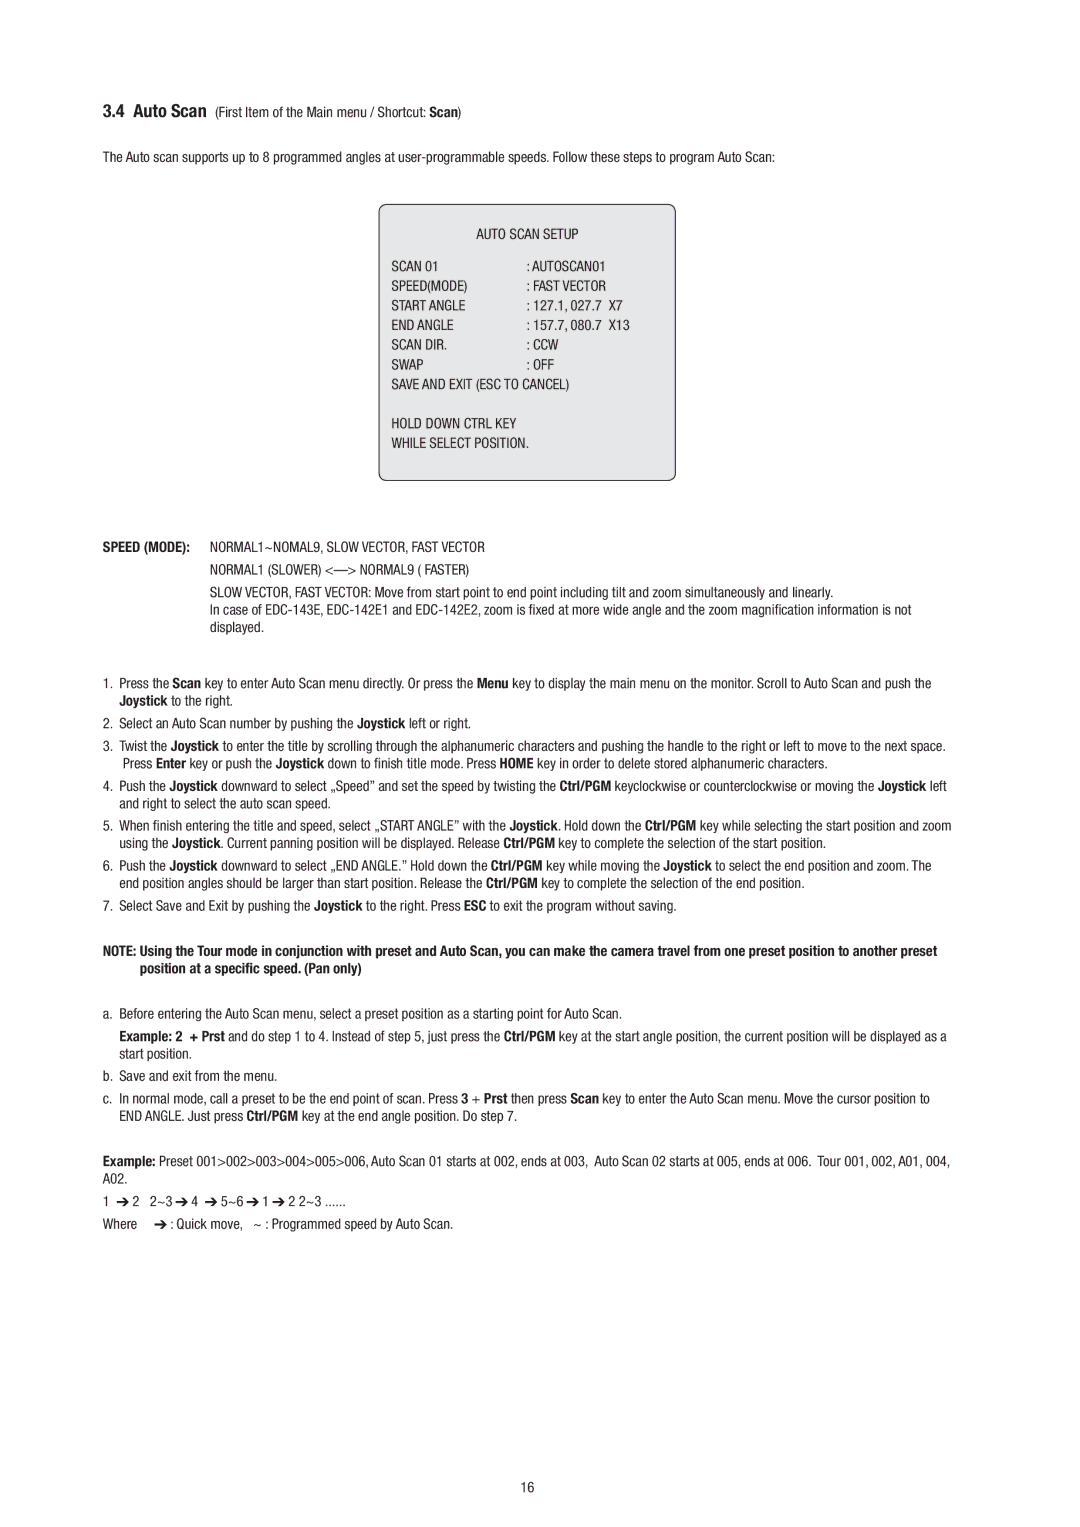
| AUTO SCAN SETUP |
SCAN 01 | : AUTOSCAN01 |
SPEED(MODE) | : FAST VECTOR |
START ANGLE | : 127.1, 027.7 X7 |
END ANGLE | : 157.7, 080.7 X13 |
SCAN DIR. | : CCW |
SWAP | : OFF |
SAVE AND EXIT (ESC TO CANCEL)
HOLD DOWN CTRL KEY
WHILE SELECT POSITION.
SPEED (MODE): NORMAL1~NOMAL9, SLOW VECTOR, FAST VECTOR NORMAL1 (SLOWER)
SLOW VECTOR, FAST VECTOR: Move from start point to end point including tilt and zoom simultaneously and linearly.
In case of
1.Press the Scan key to enter Auto Scan menu directly. Or press the Menu key to display the main menu on the monitor. Scroll to Auto Scan and push the Joystick to the right.
2.Select an Auto Scan number by pushing the Joystick left or right.
3.Twist the Joystick to enter the title by scrolling through the alphanumeric characters and pushing the handle to the right or left to move to the next space. Press Enter key or push the Joystick down to finish title mode. Press HOME key in order to delete stored alphanumeric characters.
4.Push the Joystick downward to select „Speed” and set the speed by twisting the Ctrl/PGM keyclockwise or counterclockwise or moving the Joystick left and right to select the auto scan speed.
5.When finish entering the title and speed, select „START ANGLE” with the Joystick. Hold down the Ctrl/PGM key while selecting the start position and zoom using the Joystick. Current panning position will be displayed. Release Ctrl/PGM key to complete the selection of the start position.
6.Push the Joystick downward to select „END ANGLE.” Hold down the Ctrl/PGM key while moving the Joystick to select the end position and zoom. The end position angles should be larger than start position. Release the Ctrl/PGM key to complete the selection of the end position.
7.Select Save and Exit by pushing the Joystick to the right. Press ESC to exit the program without saving.
NOTE: Using the Tour mode in conjunction with preset and Auto Scan, you can make the camera travel from one preset position to another preset position at a specific speed. (Pan only)
a.Before entering the Auto Scan menu, select a preset position as a starting point for Auto Scan.
Example: 2 + Prst and do step 1 to 4. Instead of step 5, just press the Ctrl/PGM key at the start angle position, the current position will be displayed as a start position.
b.Save and exit from the menu.
c.In normal mode, call a preset to be the end point of scan. Press 3 + Prst then press Scan key to enter the Auto Scan menu. Move the cursor position to END ANGLE. Just press Ctrl/PGM key at the end angle position. Do step 7.
Example: Preset 001>002>003>004>005>006, Auto Scan 01 starts at 002, ends at 003, Auto Scan 02 starts at 005, ends at 006. Tour 001, 002, A01, 004, A02.
1 | 2 | 2~3 | 4 | 5~6 | 1 | 2 2~3 |
Where | : Quick move, | ~ : Programmed speed by Auto Scan. | ||||
16