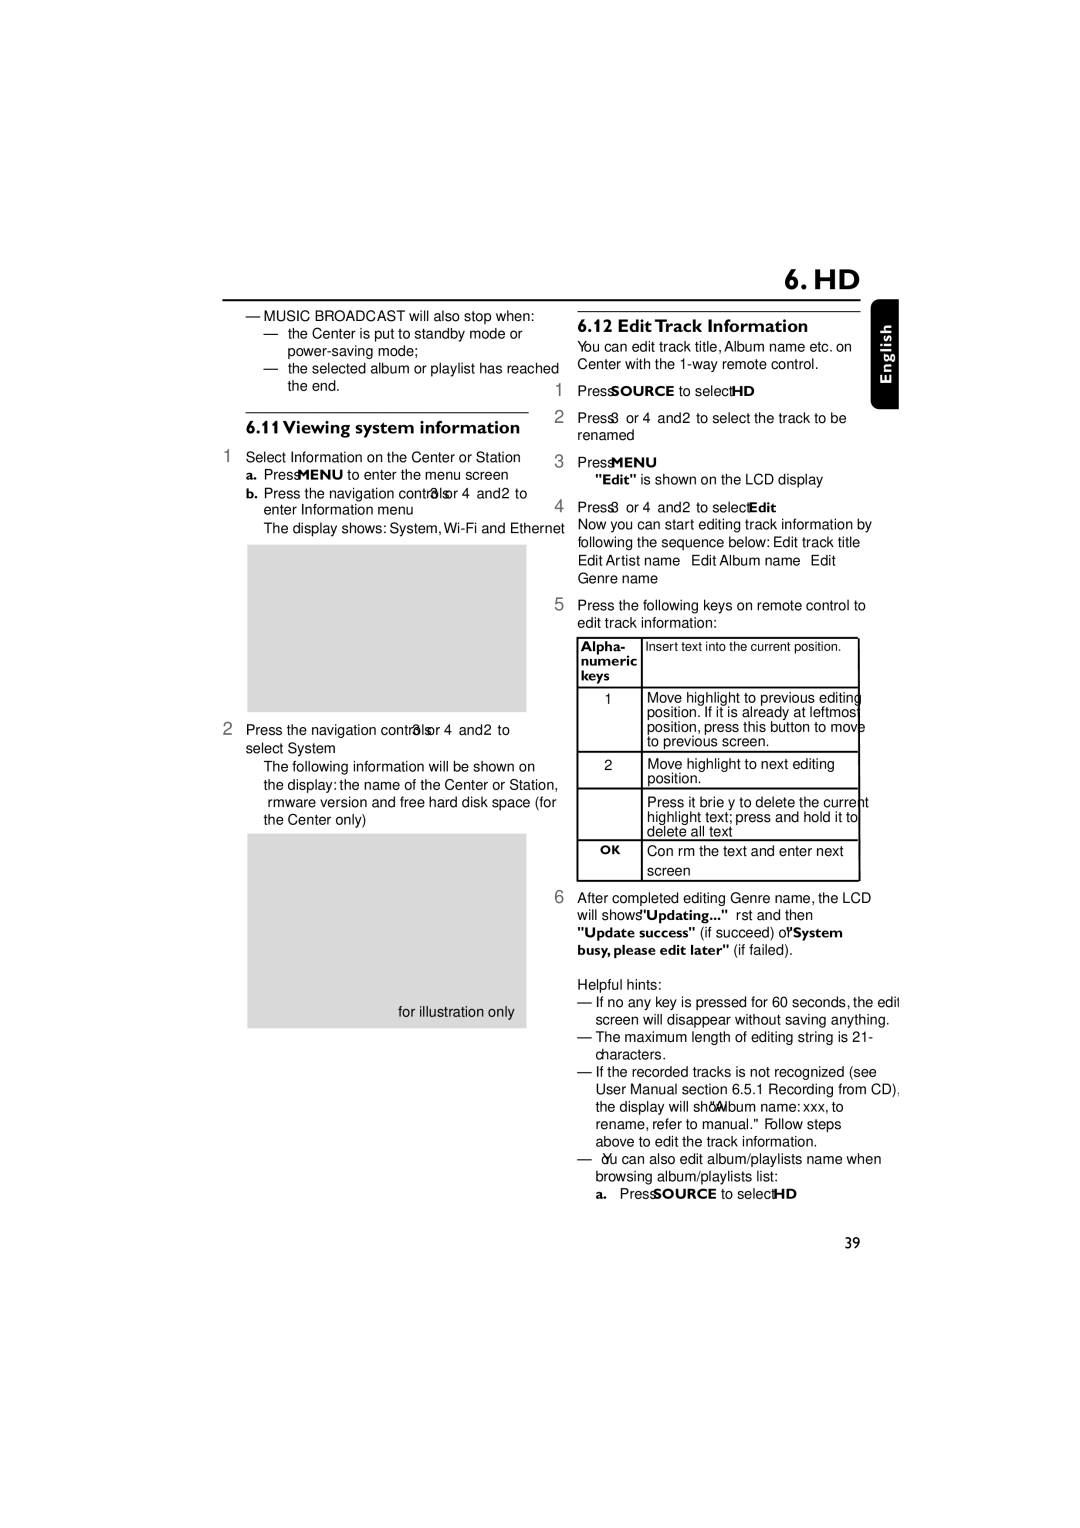
WACS7000, WACS7005 specifications
The Philips WACS7000 and WACS7005 are powerful wireless audio systems that embody the essence of modern home entertainment. Designed with versatility and ease of use in mind, both models enable users to enjoy music seamlessly throughout their living space.At the heart of the WACS7000 and WACS7005 is the innovative Multi-room audio technology. This feature allows users to distribute music across multiple rooms without the need for complex wiring. The systems utilize a wireless network, providing a convenient way to listen to favorite tracks in different areas of the home, ensuring that every room is filled with rich, high-quality sound.
The WACS7000 and WACS7005 models also come equipped with an integrated CD player and a digital AM/FM radio, catering to various music preferences. They support multiple audio formats, including MP3 and WMA, allowing users to enjoy their music collection without limitations. With the capability to connect to a computer or an external music source, these devices can access extensive digital libraries.
One of the standout features of these systems is the user-friendly interface. The remote control and intuitive display make it easy to navigate playlists, adjust volume, and select tracks from a distance. The WACS7005 model enhances this experience further with a larger screen for better visibility and accessibility.
For those who appreciate high-fidelity audio, Philips has integrated their proprietary Digital Sound Processing technology into both models. This results in clearer vocals, deeper bass, and a more immersive listening experience overall. The built-in equalizer provides users the flexibility to customize sound profiles according to their personal preference.
Connectivity options abound in the WACS7000 and WACS7005. Bluetooth compatibility enables streaming music directly from smartphones and tablets, while USB ports facilitate easy playback from flash drives. Additionally, the systems are compatible with various digital music services, expanding access to online streaming platforms.
In terms of design, both models boast a sleek, modern aesthetic. The compact form factor ensures they fit well in any living space, whether on a shelf or as a standalone centerpiece. The high-quality materials used in construction guarantee both durability and an appealing look.
Overall, the Philips WACS7000 and WACS7005 are excellent choices for music enthusiasts looking for a sophisticated, versatile wireless audio solution. With advanced technologies, user-friendly features, and a commitment to delivering superior sound, these systems stand out as leaders in home audio entertainment.

