Black plate (4,1)
Section
01  Before You Start
About this unit | |
| ! We offer the latest information about |
CAUTION | Pioneer Corporation on our website. |
!Do not allow this unit to come into contact with liquids. Electrical shock could result.
| Also, damage to this unit, smoke, and over- | Protecting your unit from | ||
| heating could result from contact with liquids. | theft | ||
| ! “CLASS 1 LASER PRODUCT” | |||
| The front panel can be detached to deter theft. | |||
| This product contains a laser diode of higher | |||
| class than 1. To ensure continued safety, do |
|
| |
| not remove any covers or attempt to gain ac- |
| Important | |
| cess to the inside of the product. Refer all ser- | ! Handle gently when removing or attaching | ||
| vicing to qualified personnel. | |||
|
| the front panel. | ||
| ! Keep this manual handy as a reference for op- |
| ||
| ! Avoid subjecting the front panel to excessive | |||
| erating procedures and precautions. | |||
|
| shock. | ||
| ! Always keep the volume low enough so that |
| ||
| ! Keep the front panel out of direct sunlight and | |||
| you can hear sounds from outside the vehicle. | |||
|
| high temperatures. | ||
| ! Protect this unit from moisture. |
| ||
| ! Before detaching, be sure to remove the AUX/ | |||
| ! If the battery is disconnected or discharged, | |||
|
| USB cable and USB device from the front | ||
| the preset memory will be erased and must be |
| ||
|
| panel. Otherwise, this unit, connected device | ||
| reprogrammed. |
| ||
|
| or vehicle interior may be damaged. | ||
| ! Should this unit fail to operate properly, please |
| ||
|
|
| ||
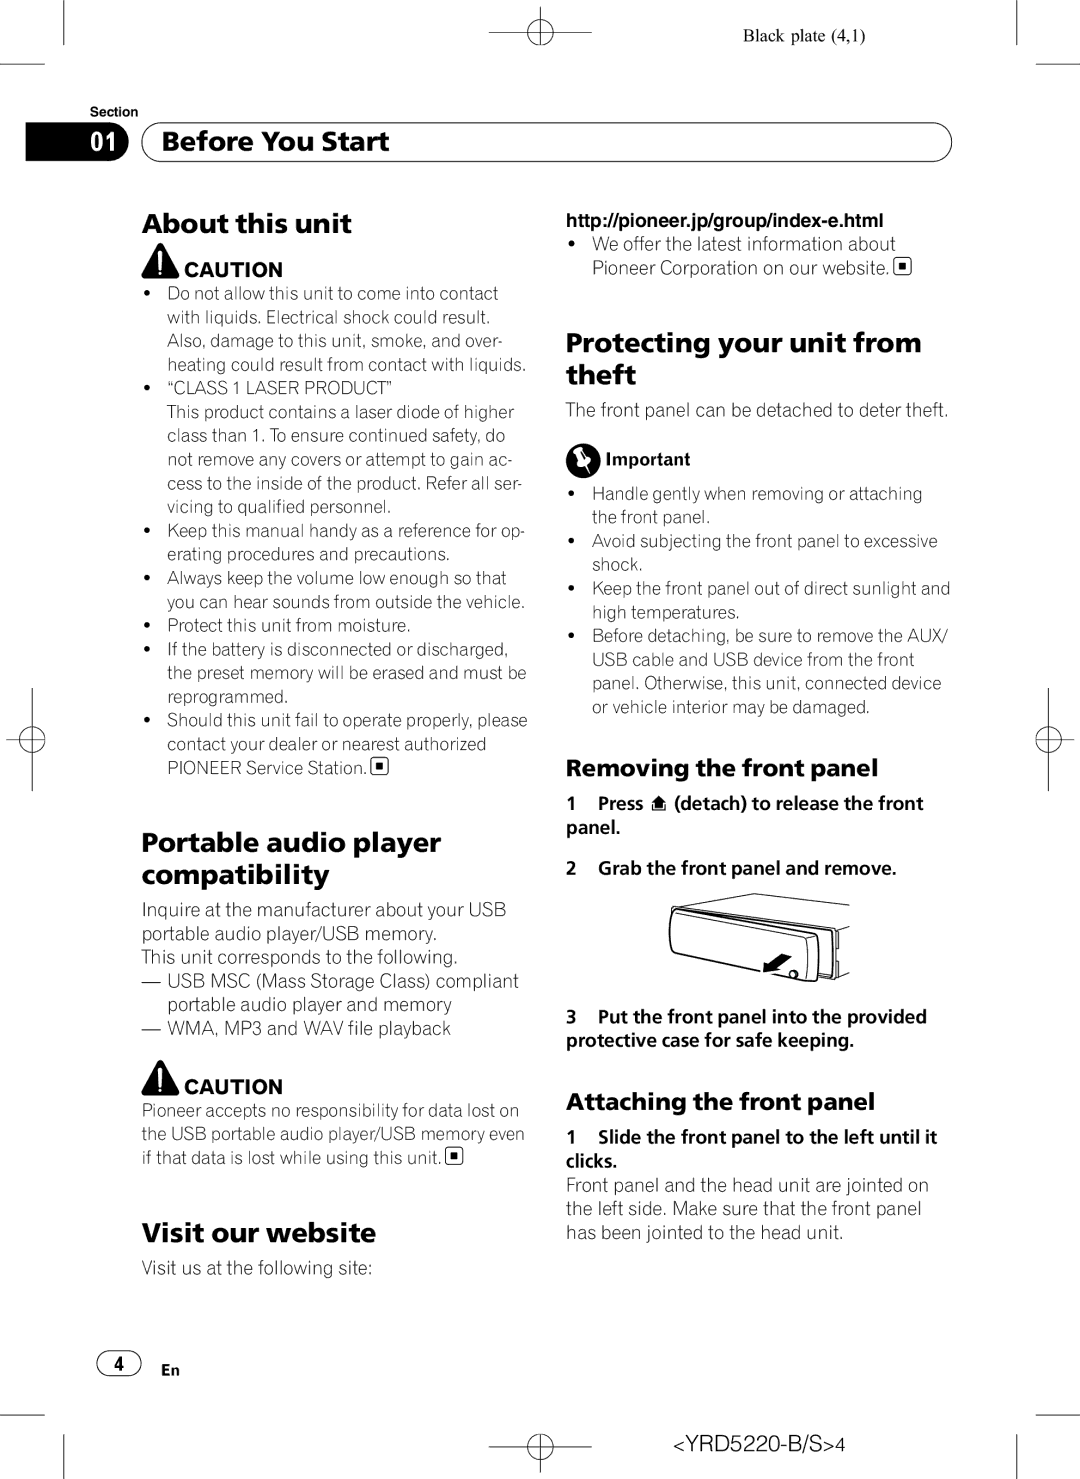
| contact your dealer or nearest authorized | Removing the front panel | ||
| PIONEER Service Station. | |||
|
|
| 1 Press (detach) to release the front | |
| Portable audio player | panel. | ||
| 2 Grab the front panel and remove. | |||
| compatibility | |||
| Inquire at the manufacturer about your USB |
|
| |
| portable audio player/USB memory. |
|
| |
| This unit corresponds to the following. |
|
| |
| — USB MSC (Mass Storage Class) compliant |
|
| |
| portable audio player and memory | 3 Put the front panel into the provided | ||
| — WMA, MP3 and WAV file playback | |||
| protective case for safe keeping. | |||
|
|
| ||
| CAUTION | Attaching the front panel | ||
| Pioneer accepts no responsibility for data lost on | |||
| the USB portable audio player/USB memory even | 1 Slide the front panel to the left until it | ||
| if that data is lost while using this unit. | clicks. | ||
|
|
| Front panel and the head unit are jointed on | |
| Visit our website | the left side. Make sure that the front panel | ||
| has been jointed to the head unit. | |||
| Visit us at the following site: |
|
| |
|
|
|
| |
4 | En |
|
| |
|
|
|
| |
|
|
|
| |
|
|
|
| |
|
|
|
|
|