Manuals
/
Pioneer
/
Home Audio
/
CD Player
Pioneer
DEX-P90RS
owner manual
Exit from the Initial Setting Screen
Models:
DEX-P90RS
1
15
94
94
Download
94 pages
33.89 Kb
12
13
14
15
16
17
18
19
Specification
Install
PTY Alarm
Service Label Band Indicator
Connecting the Units
Resetting the Microprocessor
Adjusting the TA Volume
Changing the FM Tuning Step
Initial Setting Screen
Remote Control and Care
Page 15
Image 15
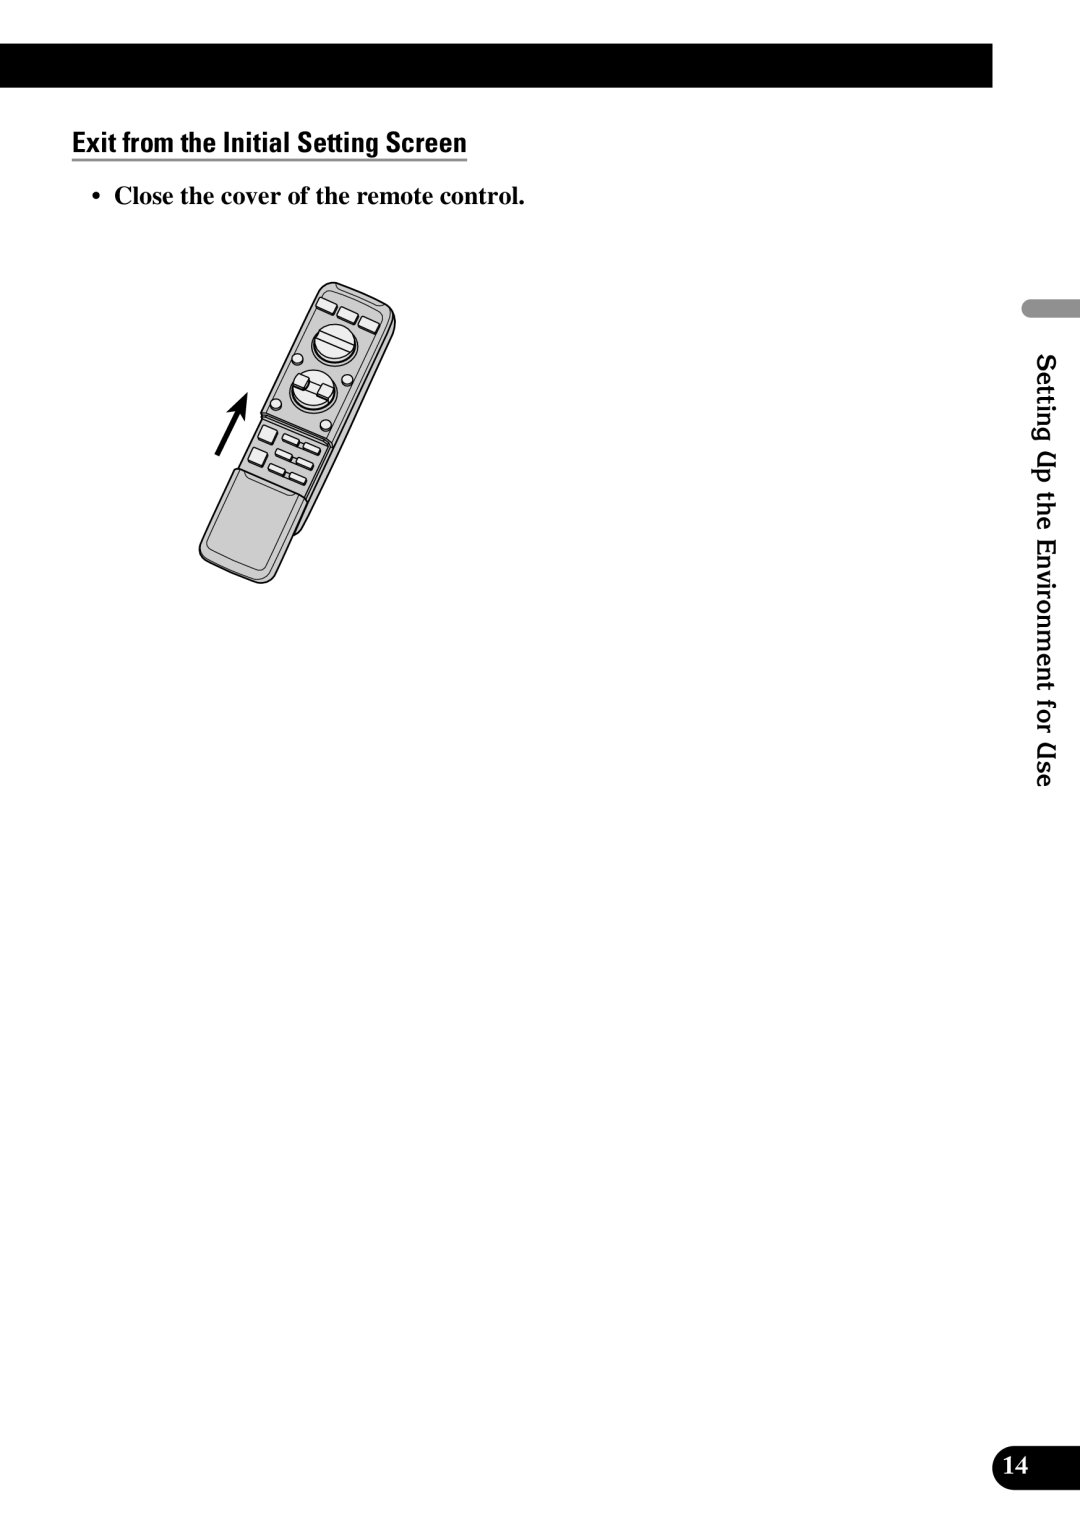
Exit from the Initial Setting Screen
• Close the cover of the remote control.
Setting Up the Environment for Use
14
Page 14
Page 16
Page 15
Image 15
Page 14
Page 16
Contents
DEX-P90RS
Contents
Tuner Operation
Contents
Installation
Head Unit
Remote Control
Contents / Key Finder
Key Finder
Opening and Closing the Remote Control Cover
Menu display in open state
When the Cover is Closed
When the Cover is Open
Menu display in closed state
Using the Remote Control
Remote Control and Care
Batteries
About This Manual
Before Using This Product
Resetting the Microprocessor
About This Product
Before Using This Product
Precaution
Open the front panel
Detaching and Replacing the Front Panel
Theft Protection
Detaching the Front Panel
Detaching and Replacing the Front Panel
Replacing the Front Panel
Accessing the Initial Setting Screen
Setting Up the Environment for Use
Setting Up the Environment for Use
Operation at the Initial Setting Screen
Exit from the Initial Setting Screen
Press the Function button 1 on Initial Setting Screen
Setting the Clock
Switching to the Clock Adjustment Screen
Setting the Clock
Press the Return button
Setting the Clock by Time Signal
Returns to the Initial Setting Screen
Off Clock
Setting the Dimmer
Setting the Display
Switching to the Display Setting Screen
Setting the Brightness
Selecting the Wallpaper
Selecting the Reverse Mode
Setting the Warning Tone
Setting the General Environment
Switching to the General Environment Setting Screen
Switching the AUX Mode
Turning the Confirmation Sound ON/OFF
Setting the DAB Priority
When it is on
When it is OFF
Changing the FM Tuning Step
Switching the Auto PI Seek
Setting the Menu Lock
Switching to the Menu Lock ON/OFF
About the Menu Lock
Select the desired source e.g. tuner
Remote Control
Basic Operation
To Listen to Music
Basic Operation
Switching Power OFF
Raise or lower the volume
Turn the source OFF
Basic Operation of Tuner
Tuner Operation
Tuner Setting Screen
Operation at the Tuner Setting Screen
Accessing the Tuner Setting Screen
Exit from the Tuner Setting Screen
Local Seek Tuning
Operating Each function
Best Stations Memory
Broadcast station preset memory
Switching to the Preset Tuning Screen
Preset Tuning
Press the Shift button on Tuner Setting Screen
Activating/Deactivating the AF function
Using the RDS Functions
What is RDS?
Alternative Frequency function
PI Seek
Auto PI Seek for preset station
Using the RDS Functions
PI Seek function
To cancel the PTY Search, press the ∞ button
PTY function
Searching the PTY
Set interruption to on or OFF
News Program Interruption Setting
PTY Alarm
Canceling Announcements
Wide Narrow Details
PTY List
Activate the TA function
Traffic Announcement Standby function
Activating/Deactivating the TA function
Tune in a TP or enhanced other network’s TP station
Canceling Traffic Announcements
Adjusting the TA Volume
TP Alarm function
Activating the Regional function
Regional function
To return to Tuner Setting Screen, press the Return button
Radio Text
Radio Text Display
Storing Radio Text in Memory
Recalling Preset Radio Text
Built-in CD Player Operation
Basic Operation of Built-in CD Player
Eject
Built-in CD Player Operation
Track Search and Fast Forward/Reverse
CD Loading Slot
Open
Built-in CD Setting Screen
Operation at the Built-in CD Setting Screen
Accessing the Built-in CD Setting Screen
Exit from the Built-in CD Setting Screen
Random Play
Repeat Play
Pause
Scan Play
Disc Title Input
Changing the Display Mode
Basic Operation of Multi-CD Player
Multi-CD Player Operation
Multi-CD Setting Screen
Operation at the Multi-CD Setting Screen
Accessing the Multi-CD Setting Screen
Exit from the Multi-CD Setting Screen
Display Play range
Play Mode
Random Play
Disc Number Search
Press the Shift button on Multi-CD Setting Screen
Switch the desired character type with Function button
Select letters, numbers and symbols with the 5/∞ buttons
Disc Title
Multi-CD Player Operation
Selecting Discs by Disc Title List
Basic Operation of DVD Player
Title Indicator Disc Number Indicator
Play Time Indicator Disc Search
DVD Player Operation
DVD Setting Screen
Operation at the DVD Setting Screen
Accessing the DVD Setting Screen
Exit from the DVD Setting Screen
Video-CD and CD
DVD
Operable only when DVD Player is playing CDs
Select the desired disc with the Function button 1 through
Press the Shift button on DVD Setting Screen
Basic Operation of DAB Tuner
Selecting the Ensemble or Service
Service Label Band Indicator
DAB Tuner Operation
DAB Tuner Setting Screen
Operation at the DAB Tuner Setting Screen
Accessing the DAB Tuner Setting Screen
Exit from the DAB Tuner Setting Screen
DAB Tuner Operation
Press the Shift button on DAB Tuner Setting Screen
Announcements operated by the TA button
Announcement Support function
TP Alarm function
Operating Announcements with DAB Tuner Setting Screen
Service Component function
Switching Interrupting Announcements
Switch to the next Announcement
Dynamic Label function
Dynamic Label Display
Scroll the Dynamic Label with the ∞ button
Storing Dynamic Label in Memory
Recalling Preset Dynamic Label
Canceling the PTY Search Setting mode
Available PTY function
Searching the PTY
Service Follow function
Service Follow function FM
When the NET indicator flashes
Channel Indicator Preset Number Indicator Band Indicator
TV Tuner Operation
Basic Operation of TV Tuner
TV Tuner Setting Screen
Operation at the TV Tuner Setting Screen
Accessing the TV Tuner Setting Screen
Exit from the TV Tuner Setting Screen
Best Stations Sequential Memory
Press the Shift button on TV Tuner Setting Screen
To cancel the Audio Adjustment, press the Band button
Audio Adjustment
Switching to the Audio Adjustment Screen
Fader/Balance Adjustment
Bass/Treble Adjustment
Press the 5/∞ buttons and adjust the level
Audio Adjustment
Increase or decrease the level with the 5/∞ buttons
Source Level Adjustment
Selecting the AUX Source
Using the AUX Source
Other Functions
Sound Muting
Turn OFF the Display Indication
Other Functions / CD Player and Care
CD Player and Care
CD player and care
CD-R/CD-RW discs
Message Possible cause Recommended action
Built-in CD Player’s Error Message
CD Player and Care / Connecting the Units
Connecting the Units
Setting Examples
Connecting without Audio Unit DEQ-P90
Connecting with Audio Unit DEQ-P90
Attaching the Noise Filter
Connecting the Units
Connecting without Audio Unit DEQ-P90
Left Right
Connecting with Audio Unit DEQ-P90
Power amp Sold separately
Installation with the rubber bush
Installation
Removing the Unit
Installation
Fitting horizontally Fitting vertically
Installing the Remote Control Unit
Fitting the Remote Control Unit
Installation Using Only the Mounting Base
Method B
Installation Using the Mounting Base and the Bracket
Installing the Remote Control Unit
Method a
Install the mounting base to the vehicle
Install the bracket to the mounting base
Specifications
Pioneer Corporation
Top
Page
Image
Contents